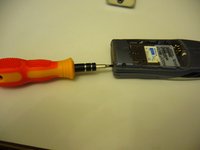
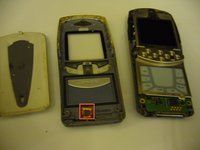
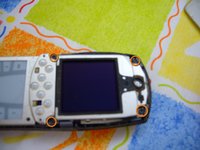
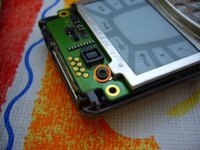
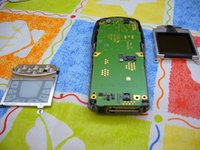
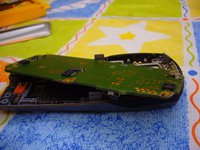
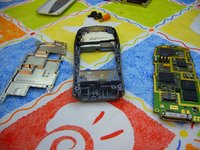
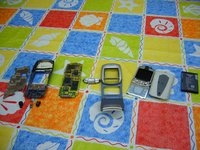
メインコンテンツにスキップ

必要な工具と部品

この分解は修理ガイドでは ありません。 お持ちのNokia 6108を修理する際は、iFixitの修理ガイドをご利用ください。

  1. Nokia 6108 Teardown, Nokia 6108 Teardown: 手順 1、 1の画像 1
    • Hello,I'm going to open my phone for some fun.

    • Be careful not to drop any screws or parts when you're opening your phone.This may render your phone not usuable.Open your phone at your own risk.

  2. Nokia 6108 Teardown: 手順 2、 2の画像 1 Nokia 6108 Teardown: 手順 2、 2の画像 2
    • Remove the following parts.

    • Battery cover

    • Battery

    • SIM card

    • Remove two trox screws marked in figure 2.

  3. Nokia 6108 Teardown: 手順 3、 2の画像 1 Nokia 6108 Teardown: 手順 3、 2の画像 2
    • Remove the front panel by pulling it or using an

    • I don't have a opening tool.So I used a flathead screw driver instead.

    • Be careful not the damage the number pad connector(highlighted in red).If you break it.You'll have to replace the entre front panel.

  4. Nokia 6108 Teardown: 手順 4、 2の画像 1 Nokia 6108 Teardown: 手順 4、 2の画像 2
    • Remove 5 trox screws that are holding the screen and the touch pad.

  5. Nokia 6108 Teardown: 手順 5、 2の画像 1 Nokia 6108 Teardown: 手順 5、 2の画像 2
    • After removing the touch pad and the screen.You can remove the logic board from the case.

    • The board seem don't want to leave its cozy home.

  6. Nokia 6108 Teardown: 手順 6、 1の画像 1
    • Let's start removing the parts under the logic board.

    • Parts need to be removed.

    • A motor

    • Charger connector

    • A speaker

  7. Nokia 6108 Teardown: 手順 7、 1の画像 1
    • Removing the EMI shield.Pry around the edge of the shield to remove it.

  8. Nokia 6108 Teardown: 手順 8、 2の画像 1 Nokia 6108 Teardown: 手順 8、 2の画像 2
    • Nothing under the EMI shield.

    • I think we should stop here right now.There are pictures for all parts.

作成者

3人の作成者と共同で作成されました。

Honam1021

メンバー登録日: 02/19/11

349 ポイント

1ガイドが承認済み

コメント 1 件

i have same phone but it's keypad button's are not working.... can u help me that

Rohit Yadav - 返信

コメントを追加

統計データ:

過去 24時間: 0

過去 7 日: 1

過去 30 日: 7

今までの合計 4,711