注意:あなたは必要条件ガイドを編集しています。あなたが行なう変更は、この手順を含む全ての9個のガイドに反映されます。
手順 1を翻訳中
手順1


-
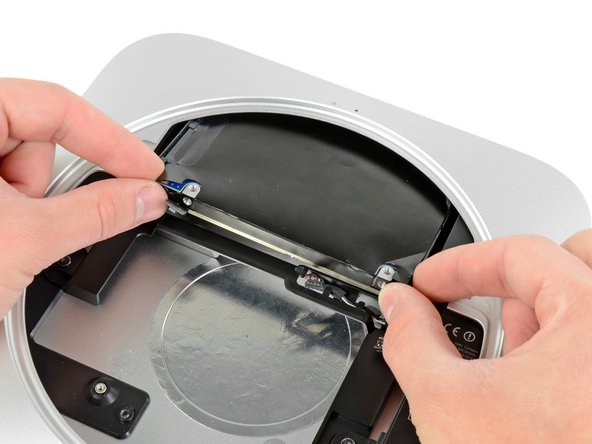
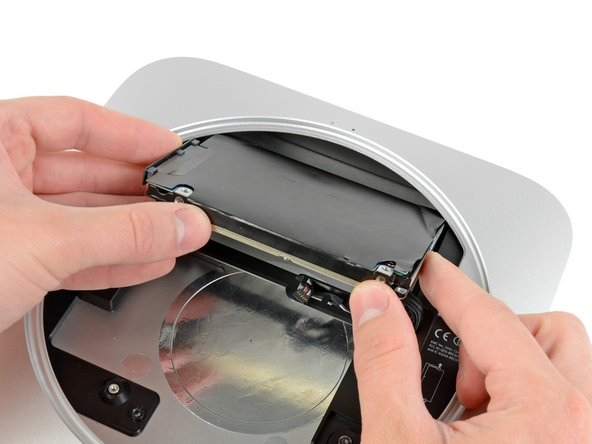
Pull the hard drive away from the front edge of the mini and remove it from the outer case.
| [* black] Pull the hard drive away from the front edge of the mini and remove it from the outer case. | |
| [* icon_note] During reassembly, there are two pins on the inside edge of the hard drive that fit into the case. The holes have rubber grommets around them, so it may be difficult to tell when you have seated the hard drive correctly. | |
| + | [* icon_note] There are two pairs of holes in the case. Insert the pins into the holes closest to the bottom of the case. |
クリエイティブコモンズのオープンソース著作権のもと、あなたの投稿は著作権の対象となります。