はじめに
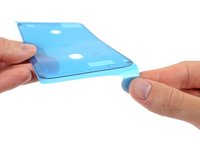
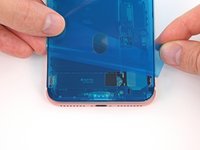
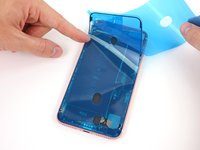
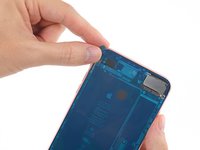
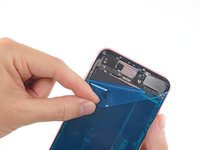
このガイドを使用して、修理終了後のiPhoneディスプレイの下に交換用接着剤を正しく取り付けましょう。接着剤を交換するとiPhoneの防水機能を保つことができます。プレカットの接着タブは大変切断しやすく正しい方法で使用しなければ簡単にダメージを与えてしまいます。そのため、このガイドを始めて参照して作業を行う方は、余分の接着タブもご用意ください。
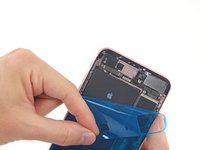
iPhoneのオリジナルのカラーを保つため、ディスプレイと同じ色の接着タブをご購入ください。
この手順は、iPhoneのモデル6s以降に適用されます(それ以前のモデルはディスプレイに接着剤が使用されていません)
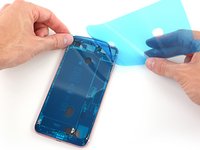
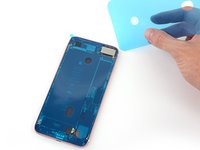
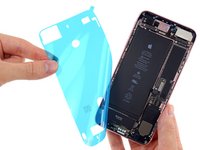
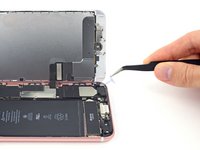
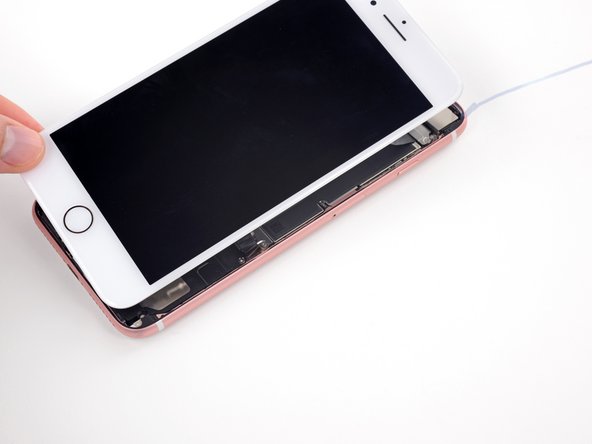
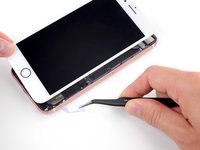
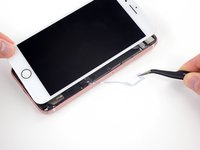
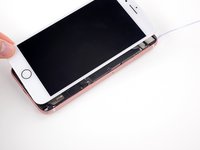
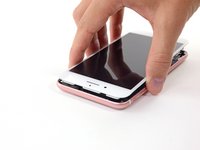
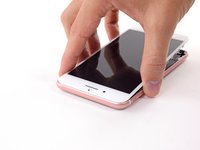
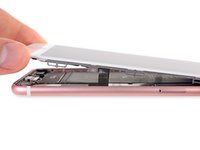
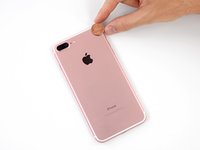
作業を始める前に、iPhoneのディスプレイアセンブリを取り外し、それを保管してください。まだディスプレイアセンブリを外していない場合は、各モデル用のiPhone修理ガイドに戻り、ディスプレイアセンブリを再インストールする所までインストラクションに従ってください。
必要な工具と部品
ビデオの概要
-
-
-
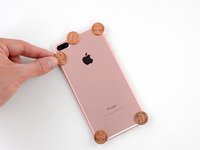
どの硬貨を使っても構いませんが、カメラの突起よりもわずかに高い(厚い)ものを使用してください。
-
iPhoneの四隅に硬貨を置きます。そしてカメラの突起の両側にコインを置きます。
-
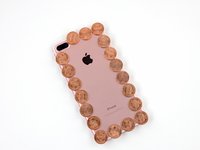
さらにiPhone周辺全体に硬貨を敷き詰めます。
-
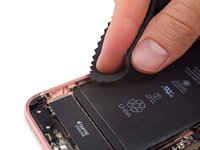
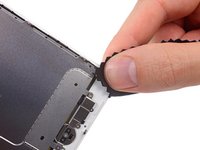
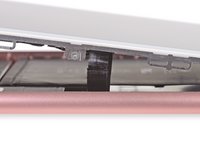
ヘアドライヤーやヒートガンをiPhoneの周辺端に当てて均等に温めます。触ると熱い程度まで温まったら止めてください。熱は複雑な圧着剤の粘着を緩めてくれます。iPhoneを温めすぎないようにご注意ください。バッテリーに引火したり、ディスプレイなどの熱に弱いコンポーネントにダメージを与えてしまいます。
-


1063 の人々がこのガイドを完成させました。
以下の翻訳者の皆さんにお礼を申し上げます:
100%

これらの翻訳者の方々は世界を修理する私たちのサポートをしてくれています。 あなたも貢献してみませんか?
翻訳を始める ›


47 件のコメント
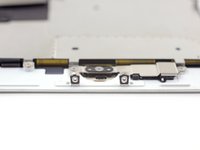
I just bought few iPhone 7 adhesives from my supplier, and I noticed that the adhesive is not really fitting on the frame.
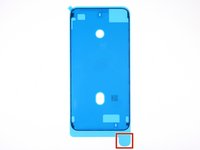
The iFixit shop pictures show us the iPhone 7 Plus adhesive for black color and the iPhone 7 adhesive for white color.
The iPhone 7 Plus seems to be more precise and correct than the iPhone 7 one : the iPhone 7 Plus one respect the screw hole at upper left corner for example, but the iPhone 7 one doesn’t, it has extra curves (same as iPhone 6s lower left corner) and it doesn’t take up the full width of the frame edge.
Can anyone show us the shape of an original adhesive from a brand new iPhone 7 to compare ?
This was the trickiest part of my screen replacement. Slim double sided adhesives always intimidate me because you only get one chance to line it up. I succeeded on my first attempt by following this guide and taking my time to line up the first edge as best as I could. The sides are the hardest part as they are very thin and I almost failed getting them lined up. Luckily I hadn’t pressed them down and was able to correct my alignment. Good preperation of the phone by removing the old adhesive completely and cleaning the area is my number one recommendation.
Adhesive makes everything harder. I chose to replace the adheasive on my 6s plus during a battery replacement, and it was easily the hardest part. No fault of Ifixit or this guide… the instructions above are spot on. But the cleaning of the adheasive takes forever, easily tripled my total repair time. And its really, really nerve racking to place the new adheasive. I do stuff like that all the time, but this was nuts. The strips are so tiny and delicate! Be really, really careful and take your time. This earns its “moderate” difficulty and then some.
wow that was hard to get in place. clean the edges well and use isopropyl alcohol. also practice a lot before removing the cover protection.
ericrose62 - 返信
am working on this now