メインコンテンツにスキップ

iPhoneディスプレイ用接着剤の交換

英語
日本語

手順 21を翻訳中

手順21
iPhone Display Adhesive Replacement: 手順 0、 3の画像 1 iPhone Display Adhesive Replacement: 手順 0、 3の画像 2 iPhone Display Adhesive Replacement: 手順 0、 3の画像 3
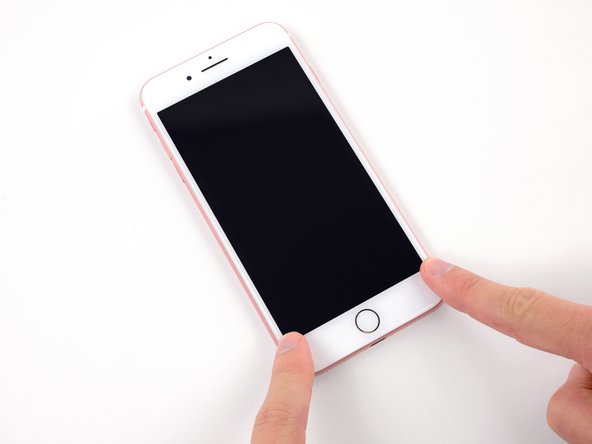
  • As you lower the display into place, apply gentle pressure against the display's bottom edge so that the top edge stays flush with the top edge of the iPhone.

  • This also prevents the two small gaskets near the home button from scraping against the iPhone's lower edge.

  • Press on the sides of the display near the top of the iPhone, and work your way down to click the display into place.

ディスプレイを下向きにスライドしながら装着するため、ディスプレイ底のエッジを軽く押し上げてiPhoneの上部端とディスプレイのの上部端が合わさるようにします。

この方法はホームボタン付近の二つの小さなガスケットをiPhone下部端でダメージを与えないように保護してくれます。

iPhone上部付近のディスプレイ両側を押し込み、続けてディスプレイが正しく装着されるように下側に移動しながら留めていきます。

クリエイティブコモンズのオープンソース著作権のもと、あなたの投稿は著作権の対象となります