はじめに
iPhone 7のディスプレイに裏張りされているLCDシールドプレートを交換または取り出すにはこのガイドをご利用ください。
必要な工具と部品
-
この手順で使用する道具:Clampy - Anti-Clamp$24.95
-
次の3つの手順では、デバイスの開講作業を簡単にするために開発されたツール、 アンチクランプの使い方を紹介します。リバースクランプを使用しない場合は、この3つの手順をスキップして別の方法をご覧ください。
-
青いハンドルをヒンジ側に引くと、クランプのアームを解除します。
-
iPhoneの左/右側の端に向けてアームをスライドします。
-
吸盤カップをiPhoneの下端付近に装着します。前面と背面に1つずつ取り付けます。
-
吸盤カップ両側をギュッと締め合わせると、標的の場所にしっかりと装着させることができます。
-
-
-
Heat an iOpenerを温めて、リバースクランプのアームの間にこれを通してください。
-
iOpenerを折り曲げて、iPhoneの下側端に当たるようにします。
-
1分ほど待機すると、接着剤が剥がれ始め、デバイスの間に隙間ができます。
-
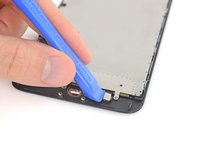
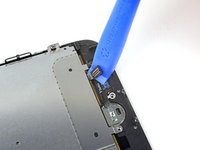
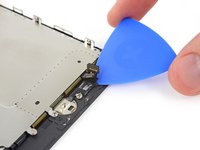
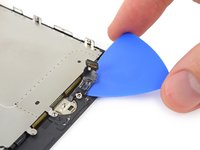
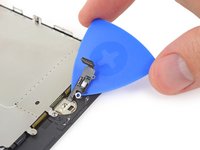
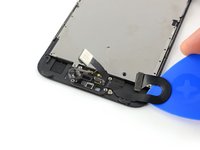
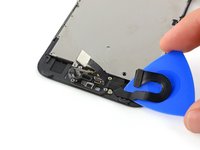
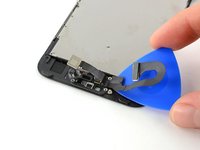
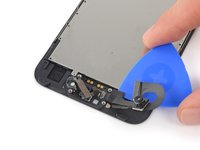
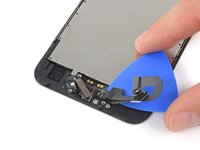
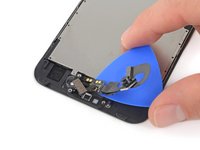
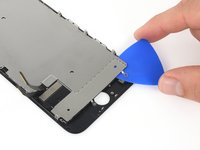
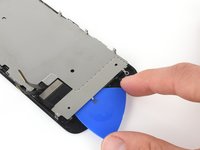
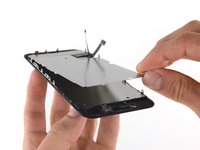
プラスチックベゼルとスクリーンの間の隙間にオープニングピックを差し込みます。スクリーン自体には差し込まないでください。
-
次の3つの手順はスキップしてください。
-
-
-
iPhoneの下端を加熱すると、ディスプレイを固定している接着剤が柔らかくなり、開きやすくなります。
-
ヘアドライヤーを使用するか、iOpenerを準備し、ディスプレイ裏側の接着剤を柔らかくするために、iPhone下部端に約90秒間あてます。
-
-
-
この手順で使用する道具:Tri-point Y000 Screwdriver$5.99
-
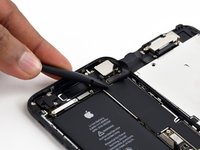
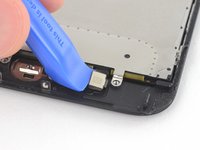
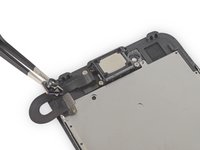
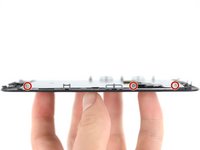
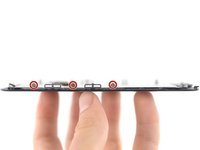
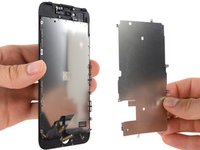
下部のコネクターブラケットから次の長さの トライポイント Y000 ネジを4本を取り外します。
-
1.2 mmネジー3本
-
2.4 mmネジー1本
-
-
-
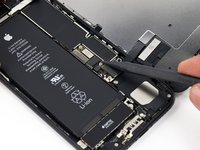
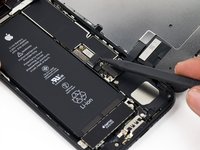
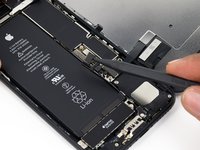
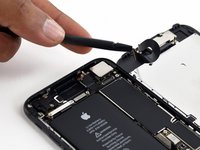
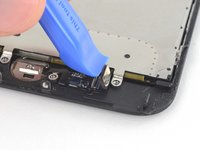
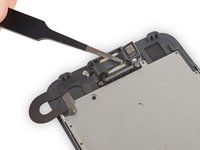
スパッジャーの平面側先端や指の爪を使って、ロジックボード上のソケットから2つのディスプレイコネクタをまっすぐ引き上げて、接続を外します。
-
もしiPhoneを組み立て直した後に、画面が真っ暗になったり、白い線が表示されたり、タッチの反応が悪い場合は、両方のケーブルを取り外して慎重に再接続し、完全に装着されていることを確認してください。
-


デバイスを再組み立てする際は、これらのインストラクションを逆の順番に従って作業を進めてください。
99 の人々がこのガイドを完成させました。
以下の翻訳者の皆さんにお礼を申し上げます:
100%

Midori Doiさんは世界中で修理する私たちを助けてくれています! あなたも貢献してみませんか?
翻訳を始める ›

6件のガイドコメント
Awesome Guide! Very easy to follow!!! Thanks!
Use a good tri-point screwdriver for this repair. Some of the screws are very tight!
Absolutely true. The cheap Y000 driver that came with a repair kit was stripped to uselessness by the time I got to the shield screws.
I had a lot of trouble getting the home button cable connector back after replacing the screen and shield. I wound up disconnecting the shield to give the screen side of that connection a little more play and enable the connection to be made.
Incidentally, if you want to take off just the shield itself and not the outer cables, you can skip 19-35, except the outer orange screws in 19 and the outer orange screws in 26. It might make getting under the shield adhesive harder, but in the case I described above, it was quite useful!