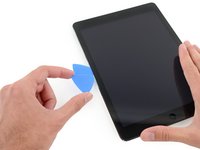
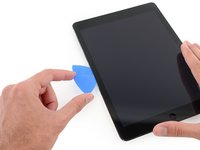
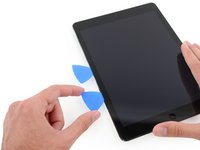
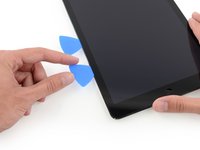
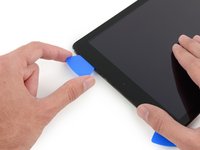
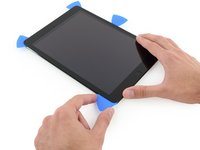
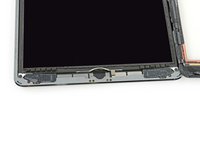
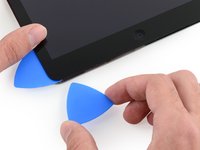
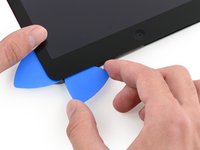
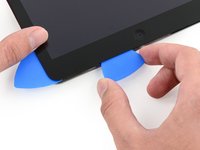
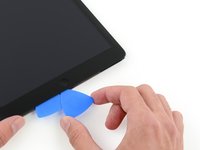
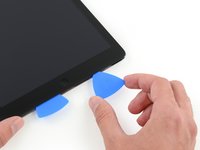
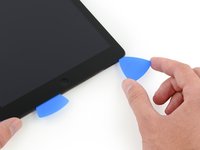
はじめに
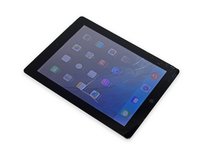
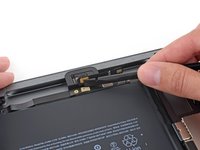
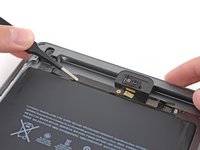
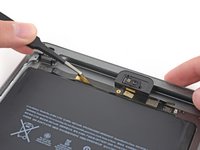
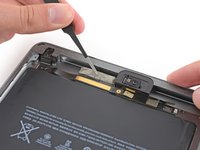
このガイドを参照して、iPad 6 Wi-Fiの3.5mmオーディオジャックを交換しましょう。
バッテリーブロッカーを使用してバッテリーを分離するときは、十分に注意してください。 バッテリーの接点は簡単に損傷してしまい、致命的なダメージを引き起こします。 バッテリーを分離せずにガイドを完成させる場合は、バッテリーのショートやデリケートな回路コンポーネントの損傷を防ぐために、必要な場合(ネジを外す場合など)を除いて、メタル製の工具の使用を避けてください。
必要な工具と部品
-
-
鍋を十分な量のお湯で満たして、iOpener を完全に沈めます。
-
お湯を沸かして熱くなったら火を止めます。
-
iOpenerを熱湯の中に約2−3分間沈めます。iOpener全体が完全に浸かっているか確認してください。
-
トングなどを浸かって、温まったiOpenerをお湯から取り出します。
-
タオルでiOpener全体を拭き取ります。
-
iOpenerの準備は整いました。iOpenerを再度温める必要がある場合は、お湯を沸騰させて、火を止めてからiOpenerを2-3分間浸してください。
-
-
-
ディスプレイガラスにひびが入ってしまった場合、割れてしまった部分が広がらないようにガラス表面上にクリアテープを貼るなどして、怪我がないようご注意ください。
-
iPadディスプレイ上にクリアタイプのテープを何重にも貼り、全体を覆います。
-
ここに書かれている手順にできるだけ従ってください。しかしながら、ガラスが一旦割れてしまうと、作業を続けていくにつれてひびが広がってしまう可能性があります。この場合、ガラスを取り出すためにはメタル製工具を使用する必要があります。
-
-
この手順で使用する道具:Clampy - Anti-Clamp$24.95
-
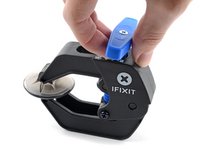
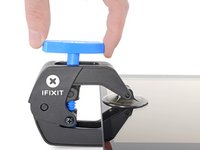
青いハンドルを後方に引き、リバースクランプのアームのロックを解除します。
-
青いハンドルをヒンジ側に引くと、オープニングモードが解除されます。
-
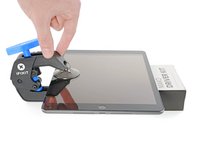
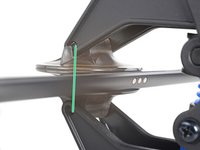
吸盤を左端の中央付近に配置し、上下に1つずつ装着します。
-
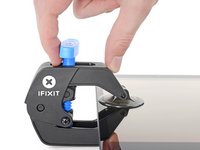
リバースクランプの下部をしっかりと固定し、上部カップをしっかりと押し下げて吸盤を装着ます。
-
-
-
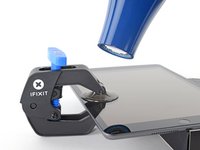
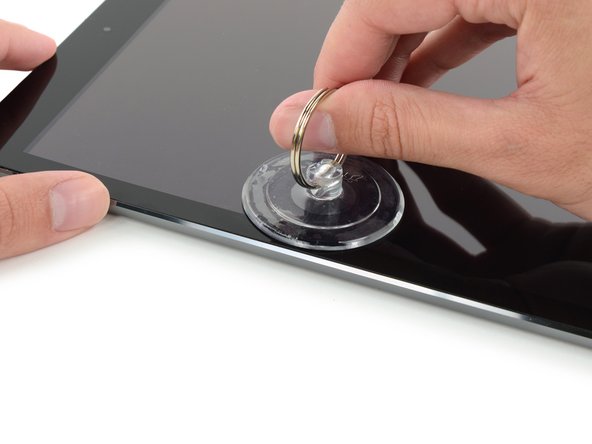
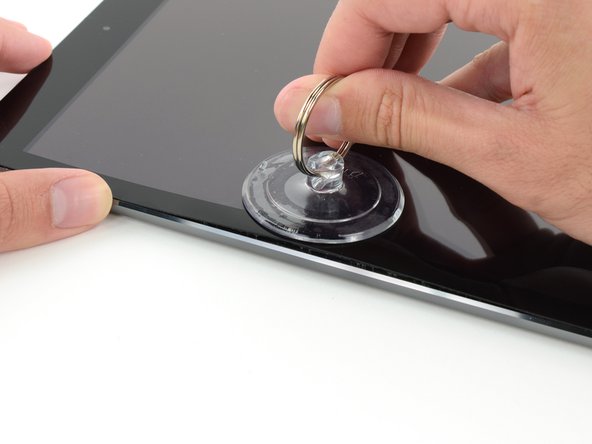
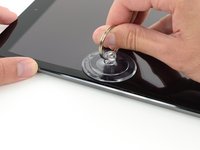
温めた側の真ん中から少し上辺りに、吸盤カップを取り付けます。
-
しっかりと吸盤がスクリーンに装着されるにはカップがスクリーン上に完全に平らに付いているか確認してください。
-
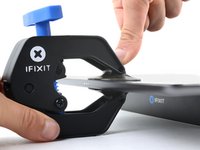
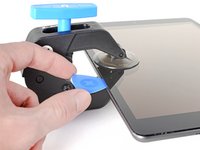
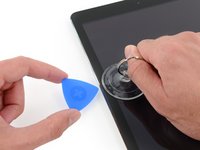
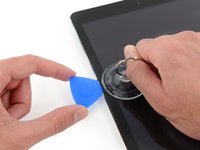
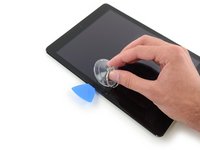
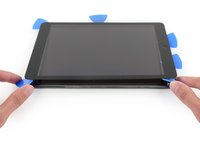
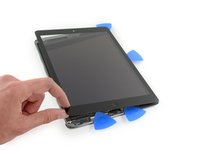
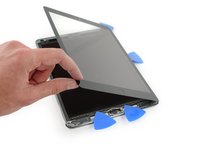
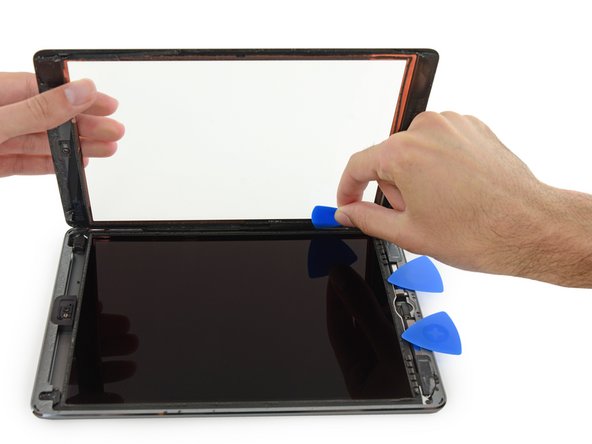
iPadを片手で押さえながら、背面ケースをフロントパネルのガラスから離すために吸盤カップを上部に向けて引っ張りあげます。
-
iPadのスクリーンの破損がひどい場合は、透明なパッキングテープで表面を覆うと、吸盤がうまく接着します。 または、強力なテープ(ダクトテープなど)を使用して、ハンドルに折りたたんでください。
-
-
-
-
LCDを固定している4.3mm #00プラスネジを4本外します。
Both of the iPad 6th gen models i have seen so for (note they were cellular also) had the LCD secured with a grey silicone kind of adhesive in each corner under the screws. So you can’t just lift the LCD as you normally would after removing screws, it would break. I found you could pick at the corner closest to the rear camera easiest, slightly lift that corner and gently separate the other side next to the headphone jack. Then while supporting the LCD , lever the other end free with a up-and-down motion making slight progress each time.
On my iPad 6, there were small rubber tabs covering the two screws on the front camera side. I carefully held them out of place with tweezers while unscrewing the screws.
-
-
-
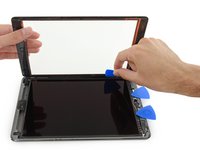
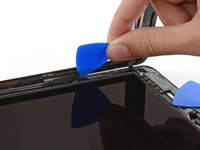
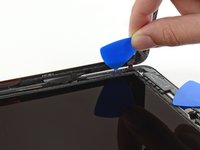
スパッジャーの平面側先端を使って、LCDを指で掴みやすいように、凹みからLCDをこじ開けます。 ネジ穴の周りに接着剤が付けられている場合は、ナイフで切開する必要があります。
-
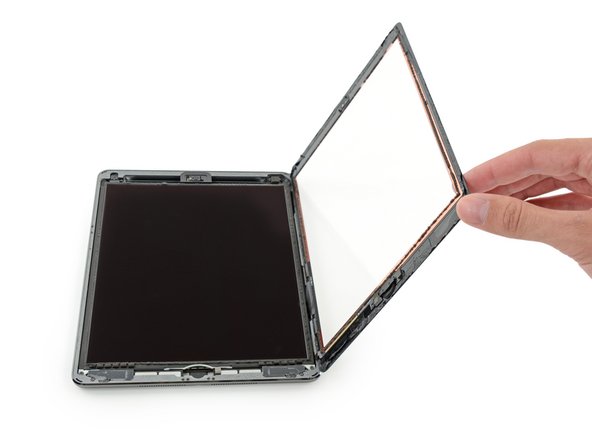
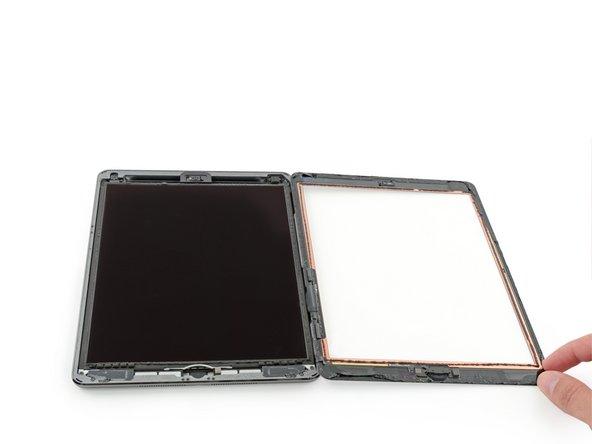
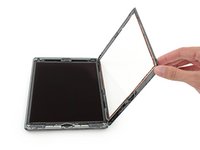
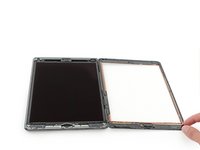
本のページのようにiPadのLCDを裏返して、カメラの近くで持ち上げ、リアケースのホームボタンの端に向けます。
-
LCDを正面側に向けて、ディスプレイケーブルにアクセスできるようにします。
When you replace the LCD be sure to make sure it is screwed in fully. It is easy not, especially on the cornet where the digitizer cables are. The LCD is very sensitive and if you bend it then it can stop working. I was just pressing the digitized in place at the end of a repair and the screen was covered in white lines.
I have no idea of what the logic board looks like !!!
HenryFMora - 返信
-
-
-
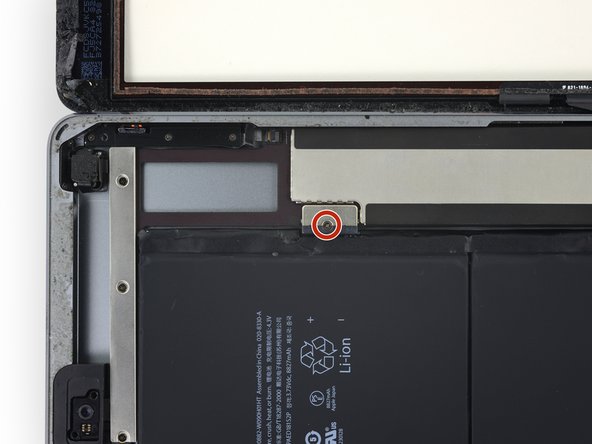
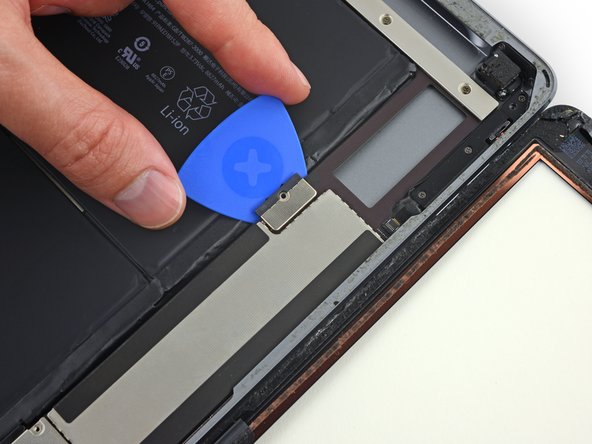
バッテリーコネクタをロジックボードに固定している2.3mm #000プラスネジを1本外します。
-
バッテリーブロッカーをロジックボードのバッテリーコネクターの下に35度の角度でスライドさせます。
-
バッテリーブロッカーをその場所に残したまま、作業を行ってください。
If you insert a regular pick without a gap then you can damage this connector and will need a new motherboard. If in doubt just insert into the left corner enough to raise it a tiny bit. Arguably, if you are not sure, then it is safer just power off and don’t power back on until everything is fully connected. A photo of how this connector looks with its cover off would really help for people that have not seen this type of battery connector before. You just need to get it to lift a tiny bit, Do not try to slide anything under the contacts….
I bumped this darn thing several times, it was twisted and skewed making me freak out but the iPad still works. I am thinking you should pull it out and put the screw back in right after the LCD is removed. Then use it again just before putting the LCD screen back in. The pick is sticking out there waitng to be be bumped.
Hi Robin,
Unfortunately, there is no easy way to pull the battery connector out of the logic board. If you try to pry this connector off, you will irreparably damage it. The easiest solution is to insert the battery blocker in-between to cut the power.
The battery isolation pick or battery blocker is an outdated way of isolating the battery, as you risk damaging the battery pins underneath the logic board.
So what is the new method?
Wil Thieme - 返信
This is my question as well. Seems like this phrase contradicts the instructions. Confusing. Any reply?
We are currently working on a better isolation procedure! In the meantime, I’ve updated the warning to hopefully clarify the issue.
Why do you need to “To reduce the risk of a short”? There does not seem to by any risk of a “short” in this process. I can see other reasons for disconnecting the battery. I am an electrical engineer so I would appreciate a professional grade answer to this question.
I’ll give it a shot!
When you remove the screw, it doesn’t disconnect the battery, as the connector uses spring contacts to touch the battery pads.
If you leave the battery connected, it leaves the logic board energized. As there are many exposed traces and SMT components on the logic board, there is a chance that you accidentally bridge a trace with a metal tool, resulting damage. In addition, the display connector contains tiny pins, and the pinout is such that if you pry the connector from an energized logic board, there is a chance that a voltage rail pin may accidentally touch something it shouldn’t, blowing out the backlight circuitry.
My battery was dead when i did the repair. Did not really need to perform this step
Take a waterproof playing card, cut out the shape of the battery blocker and slide that under. Battery blocked and pins not at risk of damage. Got that from a YouTube video made by a microsolder repair tech fixing the damage caused by jamming a blocker in between the contacts.
Thanks for the tip Melody! I’ve updated the instructions to include the playing card method.
I could not for the life of me get the playing card in there, but my iPad was turned off, so I decided to ‘risk’ a short, instead of potentially damaging the battery connectors by jamming the card in there as hard as possible. My repair went fine, no short, however I realized AFTER closing everything up that I forgot to put the battery screw back in. Really hoping this doesn’t become an issue long term, because I don’t want to pry this brand new screen off just to put the battery in.
Let us know! I wasn't able to use the screw again after removing the battery blocker. Now my iPad turns off and on every so many minutes and when it restarts it's 1% and then shows actual charge.
When you come to screw this back together, do not overestimate how little force it takes to strip the thread on this #000 screw. I did, and I now I can't screw this back down and have the problem where the iPad restarts every 3 mins 20 sec after you turn it on due to a poor connection here. I've used card to pack this out so the LCD puts a little clamping force on the terminal once you screw it back in, but it's not really enough so the iPad still suddenly restarts occasionally.
I use a small screwdriver and pry underneath that brown bracket from the top edge by the camera (with the elongated metal cover removed of course) all the way before the battery, then lift up just enough for me to unhinged the battery out of the secure post. I don't know why Apple has to go through ALL THIS just to connect the battery since there is a small screw AND ADHESIVE securing it anyway. Nonetheless the whole job (replacing the lcd screen and battery was a major pain in the neck!
-
-
-
ディスプレイケーブルブラケットから1.4mm #000プラスネジを3本外します。
I believe these are also Phillips #00, not Phillips #000.
I lost a 1.4mm screw where can I buy these small screws and how big are they? 1.4mm x? flared or flat head
-
-
-
スパッジャーの平面側先端を使って、ホームボタンリボンケーブルのZIFコネクタ上のタブを跳ね上げます。
-
ZIFコネクタからホームボタンリボンケーブルをまっすぐ注意深く引き抜きます。
I'm confused about the home flex cable connector required for the 6th generation iPad. It was my understanding that this model required an 18 pin connector. But these excellent pictures clearly show a 14 pin connector, just like the one for the first generation iPad Air AKA the iPad 5. I know this is not the primary focus of this guide, but can anyone clarify this for me?
I did the whole repair but this part is the problem HELP !!! I unlocked it but it took me 1 hour to carefully pull out the HOME BUTTON RIBBON CABLE. It finally came out with tweezers but now I CAN'T GET IT BACK IN and as a result my touch I.D. won't activate. It seems there was a tiny bit of black tape overlapping the connector on the ribbon which I carefully cut off exposing only the connector on the ribbon itself but how the heck does it slide in before you lock it. It seems easy on Youtube videos but mine just doesn't slide in with hand or with tweezers. OR in fact is there another connector that controls the TOUCH I.D. ???
Just a guy - 返信
Failed this step- broke the connector. If I try this again, I'd be inclined try to remove the home button from the front panel without unplugging it. Everything else seems to work fine.
I too failed this step. Needed some up close pics of how this works. Now what do I do the connector on the board is broken?
-
-
-
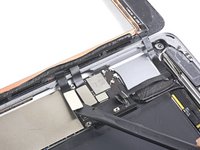
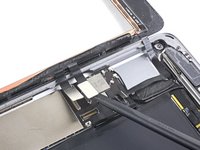
スパッジャーの平面側先端や指の爪を使って、ソケットから2つのデジタイザーケーブルコネクタを注意深くまっすぐ持ち上げます。
Where can I get a good used motherboard for a A1954 iPad 6 gen everywhere I look, there sold out ?...
-
-
-
リアケースに留められた接着剤からホームボタンリボンケーブルを注意深くめくり上げます。
If you can make sure to not pull on the home button side, i would leave out this step. i replaced two displays so far, on the first i removed it, but left it connected on the second attempt. worked like a charm
-
-
この手順で使用する道具:Polyimide Tape$9.99
-
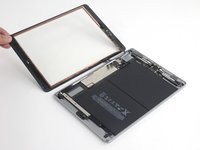
フロントパネルアセンブリを取り出します。
-
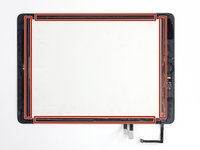
新しいディスプレイで"ghost"もしくは "phantom"のタッチ入力の問題が発生した場合、パネル背面のハイライト表示されたエリアに、カプトン(ポリイミド)テープなど非常に薄い絶縁テープを塗布することで解決できます。 iFixitの修理用パネルには適切な断熱材が施されているため、テープを追加する必要はありません。
-
-
-
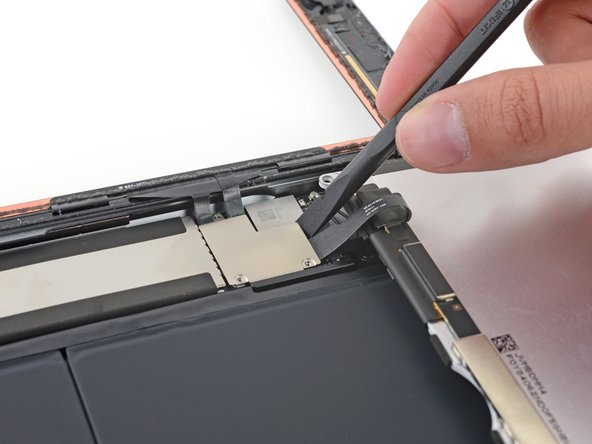
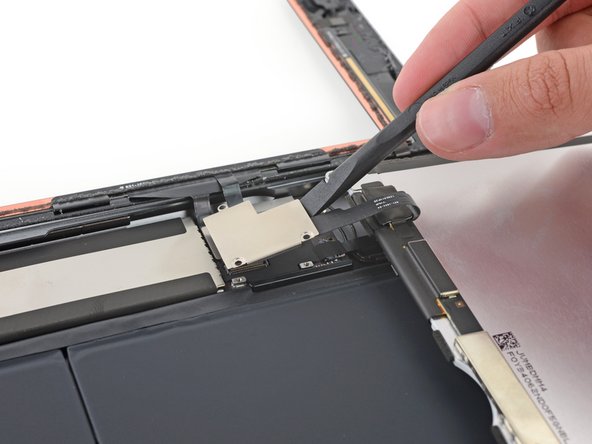
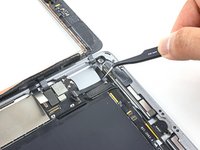
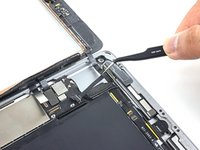
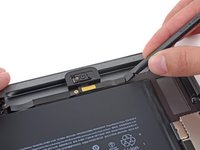
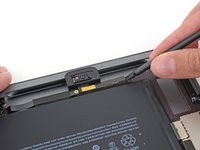
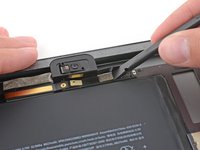
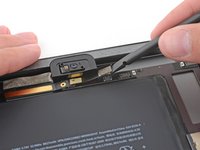
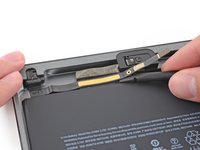
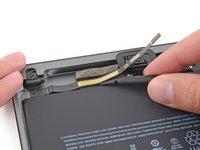
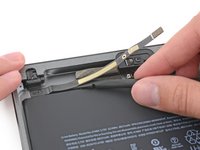
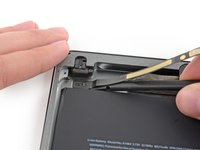
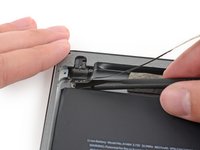
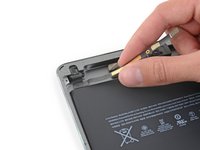
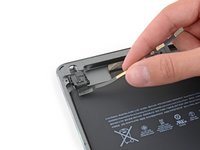
スパッジャーの平面側先端を使って、ヘッドフォンジャックのケーブルコネクターをロジックボード上のソケットからまっすぐ引き上げます。
The headphone jack connector might be taped to the ribbon cable below it. You will have to gently remove a small pad covering the connector and then peel back the tape.
-
デバイスを再度組み立てるには、この説明書の逆の順番で組み立ててください。
デバイスを再度組み立てるには、この説明書の逆の順番で組み立ててください。
5 の人々がこのガイドを完成させました。
以下の翻訳者の皆さんにお礼を申し上げます:
100%
これらの翻訳者の方々は世界を修理する私たちのサポートをしてくれています。 あなたも貢献してみませんか?
翻訳を始める ›
2 件のコメント
So is the iPad Air/ iPad 5 headphone jack flex cables compatible with the 6th gen 2018 model? That part is listed here but on the actual description on the part page, it doesn’t mention the 6th gen as compatible.
Josh Lewis - 返信
Yes, the iPad Air/iPad 5 headphone jack is compatible with the iPad 6th gen.


