メインコンテンツにスキップ

Yuneec Breeze 4K Motherboard Replacement

必要な工具と部品

  1. Yuneec Breeze 4K Motherboard Replacement, Motherboard M7: 手順 1、 2の画像 1 Yuneec Breeze 4K Motherboard Replacement, Motherboard M7: 手順 1、 2の画像 2
    • Before you begin start by putting on a ESD wrist strap to prevent ESD damage and remove the battery.

    • Flip over the drone so that the propellers are facing down and the camera is facing up.

  2. Yuneec Breeze 4K Motherboard Replacement: 手順 2、 3の画像 1 Yuneec Breeze 4K Motherboard Replacement: 手順 2、 3の画像 2 Yuneec Breeze 4K Motherboard Replacement: 手順 2、 3の画像 3
    • Grip the cover that covers the rest of the wires, and give it a slight pull to remove it.

  3. Yuneec Breeze 4K Motherboard Replacement: 手順 3、 1の画像 1
    • Remove the 4 rubber plugs that hold the drone and its internal parts together.

    • These plugs can be located in each corner of the drone, and are white.

  4. Yuneec Breeze 4K Motherboard Replacement: 手順 4、 1の画像 1
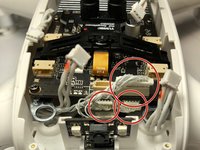
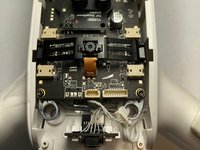
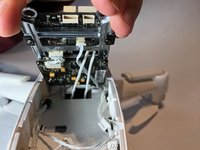
    • Unplug the four cables that are connected on the top face of the frame.

  5. Yuneec Breeze 4K Motherboard Replacement: 手順 5、 2の画像 1 Yuneec Breeze 4K Motherboard Replacement: 手順 5、 2の画像 2
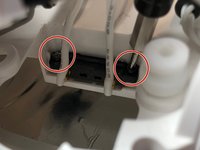
    • The rest of the wires that are still connected can be unplugged.

    • Using a pair of tweezers they can be unplugged.

  6. Yuneec Breeze 4K Motherboard Replacement: 手順 6、 3の画像 1 Yuneec Breeze 4K Motherboard Replacement: 手順 6、 3の画像 2 Yuneec Breeze 4K Motherboard Replacement: 手順 6、 3の画像 3
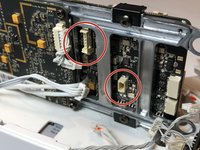
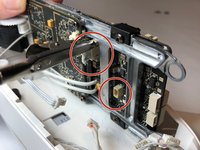
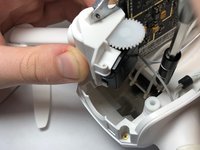
    • Lift up or tilt entire frame and mother board and unplug all the wires.

  7. Yuneec Breeze 4K Motherboard Replacement: 手順 7、 3の画像 1 Yuneec Breeze 4K Motherboard Replacement: 手順 7、 3の画像 2 Yuneec Breeze 4K Motherboard Replacement: 手順 7、 3の画像 3
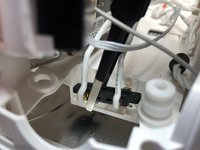
    • The battery connector has two wires connected to a plug in with two little screws.

    • Unscrew the two screws and pull it apart using a small tweezers.

  8. Yuneec Breeze 4K Motherboard Replacement: 手順 8、 1の画像 1
    • Flip over the frame and mother board and unscrew the mother board.

    • There are four screws on each corner of the mother board.

  9. Yuneec Breeze 4K Motherboard Replacement: 手順 9、 2の画像 1 Yuneec Breeze 4K Motherboard Replacement: 手順 9、 2の画像 2
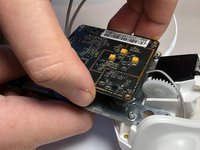
    • After the screws are out, the motherboard can be pulled out softly with hands.

    • Remove the motherboard from the device.

終わりに

To reassemble your device, follow these instructions in reverse order.

5 の人々がこのガイドを完成させました。

作成者

3人の作成者と共同で作成されました。
Ryanne Millis

メンバー登録日: 10/04/18

318 ポイント

1ガイドが承認済み

チーム

UW Stout, Team S6-G5, Ogden Fall 2018 UW Stout, Team S6-G5, Ogden Fall 2018人のメンバー

UWSTOUT-OGDEN-F18S6G5

4 メンバー

4のガイドは作成済み

コメント 1 件

Excellent step by step instructions.

paul_courville - 返信

コメントを追加

統計データ:

過去 24時間: 0

過去 7 日: 2

過去 30 日: 11

今までの合計 1,932