
Xbox One Elite Controller (Model 1698)のマザーボード交換

50分
難しい
コミュニティメンバーによる寄稿ガイド


-
-
-
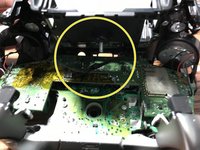
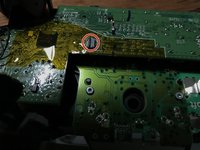
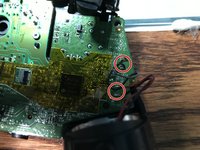
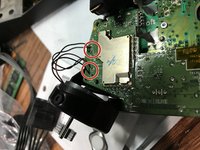
左右それぞれ4本ずつ繋がっている電線のはんだ付けを外して下さい。これらは振動モーターと右トリガー(RT)・左トリガー(LR)に接続されています。
-


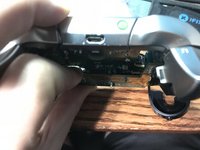
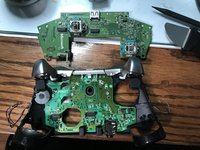
もう少しです!
組み立て直す際は、上記の手順と逆の順番で作業を行なって下さい。
終わりに
組み立て直す際は、上記の手順と逆の順番で作業を行なって下さい。
9 の人々がこのガイドを完成させました。
