
Toshiba Satellite L15W-B1208X Hard Drive Replacement
はじめに
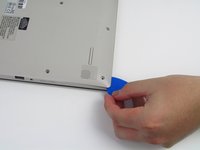
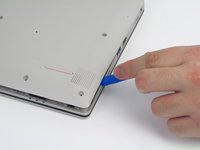
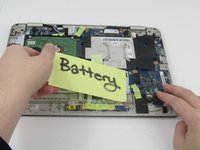
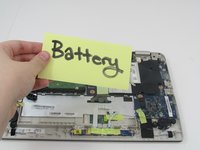
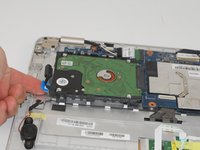
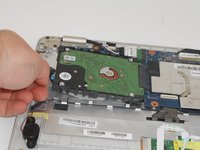
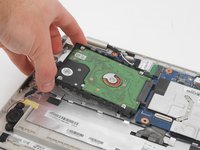
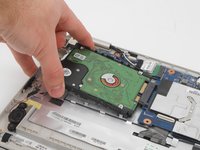
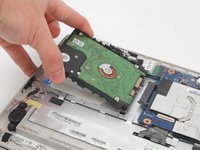
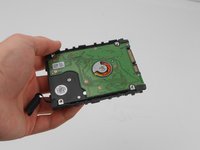
手順 1 に進むThis guide demonstrates how to remove a Toshiba Satellite L15W-B1208X hard drive. Reasons the hard drive might need replacing include the hard drive making noise, not running as fast as you would like, or not as much storage as you would like. Before removing the hard drive make sure that it has been backed up so information stored on it is not lost.


-
-
-
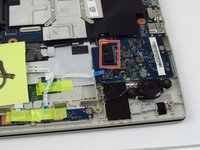
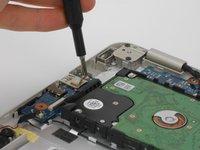
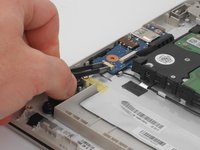
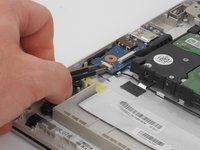
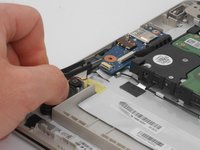
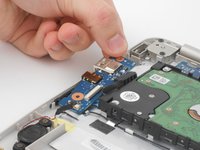
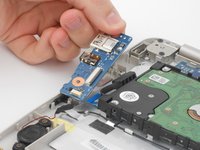
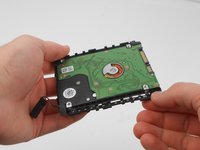
Use Phillips #1 screwdriver (PH1 bit) to remove the 2mm screw that secures the sound board.
-


To reassemble your device, follow these instructions in reverse order.
To reassemble your device, follow these instructions in reverse order.
ある他の人がこのガイドを完成しました。
チーム

Embry-Riddle Aeronautical University, Team S5-G2, Watkins Spring 2020 Embry-Riddle Aeronautical University, Team S5-G2, Watkins Spring 2020人のメンバー
ERAU-WATKINS-S20S5G2
4 メンバー
10のガイドは作成済み