
Sony Xperia XA Battery Replacement
はじめに
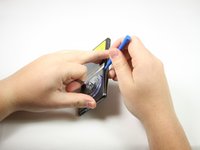
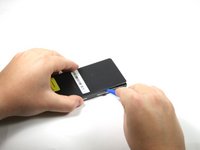
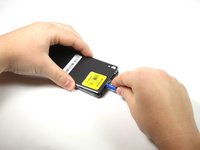
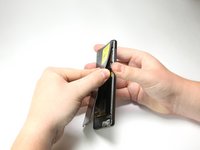
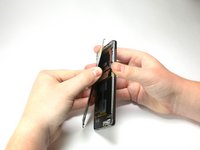
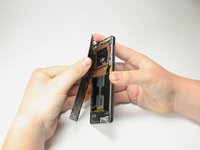
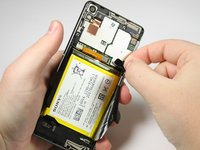
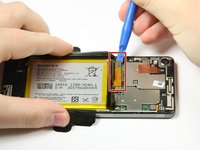
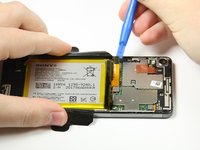
手順 1 に進むYou will need to use a source of heat. You may need to buy adhesive for the reassembly. Make sure the phone is completely powered off before opening the device.


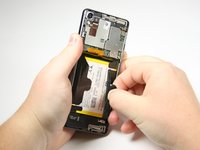


To reassemble your device, follow these instructions in reverse order.
To reassemble your device, follow these instructions in reverse order.
11 の人々がこのガイドを完成させました。
チーム

Cal Poly, Team S17-G2, Livingston Spring 2018 Cal Poly, Team S17-G2, Livingston Spring 2018人のメンバー
CPSU-LIVINGSTON-S18S17G2
4 メンバー
8のガイドは作成済み
コメント 1 件
Thanks for such a clear set of instructions. I used a hair drier rather than heat gun!