
Sony SRS-XB40 LED Control Panel Replacement
はじめに
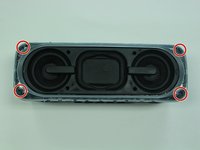
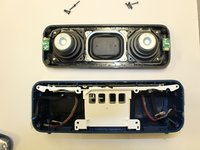
手順 1 に進むIn this guide, you will be removing and replacing a faulty LED control panel located on the back of the speaker plate. If your LED lights aren't working on your SONY SRS-XB40 speaker, then more than likely the control panel is at fault.


-
-
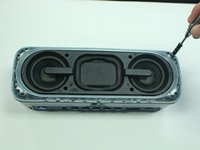
Remove the speaker case from the outer casing by prying it from the base of the speaker using a metal spudger.
-
-
-
-
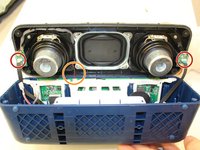
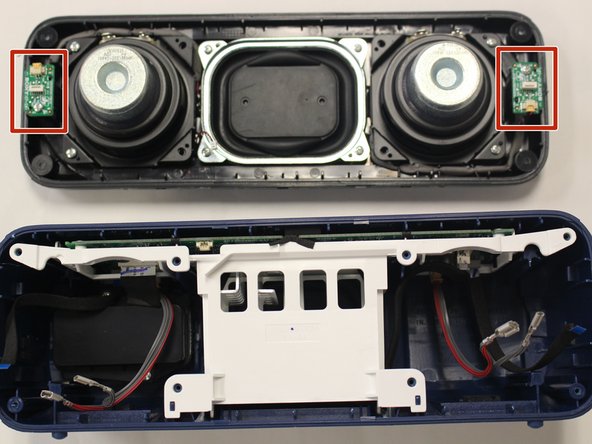
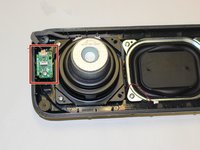
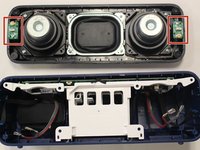
After you take the speaker plate off the body of the speaker, locate the LED control panels on each end of the speaker plate.
-


To reassemble your device, follow these instructions in reverse order.
To reassemble your device, follow these instructions in reverse order.
チーム

University of Alabama, Team S1-G1, Bedsole Spring 2018 University of Alabama, Team S1-G1, Bedsole Spring 2018人のメンバー
UA-BEDSOLE-S18S1G1
4 メンバー
6のガイドは作成済み