
Sony PlayStation 3D Display Indicator Light Bar Replacement
はじめに
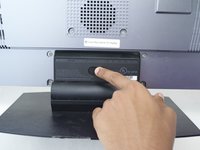
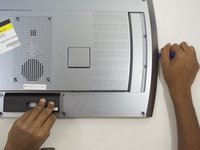
手順 1 に進むThis repair may be needed if your device functions properly, but the indicator lights do not work.
必要な工具と部品
ツール


もっと見る
-
-
-
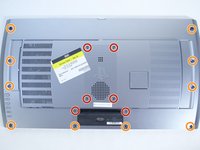
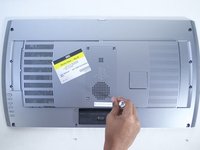
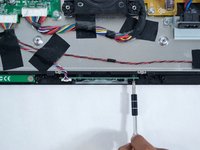
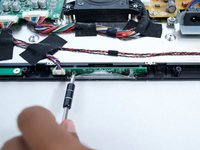
With the Phillips #02 screwdriver, remove the two 5mm length x 5mm head screws located on the left and right side of the light bar board.
-


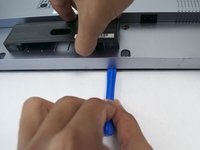


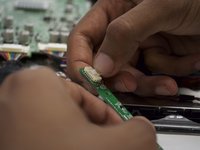
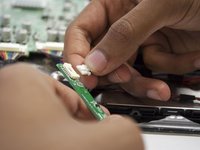
To reassemble your device, follow these instructions in reverse order.
To reassemble your device, follow these instructions in reverse order.
ある他の人がこのガイドを完成しました。
チーム

Cal Poly, Team 12-16, Maness Fall 2015 Cal Poly, Team 12-16, Maness Fall 2015人のメンバー
CPSU-MANESS-F15S12G16
4 メンバー
8のガイドは作成済み