メインコンテンツにスキップ
Sony Handycam DCR-SR42 Lens Replacement

Sony Handycam DCR-SR42 Lens Replacement

Dan Muller

Dan Muller とその他 3 人の作成者

最終更新日: May 14, 2021

20分
中レベル

The lens of the Sony Handycam DCR-SR42 is one of the most important components in order to successfully record and capture images. A broken/ faulty lens would lead to a blurry recording or prevent the camera from recording images at all.

Replacing the lens of the DCR-SR42 is a simple procedure that will take no more than 30 minutes. However, the user should be careful when disassembling the camera in order to avoid damaging the flex cable or any other internal components of the camera. The user should also ensure that the battery is disconnected from the camera at least an hour before disassembly is attempted, since capacitors inside the camera can remain charged with electricity some time after the battery is removed. It is necessary to allow capacitors to discharge to prevent injury to the user or damage to the camera.

For problems pertaining to the lens, refer to the Sony Handycam DCR-SR42 Troubleshooting Guide

必要な工具と部品

ツール

  1. Sony Handycam DCR-SR42 Lens Replacement, Hard Drive: 手順 1、 2の画像 1 Sony Handycam DCR-SR42 Lens Replacement, Hard Drive: 手順 1、 2の画像 2
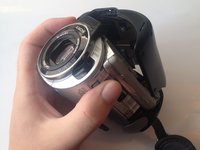
    • Remove the battery, and use the Phillips #00 precision screwdriver to then remove the three 3mm Phillips #00 screws under the battery.

    • Wait 1 hour after removing the battery before continuing to disassemble the camera.

  2. Sony Handycam DCR-SR42 Lens Replacement: 手順 2、 1の画像 1
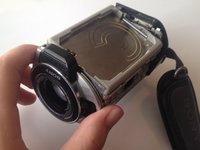
    • Remove the three 3mm #00 Phillips screws on the bottom of the camera.

  3. Sony Handycam DCR-SR42 Lens Replacement: 手順 3、 1の画像 1
    • Remove the three 3mm Phillips #00 screws on the side of the camera.

    • Remove the 4mm Phillips #00 screw under the AV port cover.

  4. Sony Handycam DCR-SR42 Lens Replacement: 手順 4、 2の画像 1 Sony Handycam DCR-SR42 Lens Replacement: 手順 4、 2の画像 2
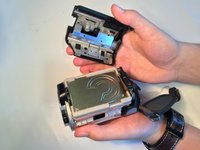
    • Gently pull the black plastic hard drive cover away from the body of the camera. This will expose the hard drive.

    • Even with all the screws removed, this part will require some force to remove.

  5. Sony Handycam DCR-SR42 Lens Replacement: 手順 5、 2の画像 1 Sony Handycam DCR-SR42 Lens Replacement: 手順 5、 2の画像 2
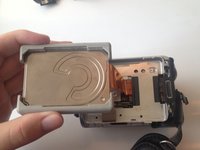
    • Lift the hard drive out of the camera by grasping the grey rubber mounting brackets and pulling them upwards.

    • The hard drive is attached to the flex cable. Remove the hard drive slowly to prevent the flex cable from being damaged.

  6. Sony Handycam DCR-SR42 Lens Replacement: 手順 6、 1の画像 1
    • Remove the rubber mounting brackets by pulling them off the hard drive.

  7. Sony Handycam DCR-SR42 Lens Replacement: 手順 7、 1の画像 1
    • Carefully unplug the flex cable from the hard drive.

  8. Sony Handycam DCR-SR42 Lens Replacement, Internal Components: 手順 8、 2の画像 1 Sony Handycam DCR-SR42 Lens Replacement, Internal Components: 手順 8、 2の画像 2
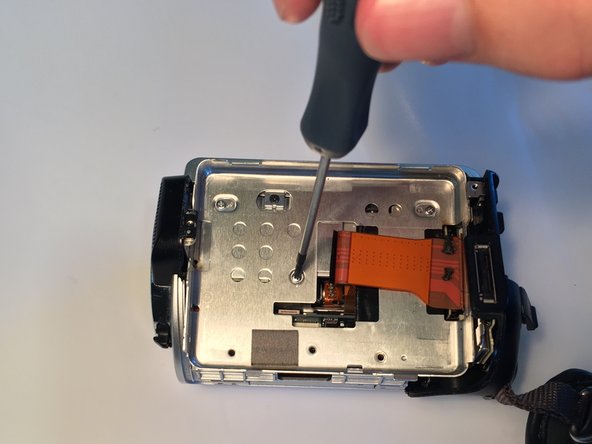
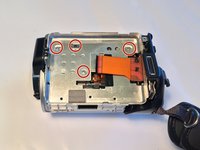
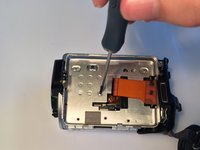
    • Remove the four 3mm Phillips #00 screws from under the hard drive.

  9. Sony Handycam DCR-SR42 Lens Replacement: 手順 9、 3の画像 1 Sony Handycam DCR-SR42 Lens Replacement: 手順 9、 3の画像 2 Sony Handycam DCR-SR42 Lens Replacement: 手順 9、 3の画像 3
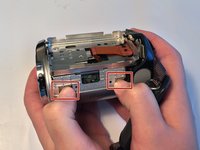
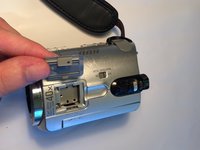
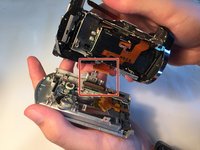
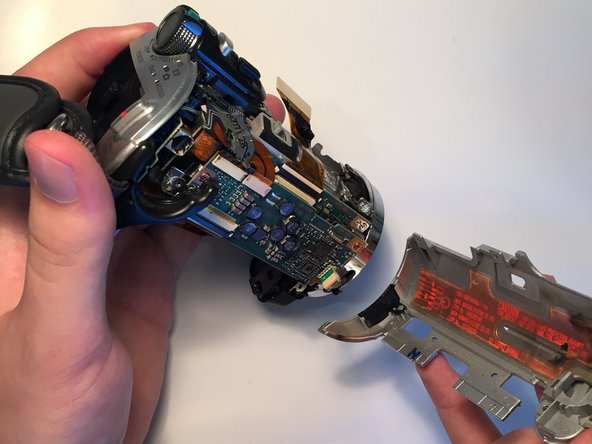
    • Press in on the two tabs as shown and lift the metal plate up and off the camera.

    • Even with all the screws removed, this part will require some force to remove.

  10. Sony Handycam DCR-SR42 Lens Replacement: 手順 10、 3の画像 1 Sony Handycam DCR-SR42 Lens Replacement: 手順 10、 3の画像 2 Sony Handycam DCR-SR42 Lens Replacement: 手順 10、 3の画像 3
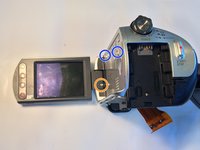
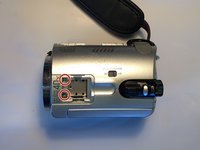
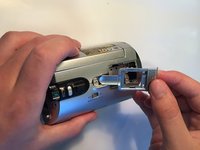
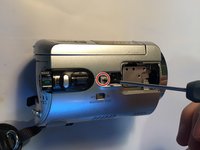
    • Remove the two 4mm Phillips #00 screws from the underside of the camera.

    • Remove the 2 mm Phillips #00 screw from the screen hinge.

    • Remove the two 6mm Philips #00 screws from the side

  11. Sony Handycam DCR-SR42 Lens Replacement: 手順 11、 3の画像 1 Sony Handycam DCR-SR42 Lens Replacement: 手順 11、 3の画像 2 Sony Handycam DCR-SR42 Lens Replacement: 手順 11、 3の画像 3
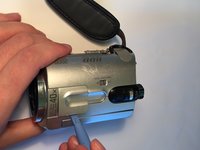
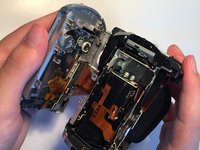
    • Use the plastic opening tool to remove the plastic cover from the top of the camera.

    • Remove the two 3mm Phillips #00 screws from underneath the plastic cover.

  12. Sony Handycam DCR-SR42 Lens Replacement: 手順 12、 2の画像 1 Sony Handycam DCR-SR42 Lens Replacement: 手順 12、 2の画像 2
    • Remove the second plastic cover from the top of the camera.

    • Remove the 4mm Phillips #00 screw from underneath the cover.

  13. Sony Handycam DCR-SR42 Lens Replacement: 手順 13、 2の画像 1 Sony Handycam DCR-SR42 Lens Replacement: 手順 13、 2の画像 2
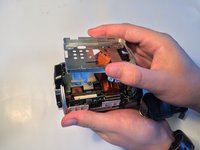
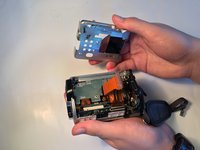
    • Carefully pry the screen assembly apart from the main body of the camera.

    • Unplug the flex cable from the screen assembly.

    • Even with all the screws removed, this part will require some force to remove.

  14. Sony Handycam DCR-SR42 Lens Replacement, Lens: 手順 14、 1の画像 1
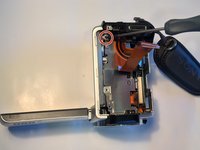
    • Remove the 3mm Phillips #00 screw from the underside of the camera near the lens housing.

  15. Sony Handycam DCR-SR42 Lens Replacement: 手順 15、 2の画像 1 Sony Handycam DCR-SR42 Lens Replacement: 手順 15、 2の画像 2
    • Use the plastic opening tool to pry the side casing off the camera.

  16. Sony Handycam DCR-SR42 Lens Replacement: 手順 16、 1の画像 1
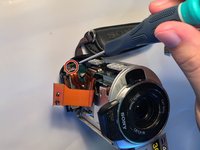
    • Remove the final 3mm #00 Phillips screw from the lens housing.

  17. Sony Handycam DCR-SR42 Lens Replacement: 手順 17、 1の画像 1
    • Remove the lens housing from the camera.

  18. Sony Handycam DCR-SR42 Lens Replacement: 手順 18、 1の画像 1
    • Remove the three 2mm Phillips #00 screws from around the lens.

  19. Sony Handycam DCR-SR42 Lens Replacement: 手順 19、 1の画像 1
    • Remove the lens from the camera.

終わりに

To reassemble your device, follow these instructions in reverse order.

ある他の人がこのガイドを完成しました。

作成者

3人の作成者と共同で作成されました。

Dan Muller

メンバー登録日: 03/23/15

1,128 ポイント

5のガイドは作成済み

チーム

Baylor, Team 7-13, Williams Spring 2015 Baylor, Team 7-13, Williams Spring 2015人のメンバー

BU-WILLIAMS-S15S7G13

4 メンバー

10のガイドは作成済み

0 件のコメント

コメントを追加

統計データ:

過去 24時間: 0

過去 7 日: 3

過去 30 日: 17

今までの合計 955