Sony Cyber-shot DSC-HX1 Lens Assembly Replacement
はじめに
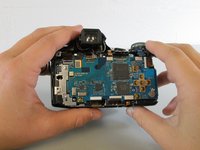
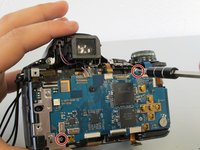
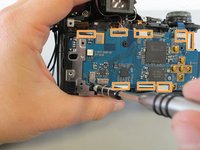
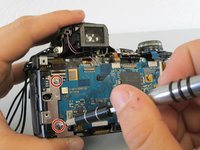
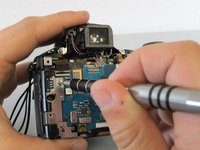
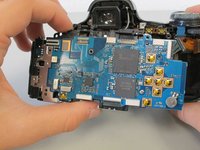
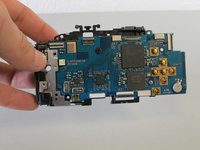
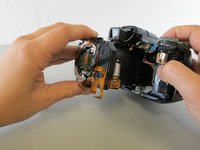
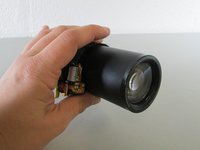
手順 1 に進むTo take out and replace the lens assembly, you must first completely remove the central motherboard and all other internal components.
必要な工具と部品
-
-
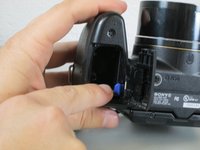
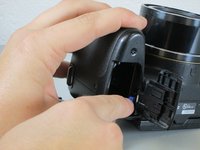
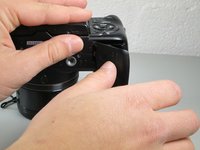
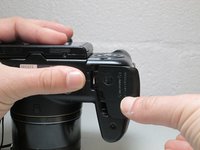
Close the battery cover by pushing the cover inwards and sliding it to the left to allow more maneuverability when disassembling other parts of the camera.
-
-
-
-
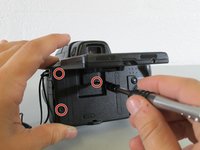
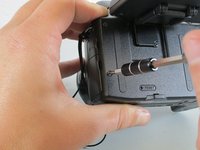
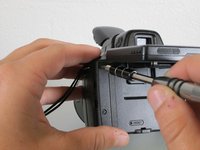
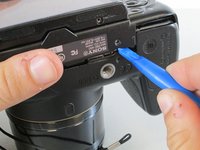
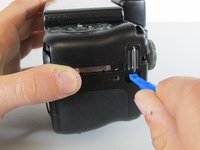
Using the plastic opening tool, pry apart the bottom of the camera at the line between the four removed screws.
-
Place the camera on its lens and use the plastic opening tool to pry at the crack in the case on all four sides of the camera.
-
Apply moderate force to the backside of the camera enclosure until the two pieces separate.
-
To reassemble your device, follow these instructions in reverse order.
To reassemble your device, follow these instructions in reverse order.
4 の人々がこのガイドを完成させました。
2 件のコメント
Hi!
Very good tutorial, thanks a lot.
I have a question : after reassembling the device, do you need to do some kind of adjustment or is it "simply plug-and-play"?
Best regards,
Marin
Muy bueno el tutorial felicitaciones, sin embargo faltaron tornillos por nombrar, saludos


