
Sony α6500 Flash Replacement

はじめに
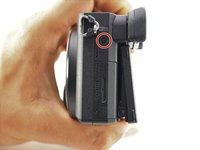
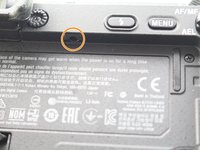
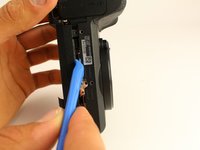
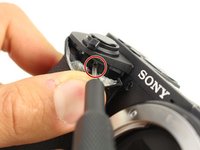
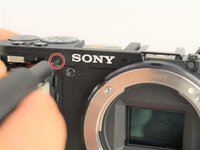
手順 1 に進むThe flash unit is responsible for producing a flash of light, helping illuminate dark scenes. If the flash feature is not working on your camera, you may have a faulty flash unit. Verify that the flash feature is not disabled and check other software settings before considering replacement. This guide will show you how to replace the flash unit if the cause of failure is physical. This replacement will require a JIS 0 screwdriver, JIS 00 screwdriver, JIS 000 screwdriver, opening tools, spudger, and tweezers.


-
-
-
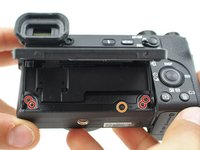
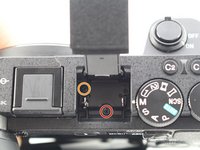
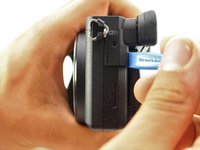
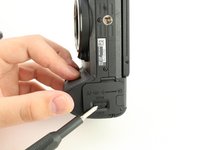
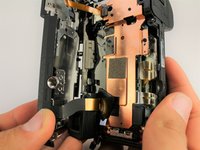
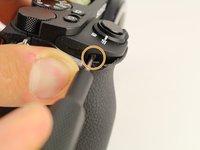
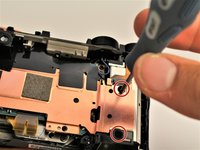
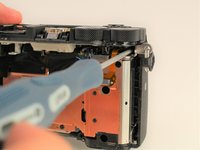
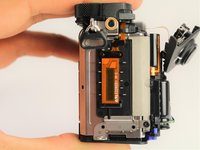
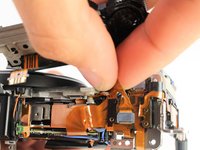
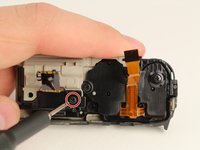
Remove one 3mm JIS 00 screw from each side of the flash.
-
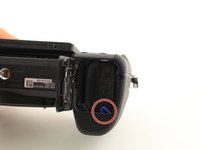
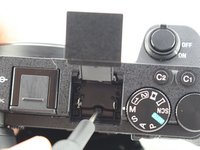
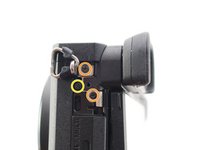
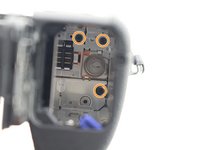
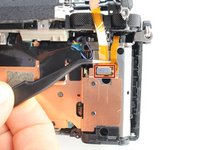
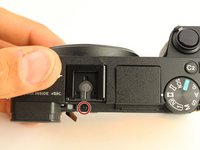
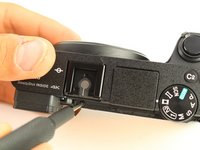
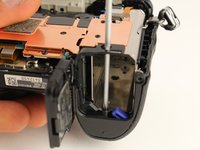
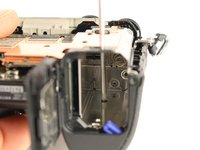
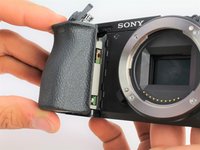
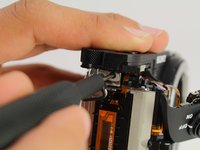
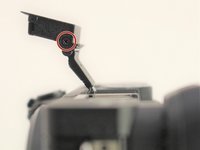
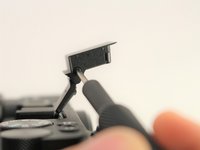
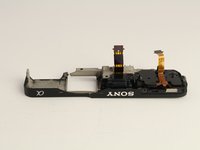
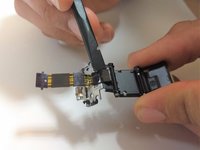
Remove the casing of the flash.
-


To reassemble your device, follow these instructions in reverse order.
To reassemble your device, follow these instructions in reverse order.
5 の人々がこのガイドを完成させました。

チーム

Cal Poly, Team S11-G5, Regan Fall 2019 Cal Poly, Team S11-G5, Regan Fall 2019人のメンバー
CPSU-REGAN-F19S11G5
5 メンバー
14のガイドは作成済み
4 件のコメント
I would like to know how do I take out the top cover only in order to access the on/off switch, it seems impossible to find this, after a long search I am loosing hope hahaha.
Hi. To get the button removed you actually will need to follow the steps on this guide through step 18. Unfortunately the process is more complicated than it needs to be but in order to remove the front grip and access the button you will need to follow all the steps before. Look at steps 17 and 18 in detail to see the exact process of removing the button housing.
I would just like to let you know that I successfully replaced the flash unit. Thank you very much for this guide. I only had trouble finding the plug for the ribbon cable from the flash unit to reconnect it. In your photo, the ribbon cable is already disconnected, and I could not remember where it was plugged in. But finally, I found it and everything is working.