メインコンテンツにスキップ

Philips Sonicare ProtectiveClean 6500 Motor Replacement

必要な工具と部品

  1. Philips Sonicare ProtectiveClean 6500 Motor Replacement, Internal Assembly: 手順 1、 3の画像 1 Philips Sonicare ProtectiveClean 6500 Motor Replacement, Internal Assembly: 手順 1、 3の画像 2 Philips Sonicare ProtectiveClean 6500 Motor Replacement, Internal Assembly: 手順 1、 3の画像 3
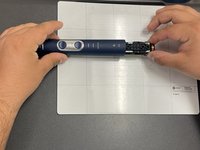
    • Pry the bottom cap away from the toothbrush body.

    • Pry the bottom cap away from the toothbrush body until it releases.

    • Remove the bottom cap by hand.

  2. Philips Sonicare ProtectiveClean 6500 Motor Replacement: 手順 2、 2の画像 1 Philips Sonicare ProtectiveClean 6500 Motor Replacement: 手順 2、 2の画像 2
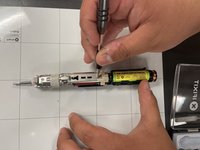
    • Use a metal spudger to release the two retaining clips inside the device.

    • The clips release when pried inward.

  3. Philips Sonicare ProtectiveClean 6500 Motor Replacement: 手順 3、 2の画像 1 Philips Sonicare ProtectiveClean 6500 Motor Replacement: 手順 3、 2の画像 2
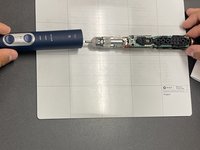
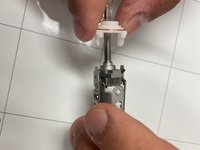
    • Slide the internal assembly out of the chassis.

  4. Philips Sonicare ProtectiveClean 6500 Motor Replacement, Motor: 手順 4、 2の画像 1 Philips Sonicare ProtectiveClean 6500 Motor Replacement, Motor: 手順 4、 2の画像 2
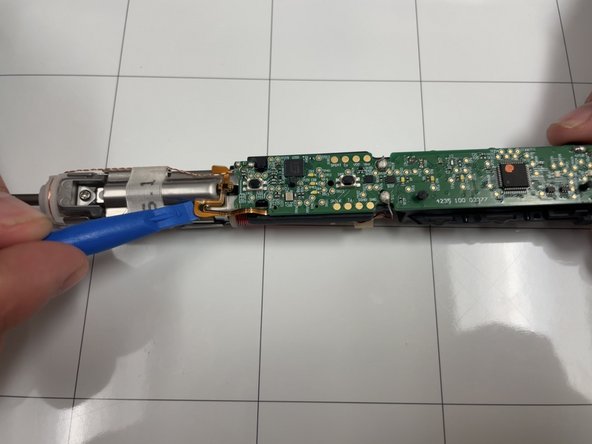
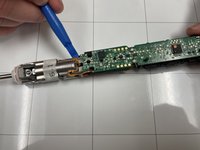
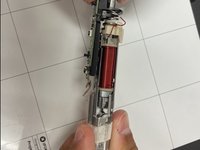
    • Use an opening tool to gently pry the ribbon cable away from metal motor chassis.

  5. Philips Sonicare ProtectiveClean 6500 Motor Replacement: 手順 5、 2の画像 1 Philips Sonicare ProtectiveClean 6500 Motor Replacement: 手順 5、 2の画像 2
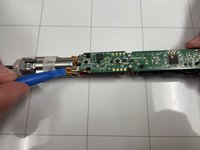
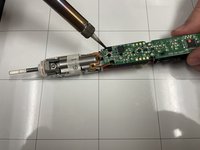
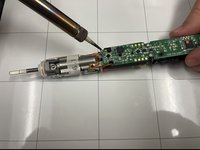
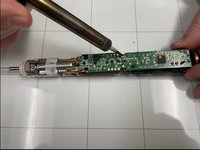
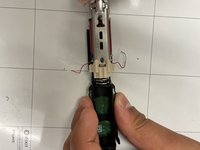
    • Locate the twisted copper wires feeding from the top of the motor to the upper corner of motherboard.

    • Desolder the contact points.

    • Soldering can cause burns and fires. Always solder in a well-ventilated workspace.

  6. Philips Sonicare ProtectiveClean 6500 Motor Replacement: 手順 6、 2の画像 1 Philips Sonicare ProtectiveClean 6500 Motor Replacement: 手順 6、 2の画像 2
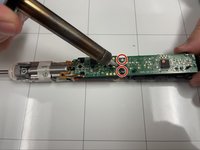
    • Desolder the two connections.

  7. Philips Sonicare ProtectiveClean 6500 Motor Replacement: 手順 7、 2の画像 1 Philips Sonicare ProtectiveClean 6500 Motor Replacement: 手順 7、 2の画像 2
    • Turn the assembly over and remove the Phillips screw.

  8. Philips Sonicare ProtectiveClean 6500 Motor Replacement: 手順 8、 3の画像 1 Philips Sonicare ProtectiveClean 6500 Motor Replacement: 手順 8、 3の画像 2 Philips Sonicare ProtectiveClean 6500 Motor Replacement: 手順 8、 3の画像 3
    • Pull the motherboard and motor gently away from the motor chassis.

  9. Philips Sonicare ProtectiveClean 6500 Motor Replacement: 手順 9、 2の画像 1 Philips Sonicare ProtectiveClean 6500 Motor Replacement: 手順 9、 2の画像 2
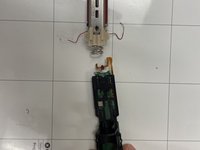
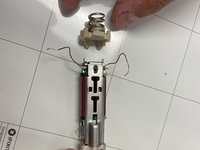
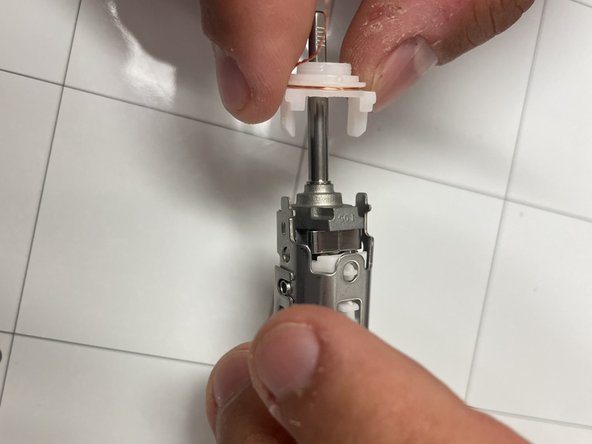
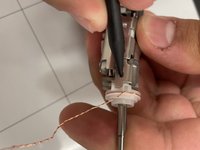
    • Use a pointed tool to push in the tabs on either side of the white assembly .

    • Pull the wire carrier off of motor chassis.

    • Swap it to the new motor chassis.

終わりに

To reassemble your device, follow these instructions in reverse order.

作成者

2人の作成者と共同で作成されました。

Liam Casto

メンバー登録日: 04/01/24

337 ポイント

3のガイドは作成済み

チーム

IUPUI, Team 1-4, Harley Spring 2024 IUPUI, Team 1-4, Harley Spring 2024人のメンバー

IUPUI-HARLEY-S24S1G4

3 メンバー

3のガイドは作成済み

0 件のコメント

コメントを追加

統計データ:

過去 24時間: 0

過去 7 日: 7

過去 30 日: 9

今までの合計 41