
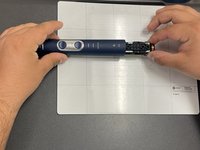
Philips Sonicare ProtectiveClean 6500 Internal Assembly Replacement

5 - 10 分
中レベル
はじめに
手順 1 に進むUse this guide to access components on, or to replace entirely, the Philips Sonicare ProtectiveClean 6500 internal assembly.
必要な工具と部品

-
-
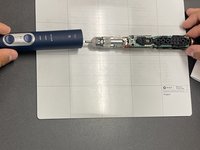
Pry the bottom cap away from the toothbrush body.
-
Pry the bottom cap away from the toothbrush body until it releases.
-
Remove the bottom cap by hand.
-
-


もう少しです!
To reassemble your device, follow these instructions in reverse order.
終わりに
To reassemble your device, follow these instructions in reverse order.

