
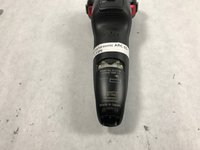
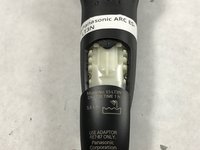
Panasonic ARC ES-LT3N Power Button Replacement
15分
中レベル
はじめに
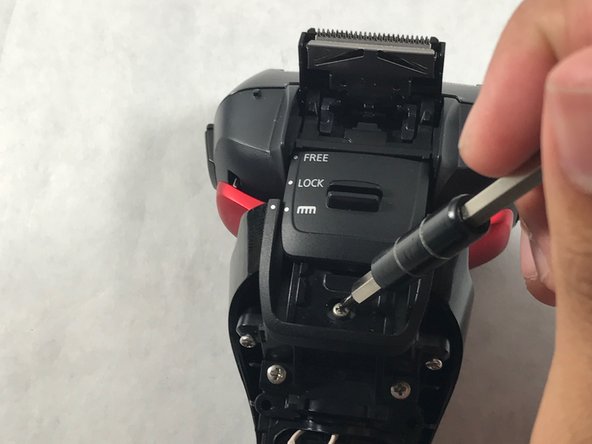
手順 1 に進むThis repair guide will show you the best step by step procedure of how to replace your power button in your Panasonic ARC ES-LT3N. The process is fairly easy and you only need a one tool!
必要な工具と部品


もう少しです!
To reassemble your device, follow these instructions in reverse order.
終わりに
To reassemble your device, follow these instructions in reverse order.
チーム

UMass Dartmouth, Team S8-G3, Catania Spring 2017 UMass Dartmouth, Team S8-G3, Catania Spring 2017人のメンバー
UMASSD-CATANIA-S17S8G3
3 メンバー
10のガイドは作成済み