メインコンテンツにスキップ

Nokia 5310b XpressMusic LCD Screen Replacement

必要な工具と部品

  1. Nokia 5310b XpressMusic LCD Screen Replacement, Battery: 手順 1、 1の画像 1
    • Slide the back cover down with your thumb.

    • *Note: the battery cover is not shown in this picture

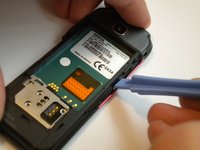
  2. Nokia 5310b XpressMusic LCD Screen Replacement: 手順 2、 2の画像 1 Nokia 5310b XpressMusic LCD Screen Replacement: 手順 2、 2の画像 2
    • Gently lift the battery with a fingernail and remove it from its housing.

    • *Note: the battery may be replaced or repaired at this step

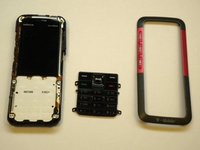
  3. Nokia 5310b XpressMusic LCD Screen Replacement, Keypad: 手順 3、 3の画像 1 Nokia 5310b XpressMusic LCD Screen Replacement, Keypad: 手順 3、 3の画像 2 Nokia 5310b XpressMusic LCD Screen Replacement, Keypad: 手順 3、 3の画像 3
    • On some models, the front case is screwed down from the back. Follow steps 5 and 6 FIRST to remove the camera cover and two T6 screws, before removing the faceplate.

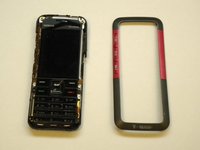
    • Use the Spudger to gently pry up the edges of the front face plate

    • At the center of the faceplate edge below the music keys there is a small latch on each side.

  4. Nokia 5310b XpressMusic LCD Screen Replacement: 手順 4、 2の画像 1 Nokia 5310b XpressMusic LCD Screen Replacement: 手順 4、 2の画像 2
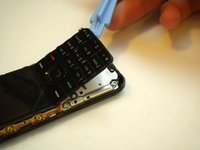
    • Lift up the keypad from the bottom with either the spudger or your finger.

    • Note: at this time the keypad can be removed and replaced

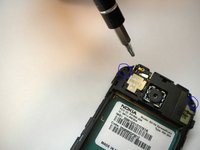
  5. Nokia 5310b XpressMusic LCD Screen Replacement, Motherboard: 手順 5、 1の画像 1
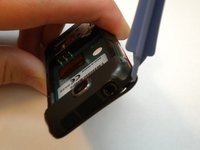
    • Gently unsnap the back camera cover from the phone.

    • Lift the cover from the phone after it is unsnapped.

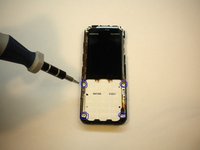
  6. Nokia 5310b XpressMusic LCD Screen Replacement: 手順 6、 2の画像 1 Nokia 5310b XpressMusic LCD Screen Replacement: 手順 6、 2の画像 2
    • Use the T6 torx screwdriver head to remove the 2 screws on either side of the camera

    • Flip over the phone and again us the T6 torx head to remove the 4 screws located at each corner of the white keypad base

  7. Nokia 5310b XpressMusic LCD Screen Replacement: 手順 7、 1の画像 1
    • Unclip the faceplate plug (ribbon) located in the lower left corner of the motherboard

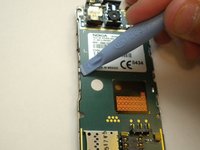
  8. Nokia 5310b XpressMusic LCD Screen Replacement: 手順 8、 2の画像 1 Nokia 5310b XpressMusic LCD Screen Replacement: 手順 8、 2の画像 2
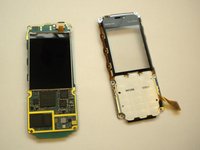
    • Use the Spudger to pry up the 2 metal clips located near the center of the motherboard on both the left and right

    • At this point the phone should come apart into 2 pieces, the motherboard/LCD screen and the faceplate

  9. Nokia 5310b XpressMusic LCD Screen Replacement, LCD Screen: 手順 9、 1の画像 1
    • Unclip the ribbon plug located on the top of the LCD screen that connects it to the motherboard

終わりに

To reassemble your device, follow these instructions in reverse order.

6 の人々がこのガイドを完成させました。

作成者

2人の作成者と共同で作成されました。

Max Kirby

メンバー登録日: 05/01/11

518 ポイント

4のガイドは作成済み

チーム

Cal Poly, Team 15-14, Regan Spring 2011 Cal Poly, Team 15-14, Regan Spring 2011人のメンバー

CPSU-REGAN-S11S15G14

3 メンバー

8のガイドは作成済み

コメント 1 件

Thank you much! As efficient & thorough as it gets!

REDACTED FREE PRESS - 返信

コメントを追加

統計データ:

過去 24時間: 0

過去 7 日: 1

過去 30 日: 18

今までの合計 9,029