
Nokia 3120 Face Plate Replacement

はじめに
手順 1 に進むThe faceplate is fairly easy to remove from the phone. It is help in place with interlocking plastic and requires some force to pry apart. Be careful not to break the plastic.
-
-
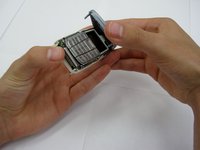
Remove the back cover plate of the phone. To do this press down the lock as you slide the cover toward the bottom of the phone.
-
-
-
-
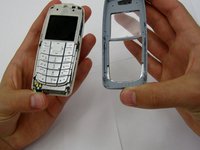
Using your fingernails or another tool, pry the front face plate out along its edges and corners.
-


To reassemble your device, follow these instructions in reverse order.
To reassemble your device, follow these instructions in reverse order.

チーム

Clemson, Team 13-2, Benson Spring 2013 Clemson, Team 13-2, Benson Spring 2013人のメンバー
CLEM-BENSON-S13S13G2
3 メンバー
14のガイドは作成済み