
Nintendo Wii のヒートシンクの交換

はじめに
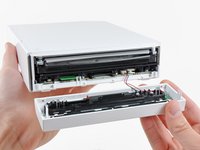
手順 1 に進むお持ちのWiiの基板からヒートシンクを取り出すにはこのガイドをご利用ください。
必要な工具と部品
パーツ
ツール


もっと見る
-
-
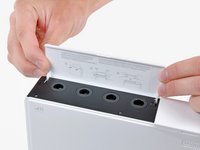
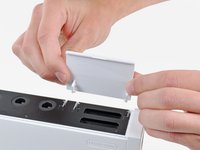
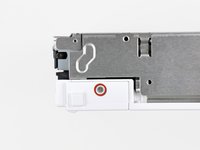
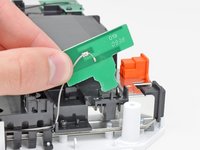
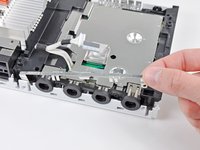
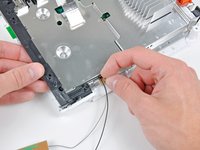
コントローラーのポートカバーが黒色コントローラーのポートベゼルに対して垂直になるように開きます。
-
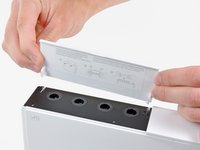
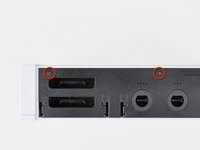
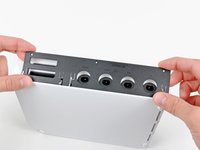
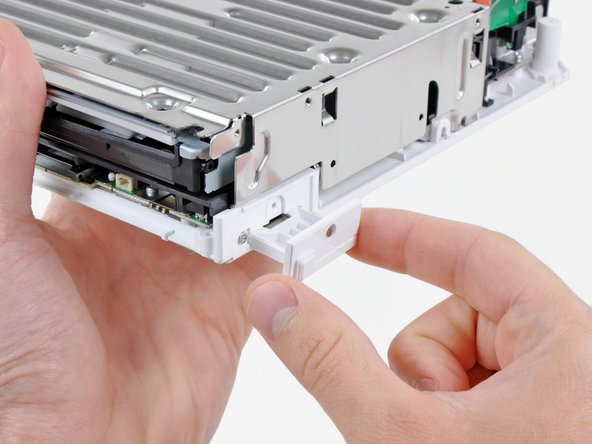
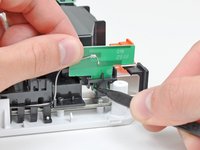
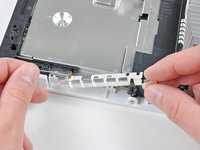
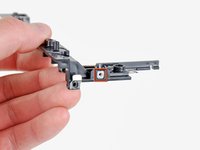
コントローラーのポートカバーを外付けケースから外すため、真っ直ぐ引き上げます。
-
-


デバイスを再組み立てする際は、これらのインストラクションを逆の順番に従って作業を進めてください。
デバイスを再組み立てする際は、これらのインストラクションを逆の順番に従って作業を進めてください。
20 の人々がこのガイドを完成させました。
以下の翻訳者の皆さんにお礼を申し上げます:
100%

Midori Doiさんは世界中で修理する私たちを助けてくれています! あなたも貢献してみませんか?
翻訳を始める ›

12 件のコメント
This guide also works great as a thermal paste replacement guide for the Wii, just remove the old thermal pads and clean off the heatsink, CPU, GPU, and WiFi board, and apply Thermal Grease to the CPU, GPU, And WiFi board.
Use non-conductive thermal pads, 20x20x1.5 and 15x15x1.5 are what you need.
Worked great! Was able to reapply thermal paste on my wii. It’s working great so far!
Can we use Thermal Paste instead of Thermal Pads?
Yes, thermal paste can be used. I strongly recommend Thermal Grizzly Kryonaut, as it’s the second-best-performing non-metallic thermal paste on the market (the only better performer is Kryonaut Extreme).
Ethan Z -