
Motorola V400 Camera Replacement
見積もりなし
中レベル
箇条書き!
間違いの指摘
より良い紹介部分
詳細が不足
はじめに
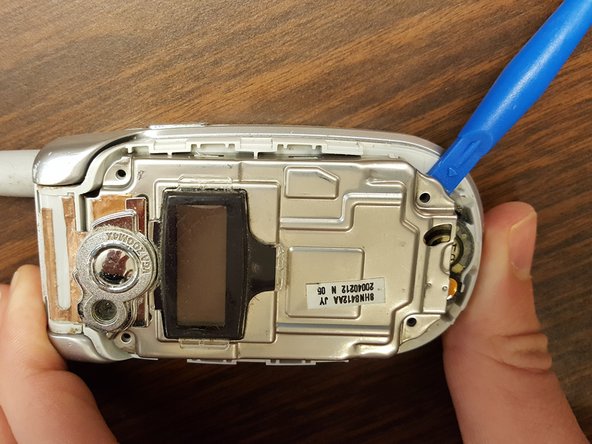
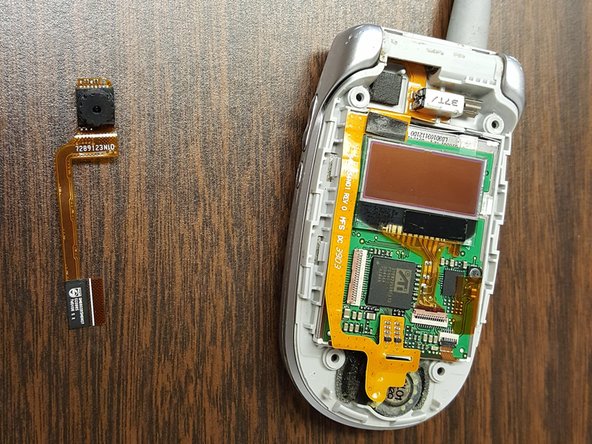
手順 1 に進むTo complete this guide you will need a pair of tweezers, a Torx T-6 screw driver, and a wedge to pry with. Before you start be sure to turn off the phone, remove the battery, and find a clean, water free work space.


-
この手順で使用する道具:Tweezers$4.99
-
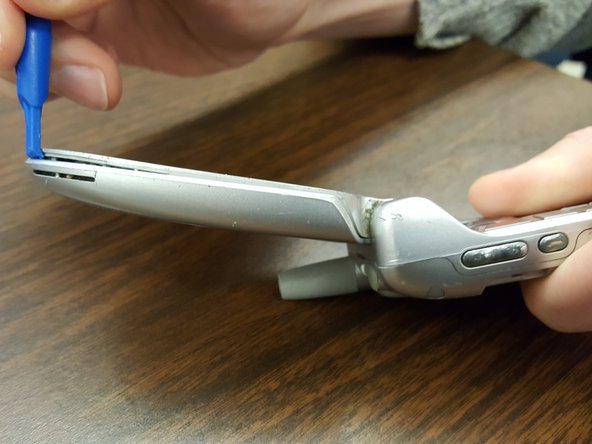
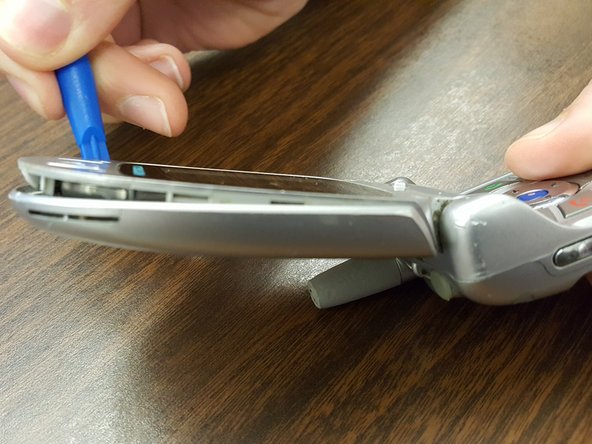
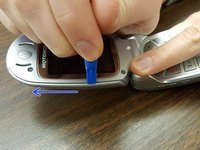
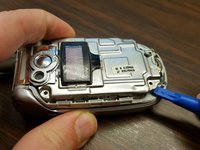
Remove the four rubber stoppers around the main screen with tweezers.
-
-


もう少しです!
To reassemble your device, follow these instructions in reverse order.
終わりに
To reassemble your device, follow these instructions in reverse order.
チーム

Ohio State, Team 1-1, Garvin Spring 2016 Ohio State, Team 1-1, Garvin Spring 2016人のメンバー
OSU-GARVIN-S16S1G1
4 メンバー
2のガイドは作成済み