メインコンテンツにスキップ
Motorola Krzr K1m keyboard repalcement

Motorola Krzr K1m keyboard repalcement

Jennifer Hudiono

Jennifer Hudiono とその他 6 人の作成者

最終更新日: May 7, 2024

15 - 30 分
簡単

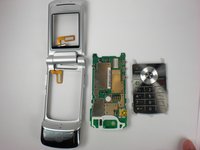
This guide will provide the steps needed to replace a defective Motorola K1m keypad. The guide will show you the steps to disassemble the phone to detach the broken keypad. Lastly, this guide can be followed in reverse order replace the old keypad with a new keypad to have a working phone.

必要な工具と部品

ツール

もっと見る

  1. Motorola Krzr K1m keyboard repalcement, Keypad: 手順 1、 2の画像 1 Motorola Krzr K1m keyboard repalcement, Keypad: 手順 1、 2の画像 2
    • Remove the battery with your fingers by pulling the battery from the top corners labeled "Pull Here" located on the left and right side of the top of the battery.

    • Remove the battery.

  2. Motorola Krzr K1m keyboard repalcement: 手順 2、 3の画像 1 Motorola Krzr K1m keyboard repalcement: 手順 2、 3の画像 2 Motorola Krzr K1m keyboard repalcement: 手順 2、 3の画像 3
    この手順で使用する道具:
    Spudger
    $3.99
    • To begin detaching the battery dock, unscrew the 4 black screws on each corner of the phone with the T5 Torx Screwdriver.

    • Lift up the battery dock where the hinges are located. Carefully insert the T5 Torx Screwdriver in between the battery dock and the back plate of the battery. (See the picture to locate the hinges)

    • Remove the battery dock by popping it up with The Spudger.

  3. Motorola Krzr K1m keyboard repalcement: 手順 3、 3の画像 1 Motorola Krzr K1m keyboard repalcement: 手順 3、 3の画像 2 Motorola Krzr K1m keyboard repalcement: 手順 3、 3の画像 3
    この手順で使用する道具:
    Tweezers
    $4.99
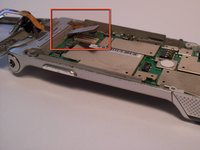
    • To remove the chip board, first unplug the flex cable from the logic board with tweezers.

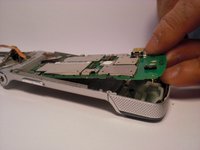
    • Lift up the logic board from the bottom flip with your fingers.

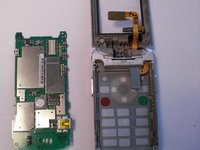
    • Remove the logic board.

  4. Motorola Krzr K1m keyboard repalcement: 手順 4、 2の画像 1 Motorola Krzr K1m keyboard repalcement: 手順 4、 2の画像 2
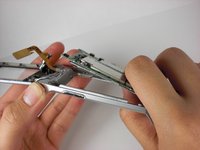
    • Gently pop off the keypad with your fingers.

    • Once the keypad is removed, follow all of the steps in reverse order to replace the old keypad with the new keypad.

終わりに

To reassemble your device, follow these instructions in reverse order.

作成者

6人の作成者と共同で作成されました。

Jennifer Hudiono

メンバー登録日: 01/13/10

42 ポイント

4のガイドは作成済み

チーム

Cal Poly, Team 11-1, Forte Winter 2010 Cal Poly, Team 11-1, Forte Winter 2010人のメンバー

CPSU-FORTE-W10S11G1

5 メンバー

6のガイドは作成済み

0ガイドコメント

コメントを追加

統計データ:

過去 24時間: 0

過去 7 日: 10

過去 30 日: 10

今までの合計 4,446