
Motorola Droid Pro Motherboard Replacement
15分
中レベル
おすすめの学生による修理ガイド
はじめに
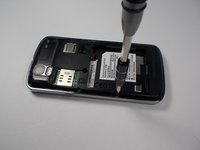
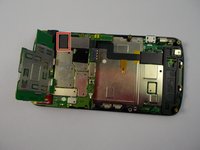
手順 1 に進むBefore you begin, make sure you power down your device and work in a clean area. Also, wear a static band to prevent damage to your device.


-
-
-
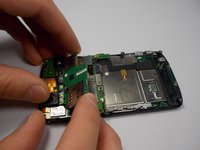
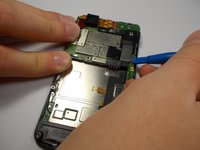
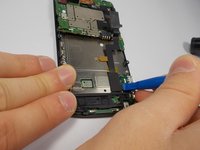
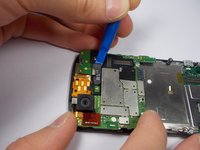
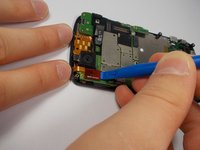
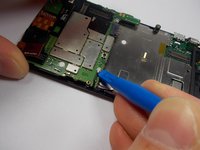
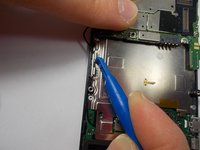
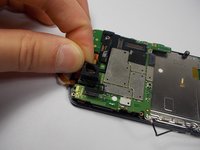
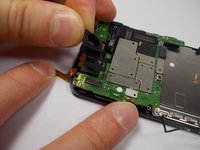
Use your plastic opening tool to disconnect the motherboard/keyboard ribbon cable.
-


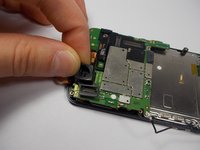


もう少しです!
To reassemble your device, follow these instructions in reverse order.
終わりに
To reassemble your device, follow these instructions in reverse order.
3 の人々がこのガイドを完成させました。
チーム

UMass Dartmouth, Team 1-6, Miles Fall 2015 UMass Dartmouth, Team 1-6, Miles Fall 2015人のメンバー
UMASSD-MILES-F15S1G6
3 メンバー
12のガイドは作成済み