メインコンテンツにスキップ

Motorola 120c Microphone Replacement

必要な工具と部品

  1. Motorola 120c Microphone Replacement, Battery: 手順 1、 2の画像 1 Motorola 120c Microphone Replacement, Battery: 手順 1、 2の画像 2
    • Hold the phone and pull the back latch down towards the bottom.

    • Remove the back panel by releasing the latch and lifting from the top.

  2. Motorola 120c Microphone Replacement: 手順 2、 3の画像 1 Motorola 120c Microphone Replacement: 手順 2、 3の画像 2 Motorola 120c Microphone Replacement: 手順 2、 3の画像 3
    • Remove the battery by pushing the bottom end towards the top, then lifting up.

  3. Motorola 120c Microphone Replacement, Motherboard: 手順 3、 3の画像 1 Motorola 120c Microphone Replacement, Motherboard: 手順 3、 3の画像 2 Motorola 120c Microphone Replacement, Motherboard: 手順 3、 3の画像 3
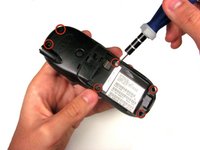
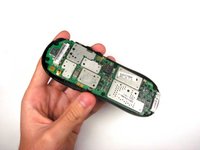
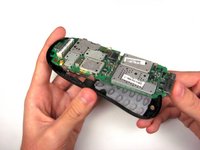
    • Once the battery is out, unscrew the six 7.0 mm screws with T-6 screwdriver.

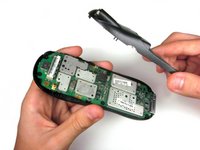
    • Once the screws are removed, simply lift the back panel off

  4. Motorola 120c Microphone Replacement: 手順 4、 3の画像 1 Motorola 120c Microphone Replacement: 手順 4、 3の画像 2 Motorola 120c Microphone Replacement: 手順 4、 3の画像 3
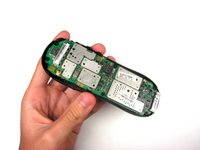
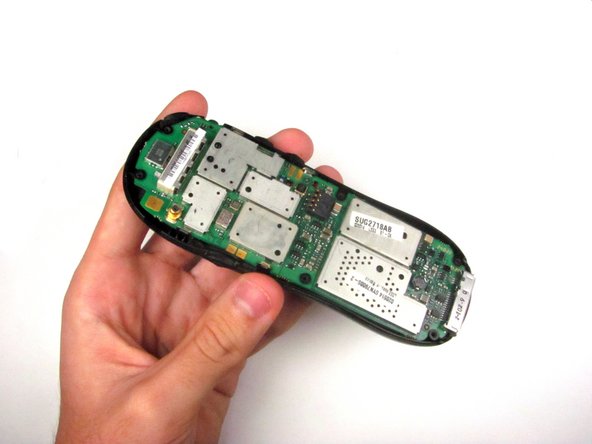
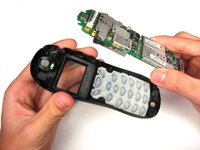
    • Remove the motherboard by lifting it up and out.

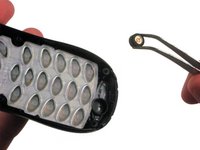
  5. Motorola 120c Microphone Replacement, Microphone: 手順 5、 2の画像 1 Motorola 120c Microphone Replacement, Microphone: 手順 5、 2の画像 2
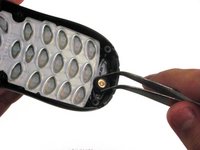
    • Use tweezers or fingers to remove the microphone.

    • Note that the keypad does not need to be removed to get to the microphone.

終わりに

To reassemble your device, follow these instructions in reverse order.

作成者

4人の作成者と共同で作成されました。

Megan Elrod

メンバー登録日: 04/15/12

7 ポイント

2のガイドは作成済み

チーム

Cal Poly, Team 6-21, Amido Spring 2012 Cal Poly, Team 6-21, Amido Spring 2012人のメンバー

CPSU-AMIDO-S12S6G21

4 メンバー

18のガイドは作成済み

0 件のコメント

コメントを追加

統計データ:

過去 24時間: 0

過去 7 日: 0

過去 30 日: 1

今までの合計 543