メインコンテンツにスキップ
Logitech Harmony Ultimate Harmony Hub Motherboard Replacement

Logitech Harmony Ultimate Harmony Hub Motherboard Replacement

Lucas Reynolds

Lucas Reynolds とその他 4 人の作成者

最終更新日: December 30, 2015

3分
簡単

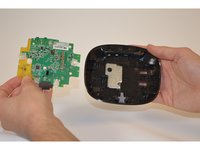
The Harmony Hub acts as a middle-man between devices and the remote. It has very few parts, making it a simple fix. The most difficult part of this guide is revealing the hub after removing the screws on the exterior. Once the hub is open, removing the motherboard requires just a few more screws to be removed and the release of a small tab that keeps the motherboard in place.

必要な工具と部品

ツール

  1. Logitech Harmony Ultimate Harmony Hub Motherboard Replacement, Screws: 手順 1、 3の画像 1 Logitech Harmony Ultimate Harmony Hub Motherboard Replacement, Screws: 手順 1、 3の画像 2 Logitech Harmony Ultimate Harmony Hub Motherboard Replacement, Screws: 手順 1、 3の画像 3
    • Screws are hidden beneath rubber pads.

    • Peel off the rubber pads.

    • Remove the four 6mm Phillips #0 screws from the bottom of the hub.

  2. Logitech Harmony Ultimate Harmony Hub Motherboard Replacement, Top Shell: 手順 2、 2の画像 1 Logitech Harmony Ultimate Harmony Hub Motherboard Replacement, Top Shell: 手順 2、 2の画像 2
    • Use a plastic opening tool to remove the top shell of the device.

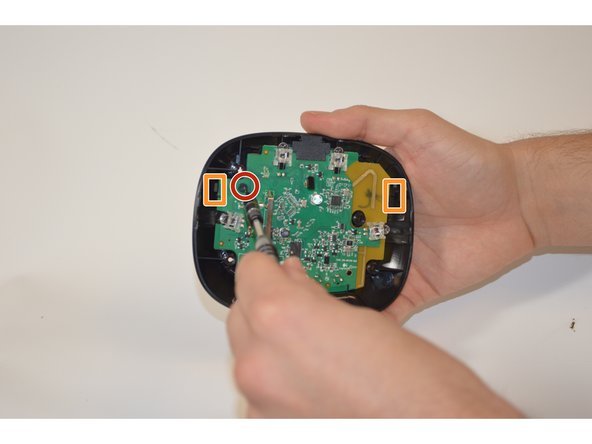
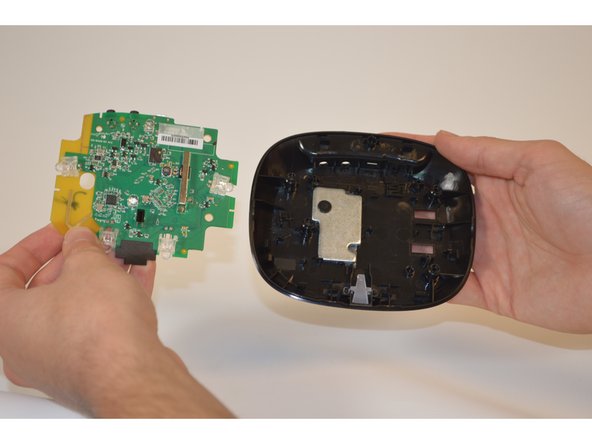
  3. Logitech Harmony Ultimate Harmony Hub Motherboard Replacement, Motherboard: 手順 3、 3の画像 1 Logitech Harmony Ultimate Harmony Hub Motherboard Replacement, Motherboard: 手順 3、 3の画像 2 Logitech Harmony Ultimate Harmony Hub Motherboard Replacement, Motherboard: 手順 3、 3の画像 3
    • Remove the single 6 mm Phillips #0 screw from the motherboard.

    • Pull the black tabs back and lift the motherboard.

終わりに

To reassemble your device, follow these instructions in reverse order.

作成者

4人の作成者と共同で作成されました。

Lucas Reynolds

メンバー登録日: 09/01/15

351 ポイント

2のガイドは作成済み

チーム

USF Tampa, Team 8-1, Eyestone Fall 2015 USF Tampa, Team 8-1, Eyestone Fall 2015人のメンバー

USFT-EYESTONE-F15S8G1

5 メンバー

9のガイドは作成済み

0 件のコメント

コメントを追加

統計データ:

過去 24時間: 0

過去 7 日: 3

過去 30 日: 9

今までの合計 1,593