
Lenovo ThinkPad T520 Ram Replacement

1 - 3 分
簡単
コミュニティメンバーによる寄稿ガイド
はじめに
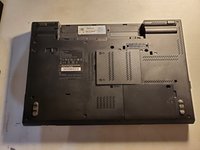
手順 1 に進むIn this guide I will be showing you how to replace the easy accessible ram on the bottom of the ThinkPad T520
-
-
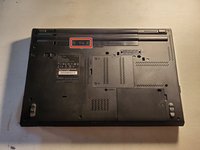
Using your fingers, slide the lock to the unlocked position.
-
Then remove the battery from the slot.
-
-
-
-
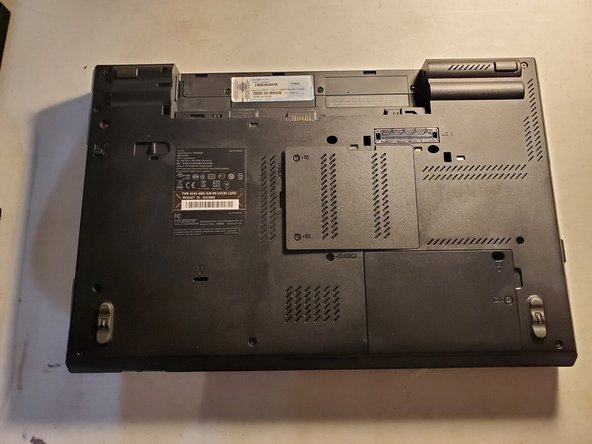
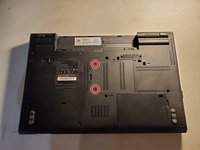
Remove the two screws holding the plastic cover into place.
-
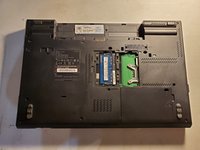
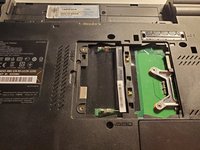
Remove the plastic cover from the laptop.
-
-
-
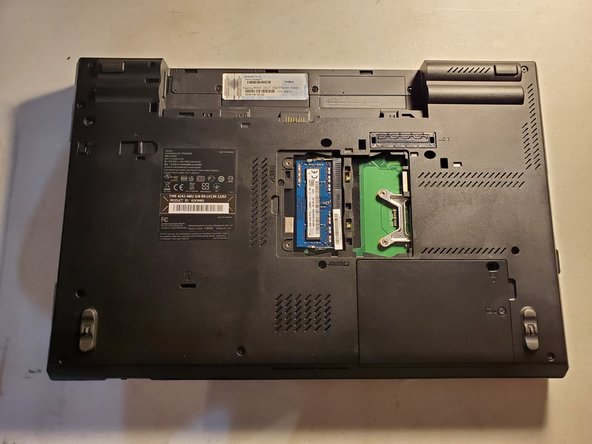
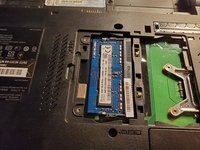
Using your fingers, pull the metals arms on the sides of the RAM slightly away from it.
-
The RAM will then face upwards.
-
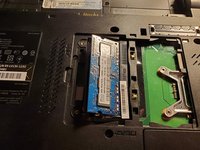
Remove the RAM from its slot by pulling it out.
-


もう少しです!
To reassemble your device, follow these instructions in reverse order.
終わりに
To reassemble your device, follow these instructions in reverse order.
