
Lenovo Edge 15 LCD Screen Replacement
はじめに
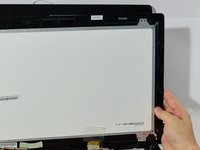
手順 1 に進むThis guide will teach you to replace the LCD screen of your laptop computer.
必要な工具と部品

-
-
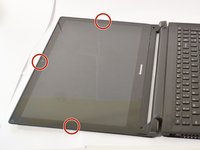
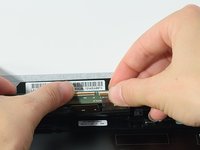
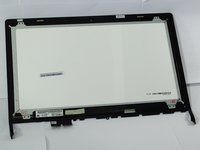
Remove the black plastic or rubber screw caps covering screws, located at the bottom of the screen
-
-


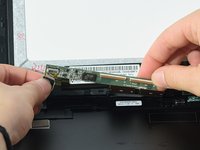


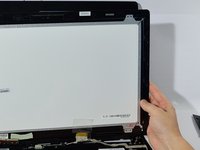
To reassemble your device, follow these instructions in reverse order.
To reassemble your device, follow these instructions in reverse order.
5 の人々がこのガイドを完成させました。
チーム

Cal Poly, Team S8-G1, Banghart Fall 2017 Cal Poly, Team S8-G1, Banghart Fall 2017人のメンバー
CPSU-BANGHART-F17S8G1
5 メンバー
7のガイドは作成済み
4 件のコメント
Does the lcd separate from the digitizer screen or do both need to be replaced if the digitizer is cracked?
Typically one can separate the LCD from the glass, but it is a difficult and painful process, and it almost always cracks the LCD. If the cost is not prohibitively expensive, I would just replace them together as one unit.
I need that exact bottom frame strip piece replaced that they are showing in the first picture. Does anyone know where I can order one?
looking to replace the whole screen, if possible even the hinge.
nasty bent screen I have for over 2+ years and I want to change that. Any advice welcomed.
frame is bent, Glass is broken in corner, touch screen gone.
Wouldnt care to install digitizer back but if I can see how to install screen components that be good.
Carry on.