
Lenovo Edge 15 Hard Drive Disk Replacement
はじめに
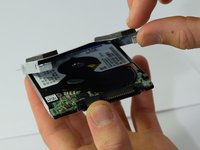
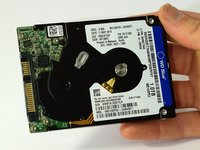
手順 1 に進むThis guide will instruct you on how to replace your Edge 15’s hard drive disk (HDD), or upgrade to a compatible solid state drive (SSD). Physical replacement of the hardware is a simple job, but installing an operating system (OS) on the new drive can be more involved.
This video may be helpful in showing you how to download a Windows operating system file and install it on your new hard drive: https://www.youtube.com/watch?v=tjmRWFep...
必要な工具と部品
修理キット
キットには、この修理ガイドを完了するために必要な全ての部品とツールが含まれています。


パーツ


ツール


もっと見る
-
-
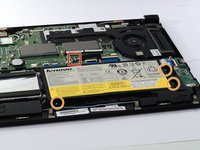
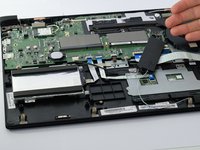
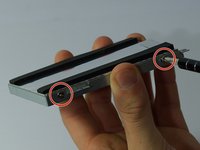
Locate the eleven M2 x 6.0mm back-cover screws.
-
Unscrew the screws using the Phillips #0 screwdriver.
-
-
-
-
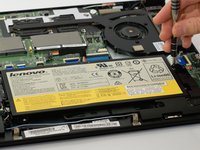
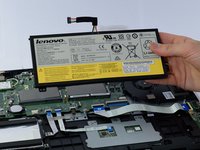
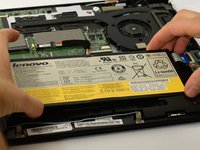
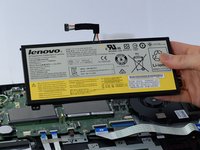
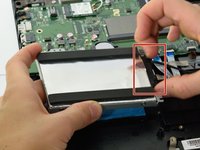
Set the battery aside. This will allow easier access to the connector for the HDD.
-


To reassemble your device, follow these instructions in reverse order.
During assembly, take careful note of the following items:
1) Keep track of the correct screws for each application.
2) Components may need to be wiggled to allow for proper screw alignment.
3) Don’t force screws in to avoid cross-threading.
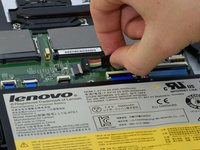
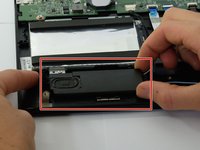
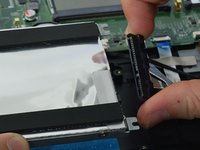
4) Ensure proper connector alignment when reconnecting the HDD and battery cables.
Again, here is a video to help install a Windows OS on your new HDD: https://www.youtube.com/watch?v=tjmRWFep...
To reassemble your device, follow these instructions in reverse order.
During assembly, take careful note of the following items:
1) Keep track of the correct screws for each application.
2) Components may need to be wiggled to allow for proper screw alignment.
3) Don’t force screws in to avoid cross-threading.
4) Ensure proper connector alignment when reconnecting the HDD and battery cables.
Again, here is a video to help install a Windows OS on your new HDD: https://www.youtube.com/watch?v=tjmRWFep...
3 の人々がこのガイドを完成させました。
チーム

Cal Poly, Team S8-G1, Banghart Fall 2017 Cal Poly, Team S8-G1, Banghart Fall 2017人のメンバー
CPSU-BANGHART-F17S8G1
5 メンバー
7のガイドは作成済み