
Lenovo Edge 15 Fan Replacement
6 - 10 分
簡単
はじめに
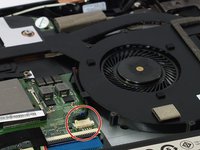
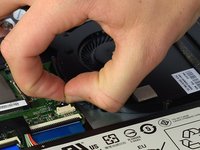
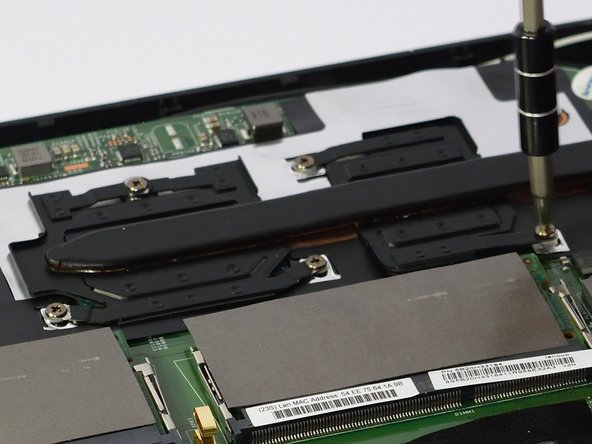
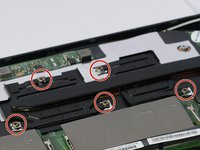
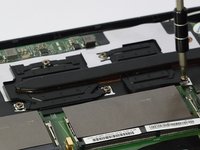
手順 1 に進むThis guide will provide the necessary steps to remove and install the fan in the Lenovo Edge 15. The Edge 15 has the fan and heatsink connected together so the heatsink will be also be replaced in this process.


もう少しです!
To reassemble your device, follow these instructions in reverse order.
終わりに
To reassemble your device, follow these instructions in reverse order.
3 の人々がこのガイドを完成させました。
チーム

Cal Poly, Team S8-G1, Banghart Fall 2017 Cal Poly, Team S8-G1, Banghart Fall 2017人のメンバー
CPSU-BANGHART-F17S8G1
5 メンバー
7のガイドは作成済み