
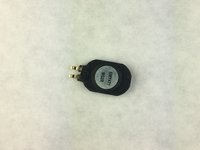
LG-A275 Speaker Replacement
15分
中レベル
はじめに
手順 1 に進むIn this guide, you will see how to take apart the LG-A275 in order to replace the phone's speaker.
必要な工具と部品

-
-
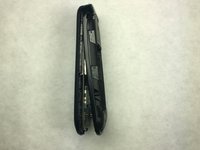
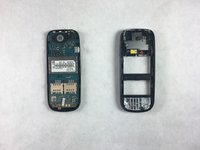
Slide the back down towards you and remove the back cover. You should hear a slight click as the cover comes off.
-
-
-
-
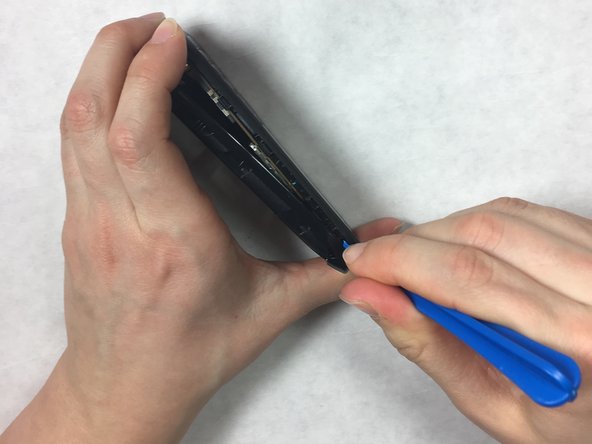
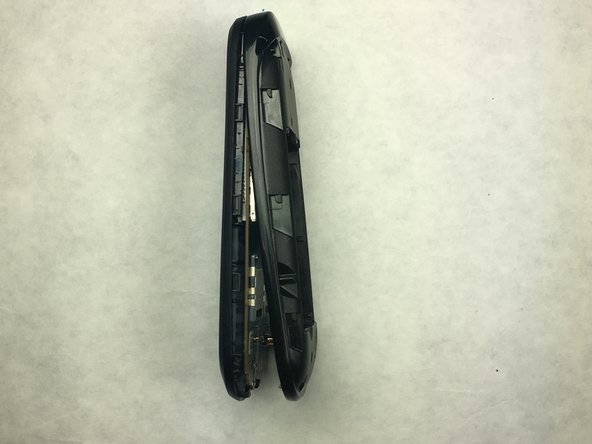
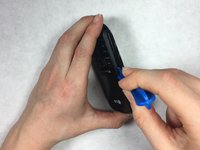
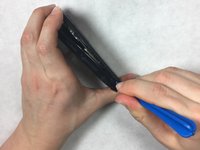
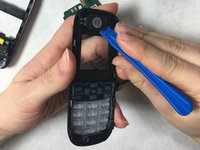
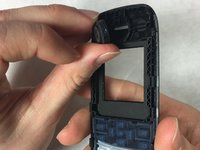
Using the plastic opening tool, wedge it around the edge of the phone to release the front plastic piece from the phone.
-


もう少しです!
To reassemble your device, follow these instructions in reverse order.
終わりに
To reassemble your device, follow these instructions in reverse order.
チーム

IUPUI, Team S3-G1, Harley Spring 2018 IUPUI, Team S3-G1, Harley Spring 2018人のメンバー
IUPUI-HARLEY-S18S3G1
3 メンバー
2のガイドは作成済み