
Hollowtech Bottom Bracket Replacement
はじめに
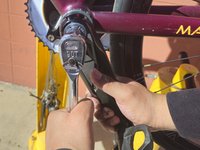
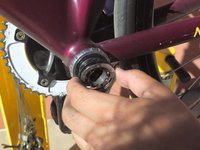
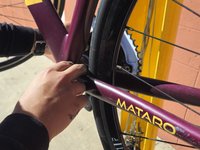
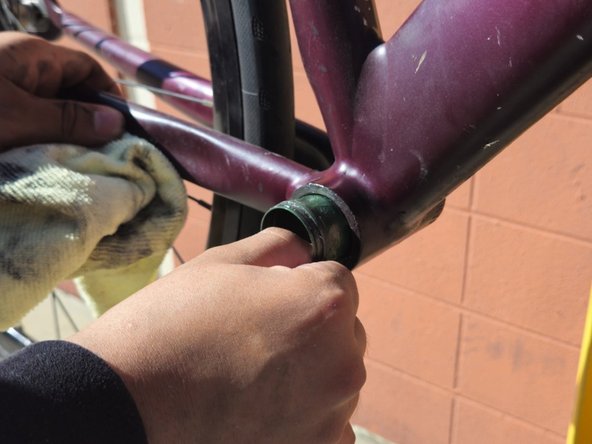
手順 1 に進むWith the many cranksets and bottom bracket types in the market, this guide specifically focuses on replacing a vision track crankset and similar Hollowtech II crankset. Since the vision track crankset does not have a square-tapered bottom bracket, different tools are required to remove and install the crankset. As the crankset is an important part of a bicycle's drivetrain, maintaining and keeping it in good shape is important. Before starting the guide, note that working on a bicycle is not very difficult but it can be messy.
必要な工具と部品
パーツ
ツール


もっと見る


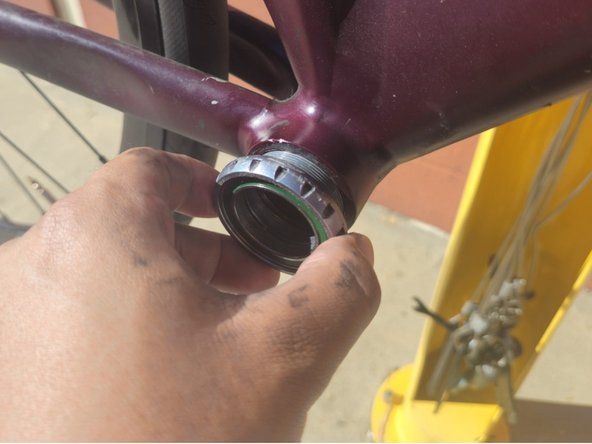


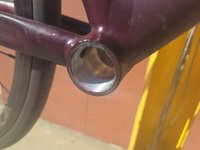
Congratulations, you have completed the guide. To reassemble the crankset, follow these instructions in reverse order. Make sure to grease the threads, bottom bracket shell, and crankset accordingly. In addition, torque down the crank arm (38-41Nm) and bottom bracket (40-50Nm) to the manufacturer's recommended specification.
Congratulations, you have completed the guide. To reassemble the crankset, follow these instructions in reverse order. Make sure to grease the threads, bottom bracket shell, and crankset accordingly. In addition, torque down the crank arm (38-41Nm) and bottom bracket (40-50Nm) to the manufacturer's recommended specification.
チーム

CSU Los Angeles, Team 13-3, Ribeiro Fall 2023 CSU Los Angeles, Team 13-3, Ribeiro Fall 2023人のメンバー
CSULA-RIBEIRO-F23S13G3
3 メンバー
1のガイドは作成済み