
HUAWEI HONOR 5X Front And Back Camera Replacement
見積もりなし
中レベル
はじめに
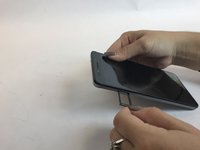
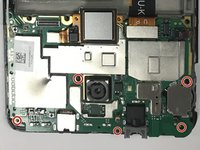
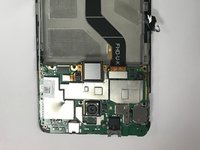
手順 1 に進むIf the camera has been cracked or shows blurry pictures, it may need to be replaced.


-
-
-
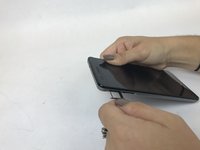
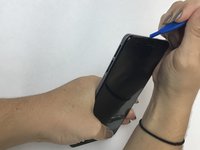
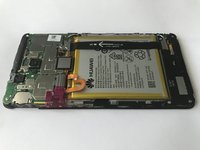
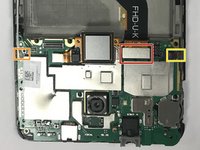
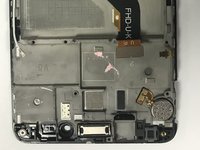
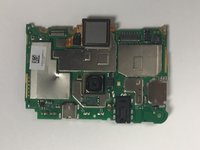
Use a plastic opening tool to pry up and disconnect the camera from the motherboard.
-


もう少しです!
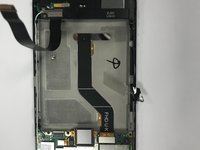
To reassemble your device, follow these instructions in reverse order.
終わりに
To reassemble your device, follow these instructions in reverse order.
チーム

USF Tampa, Team S7-G6, Passmore Spring 2018 USF Tampa, Team S7-G6, Passmore Spring 2018人のメンバー
USFT-PASSMORE-S18S7G6
3 メンバー
12のガイドは作成済み