メインコンテンツにスキップ
リペアコミュニティに参加 - アカウントの作成

HTC Vive Pro 2 Sensor Array Replacement

必要な工具と部品

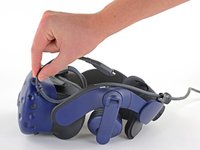
  1. HTC Vive Pro 2 Sensor Array Replacement, Reposition the head strap: 手順 1、 2の画像 1 HTC Vive Pro 2 Sensor Array Replacement, Reposition the head strap: 手順 1、 2の画像 2
    • Rotate the head strap forward as far as it will go.

    FixBotに聞いてみる

    コメントを追加

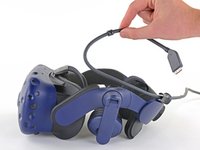
  2. HTC Vive Pro 2 Sensor Array Replacement, Unplug the All-In-One Cable: 手順 2、 2の画像 1 HTC Vive Pro 2 Sensor Array Replacement, Unplug the All-In-One Cable: 手順 2、 2の画像 2
    • Unplug the All-In-One Cable from your headset.

    FixBotに聞いてみる
    コメントを追加

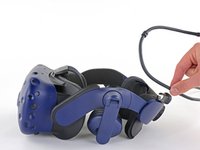
  3. HTC Vive Pro 2 Sensor Array Replacement, Remove the All-In-One Cable: 手順 3、 3の画像 1 HTC Vive Pro 2 Sensor Array Replacement, Remove the All-In-One Cable: 手順 3、 3の画像 2 HTC Vive Pro 2 Sensor Array Replacement, Remove the All-In-One Cable: 手順 3、 3の画像 3
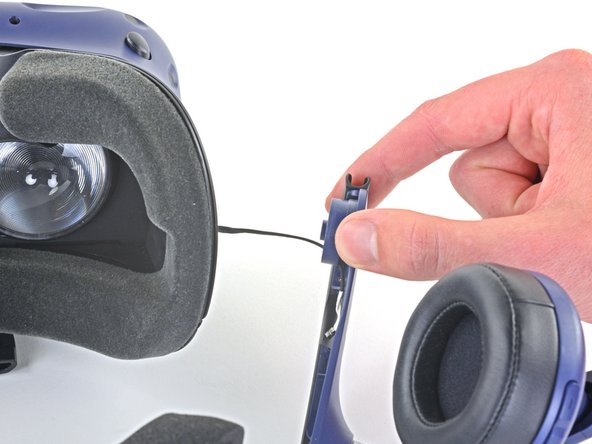
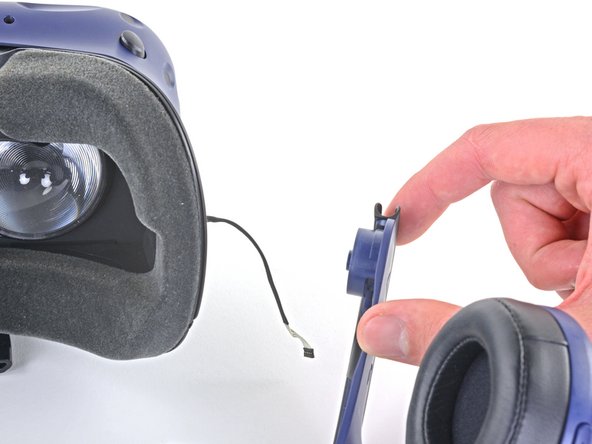
    • Remove the All-In-One Cable from the cable guides along the left side of the head strap.

    • During reassembly, connect the All-In-One Cable to the headset before routing it through the cable guides. This will ensure it has the right amount of slack.

    FixBotに聞いてみる
    コメントを追加

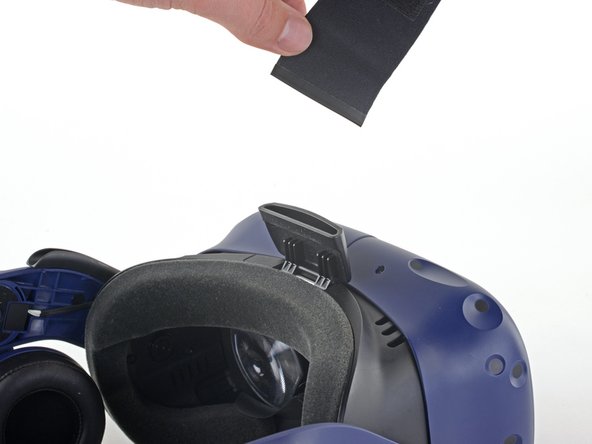
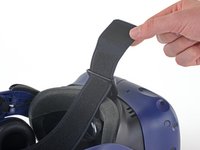
  4. HTC Vive Pro 2 Sensor Array Replacement, Remove the top strap: 手順 4、 2の画像 1 HTC Vive Pro 2 Sensor Array Replacement, Remove the top strap: 手順 4、 2の画像 2
    • Separate the top strap from itself where the Velcro secures it.

    FixBotに聞いてみる

    コメントを追加

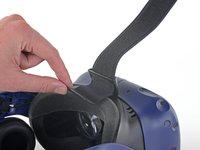
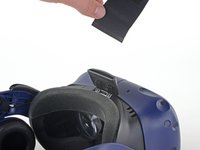
  5. HTC Vive Pro 2 Sensor Array Replacement: 手順 5、 3の画像 1 HTC Vive Pro 2 Sensor Array Replacement: 手順 5、 3の画像 2 HTC Vive Pro 2 Sensor Array Replacement: 手順 5、 3の画像 3
    • Peel back the Velcro securing the rear of the top strap.

    • Feed the top strap out through the head strap to partially remove it.

    FixBotに聞いてみる

    コメントを追加

  6. HTC Vive Pro 2 Sensor Array Replacement: 手順 6、 3の画像 1 HTC Vive Pro 2 Sensor Array Replacement: 手順 6、 3の画像 2 HTC Vive Pro 2 Sensor Array Replacement: 手順 6、 3の画像 3
    • Feed the top strap through the clip near the front of headset to fully remove it.

    FixBotに聞いてみる

    コメントを追加

  7. HTC Vive Pro 2 Sensor Array Replacement, Remove the front side foam pads: 手順 7、 3の画像 1 HTC Vive Pro 2 Sensor Array Replacement, Remove the front side foam pads: 手順 7、 3の画像 2 HTC Vive Pro 2 Sensor Array Replacement, Remove the front side foam pads: 手順 7、 3の画像 3
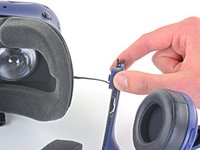
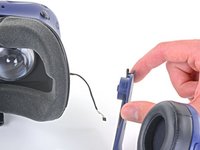
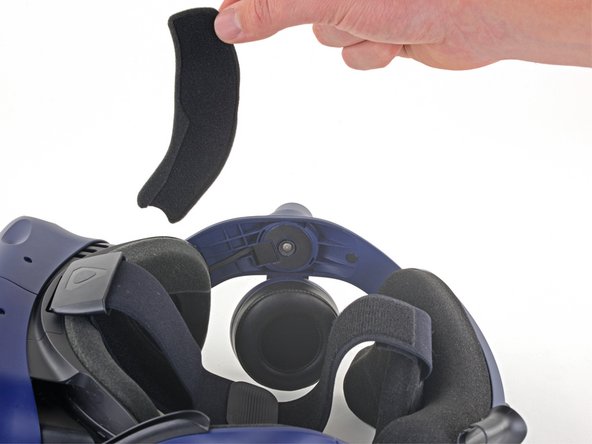
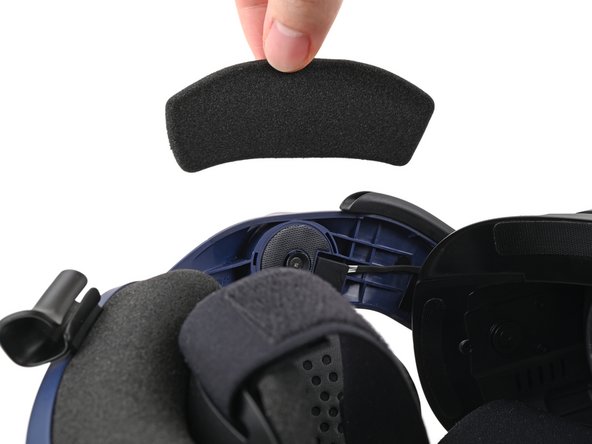
    • Peel off both front side foam pads to uncover the speaker wires.

    FixBotに聞いてみる

    コメントを追加

  8. HTC Vive Pro 2 Sensor Array Replacement, Remove the two rubber spacers: 手順 8、 3の画像 1 HTC Vive Pro 2 Sensor Array Replacement, Remove the two rubber spacers: 手順 8、 3の画像 2 HTC Vive Pro 2 Sensor Array Replacement, Remove the two rubber spacers: 手順 8、 3の画像 3
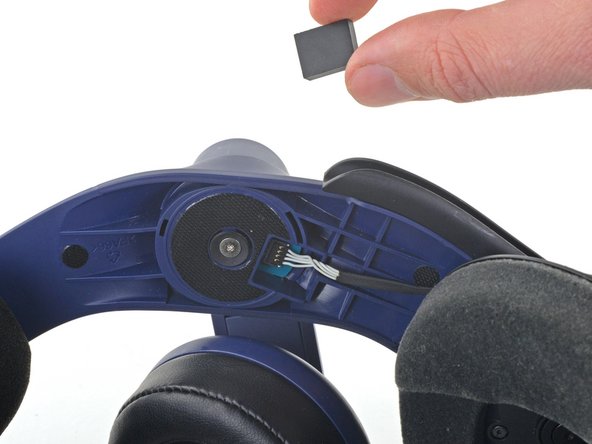
    • Use the point of your spudger to pry out the two rubber spacers next to the headphone screws.

    • Be careful not to accidentally pry any of the speaker wires under the rubber spacer.

    FixBotに聞いてみる
    コメントを追加

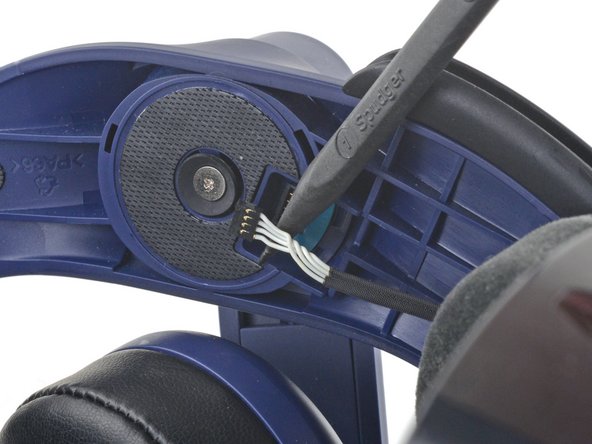
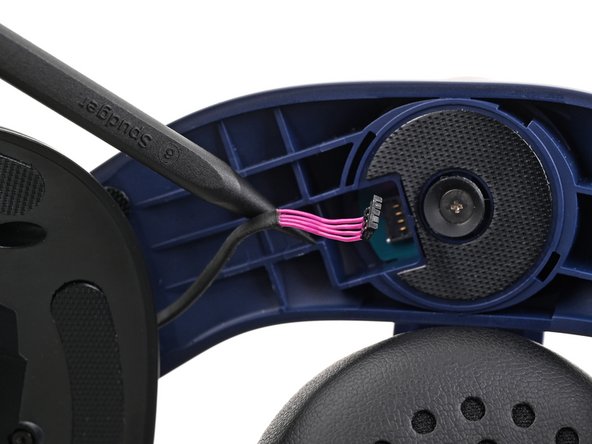
  9. HTC Vive Pro 2 Sensor Array Replacement, Disconnect the speaker wires: 手順 9、 3の画像 1 HTC Vive Pro 2 Sensor Array Replacement, Disconnect the speaker wires: 手順 9、 3の画像 2 HTC Vive Pro 2 Sensor Array Replacement, Disconnect the speaker wires: 手順 9、 3の画像 3
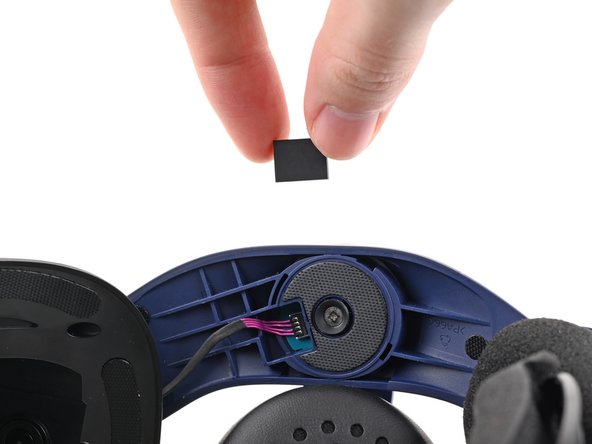
    • Use the point of your spudger to pry up and disconnect both the left and right headphone speaker wires.

    FixBotに聞いてみる
    コメントを追加

  10. HTC Vive Pro 2 Sensor Array Replacement, Remove the head strap: 手順 10、 2の画像 1 HTC Vive Pro 2 Sensor Array Replacement, Remove the head strap: 手順 10、 2の画像 2
    • Use a T6 Torx screwdriver to remove the two 12.1 mm screws (one on each side) securing the head strap to the headset.

    • Use a T5 Torx screwdriver to remove the following screws securing the head strap to the headset:

    • Four 3.9 mm screws (two on each side)

    • Two 4.1 mm screws (one on each side)

    FixBotに聞いてみる

    コメントを追加

  11. HTC Vive Pro 2 Sensor Array Replacement: 手順 11、 1の画像 1
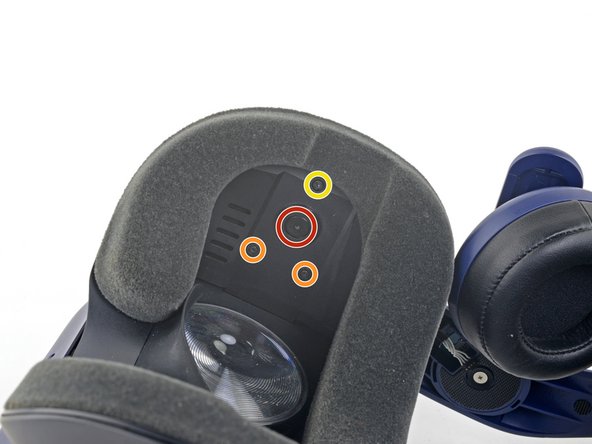
    • Remove the two plastic spacers underneath the previously removed Torx T6 screw.

    FixBotに聞いてみる

    コメントを追加

  12. HTC Vive Pro 2 Sensor Array Replacement: 手順 12、 3の画像 1 HTC Vive Pro 2 Sensor Array Replacement: 手順 12、 3の画像 2 HTC Vive Pro 2 Sensor Array Replacement: 手順 12、 3の画像 3
    • Thread the headphone speaker wires out through both ends of the head strap.

    FixBotに聞いてみる

    コメントを追加

  13. HTC Vive Pro 2 Sensor Array Replacement, Remove the outer shell: 手順 13、 3の画像 1 HTC Vive Pro 2 Sensor Array Replacement, Remove the outer shell: 手順 13、 3の画像 2 HTC Vive Pro 2 Sensor Array Replacement, Remove the outer shell: 手順 13、 3の画像 3
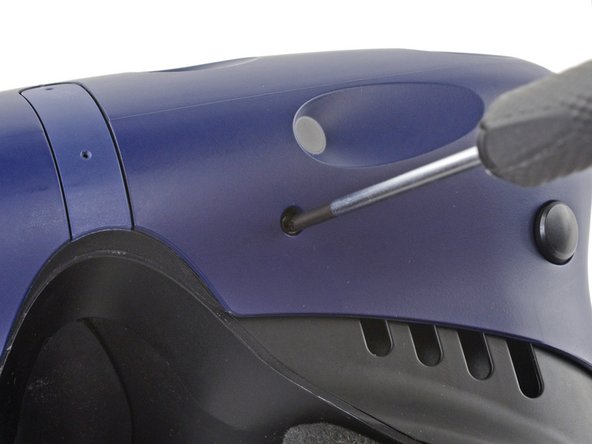
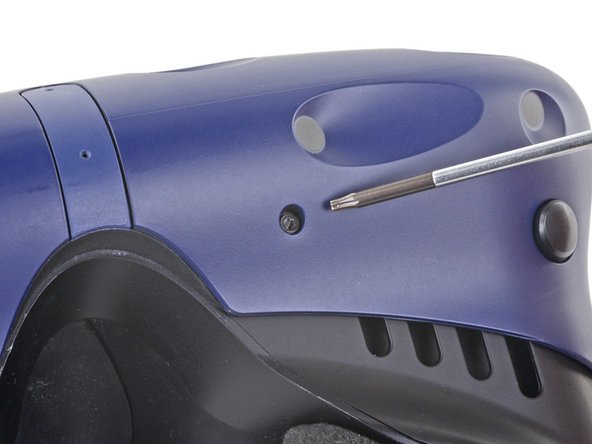
    • The four screws securing the outer shell are covered with black stickers. If the stickers are difficult to remove, simply press your T6 Torx driver through them.

    FixBotに聞いてみる

    コメントを追加

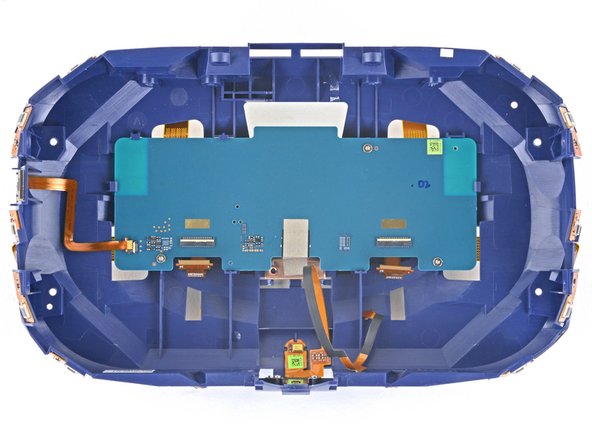
  14. HTC Vive Pro 2 Sensor Array Replacement: 手順 14、 2の画像 1 HTC Vive Pro 2 Sensor Array Replacement: 手順 14、 2の画像 2
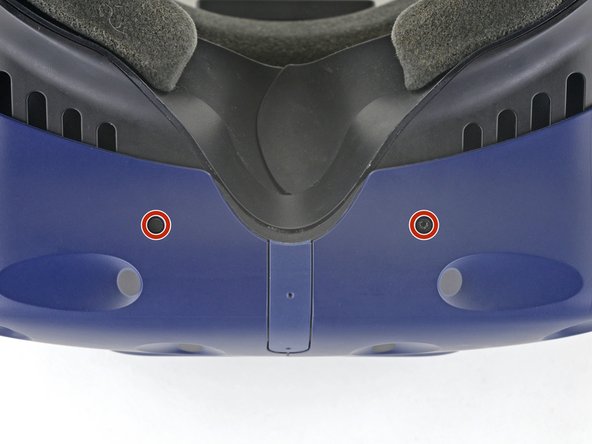
    • Use a T6 Torx screwdriver to remove the four 3.9 mm screws (two on top, two on bottom) securing the outer shell to the headset.

    FixBotに聞いてみる

    コメントを追加

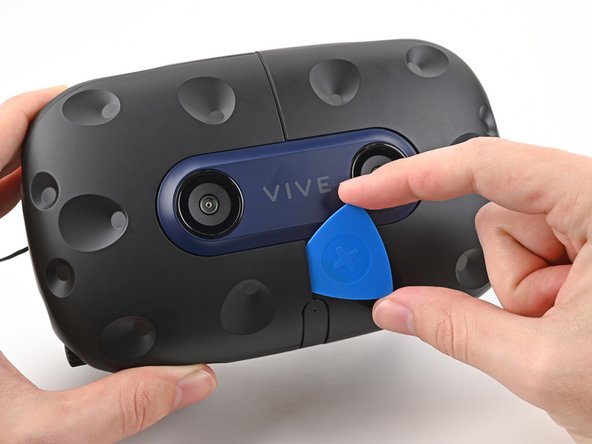
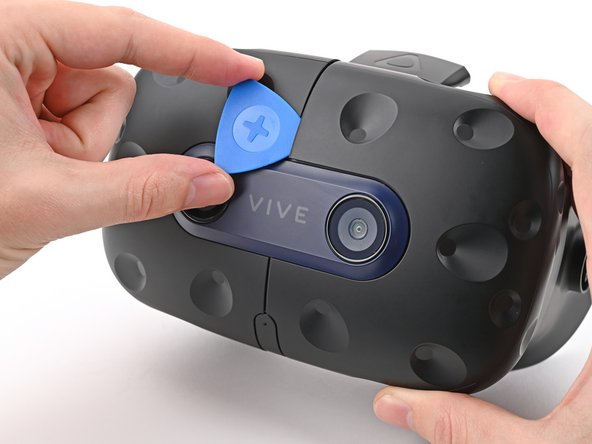
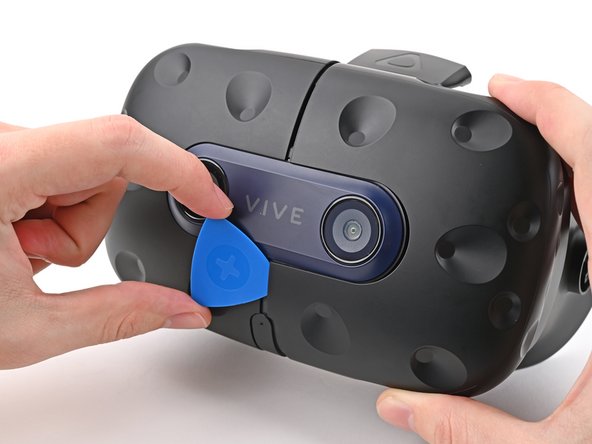
  15. HTC Vive Pro 2 Sensor Array Replacement: 手順 15、 3の画像 1 HTC Vive Pro 2 Sensor Array Replacement: 手順 15、 3の画像 2 HTC Vive Pro 2 Sensor Array Replacement: 手順 15、 3の画像 3
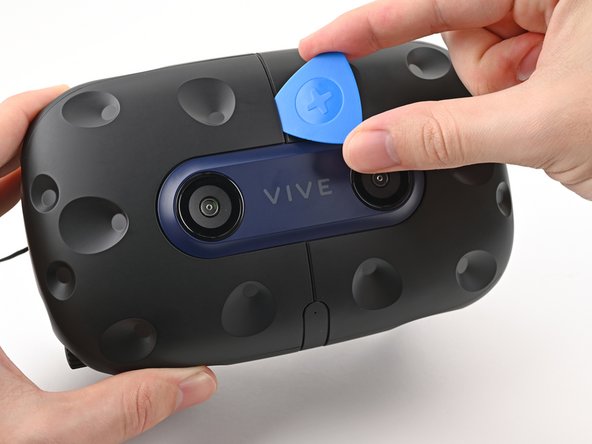
    • Insert an opening pick into the seam between the two halves of the outer shell.

    • Slide the opening pick through the seam to dislodge the clips securing it to the headset.

    • Only insert the opening pick as far as necessary. There are ribbon cables underneath the outer shell.

    FixBotに聞いてみる

    コメントを追加

  16. HTC Vive Pro 2 Sensor Array Replacement: 手順 16、 3の画像 1 HTC Vive Pro 2 Sensor Array Replacement: 手順 16、 3の画像 2 HTC Vive Pro 2 Sensor Array Replacement: 手順 16、 3の画像 3
    • Continue sliding the opening pick through each seam until all clips have been dislodged.

    FixBotに聞いてみる

    コメントを追加

  17. HTC Vive Pro 2 Sensor Array Replacement: 手順 17、 3の画像 1 HTC Vive Pro 2 Sensor Array Replacement: 手順 17、 3の画像 2 HTC Vive Pro 2 Sensor Array Replacement: 手順 17、 3の画像 3
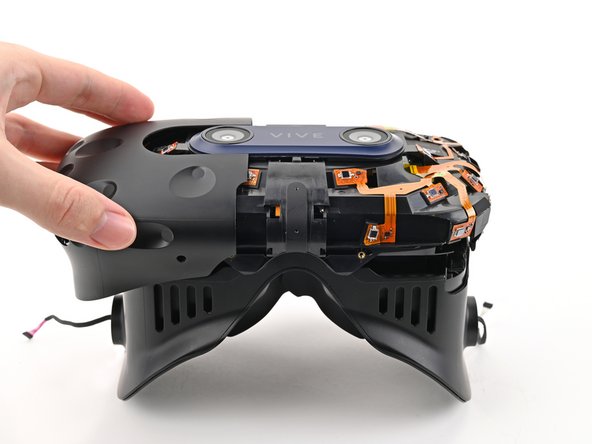
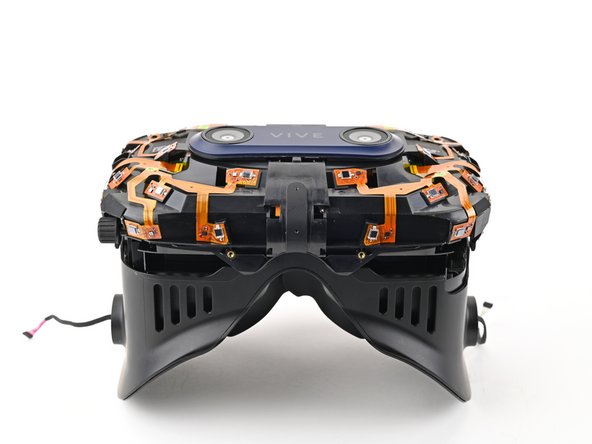
    • Carefully slide each half of the outer shell off of the sensor array.

    • Be careful not to snag any of the ribbon cables underneath.

    FixBotに聞いてみる

    コメントを追加

  18. HTC Vive Pro 2 Sensor Array Replacement, Remove the face rest cushion: 手順 18、 3の画像 1 HTC Vive Pro 2 Sensor Array Replacement, Remove the face rest cushion: 手順 18、 3の画像 2 HTC Vive Pro 2 Sensor Array Replacement, Remove the face rest cushion: 手順 18、 3の画像 3
    • Use your fingers to gently peel the face rest cushion off of the headset.

    FixBotに聞いてみる
    コメントを追加

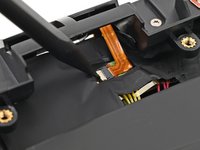
  19. HTC Vive Pro 2 Sensor Array Replacement, Disconnect the microphone: 手順 19、 2の画像 1 HTC Vive Pro 2 Sensor Array Replacement, Disconnect the microphone: 手順 19、 2の画像 2
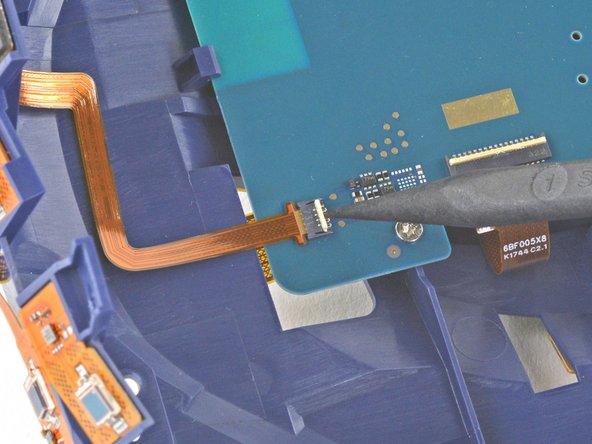
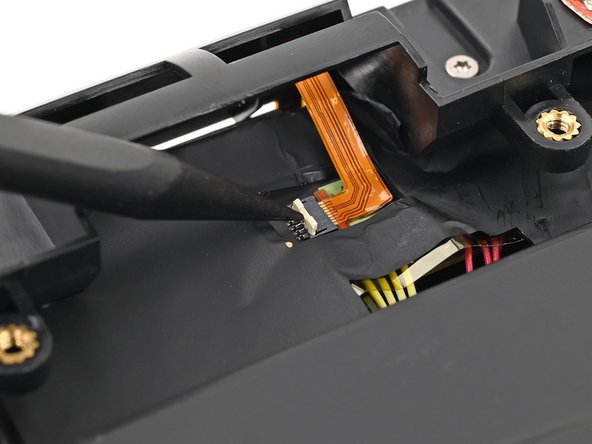
    • Use the point of your spudger, or a clean fingernail, to flip up the locking tab on the microphone ZIF connector on the daughterboard.

    FixBotに聞いてみる
    コメントを追加

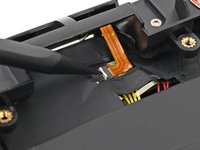
  20. HTC Vive Pro 2 Sensor Array Replacement: 手順 20、 2の画像 1 HTC Vive Pro 2 Sensor Array Replacement: 手順 20、 2の画像 2
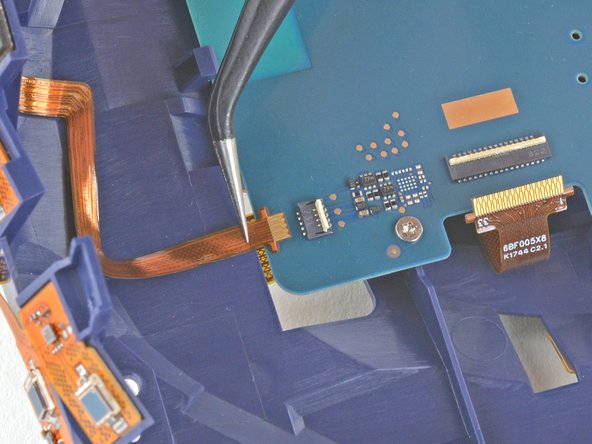
    • Use tweezers, or your fingers, to pull the microphone cable straight out of its socket.

    FixBotに聞いてみる
    コメントを追加

  21. HTC Vive Pro 2 Sensor Array Replacement, Disconnect the sensor array: 手順 21、 2の画像 1 HTC Vive Pro 2 Sensor Array Replacement, Disconnect the sensor array: 手順 21、 2の画像 2
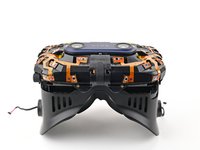
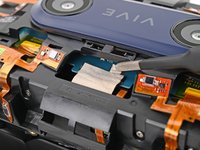
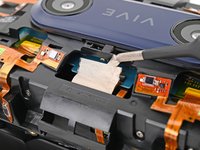
    • Use tweezers, or your fingers, to peel the conductive fabric off the sensor array ZIF connector on the motherboard.

    FixBotに聞いてみる

    コメントを追加

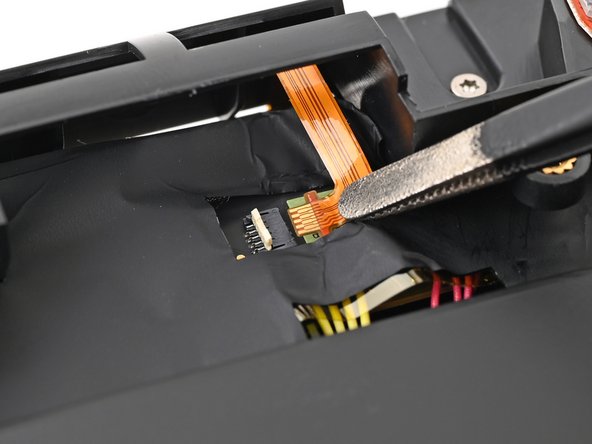
  22. HTC Vive Pro 2 Sensor Array Replacement: 手順 22、 2の画像 1 HTC Vive Pro 2 Sensor Array Replacement: 手順 22、 2の画像 2
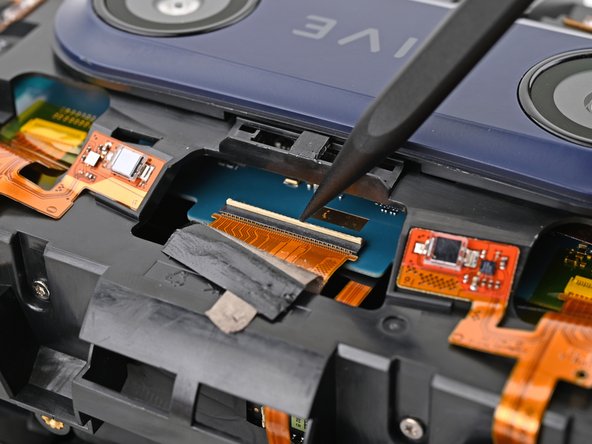
    • Use your spudger, or a clean fingernail, to flip up the locking tab on the sensor array ZIF connector.

    FixBotに聞いてみる
    コメントを追加

  23. HTC Vive Pro 2 Sensor Array Replacement: 手順 23、 1の画像 1
    • Use your fingers to grip the left and right sides of the sensor array cable and pull it straight out of its socket.

    FixBotに聞いてみる
    コメントを追加

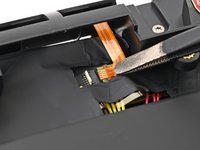
  24. HTC Vive Pro 2 Sensor Array Replacement, Remove the sensor array screws: 手順 24、 2の画像 1 HTC Vive Pro 2 Sensor Array Replacement, Remove the sensor array screws: 手順 24、 2の画像 2
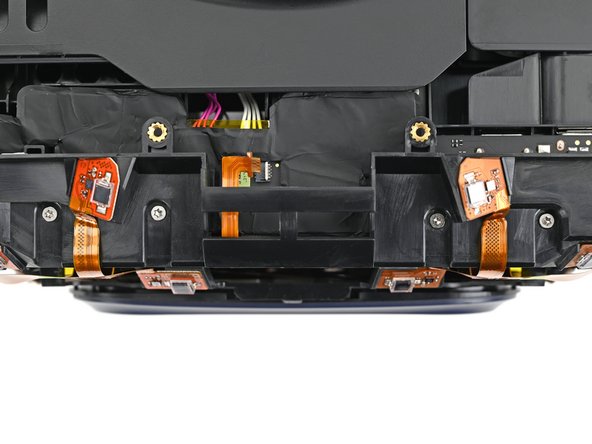
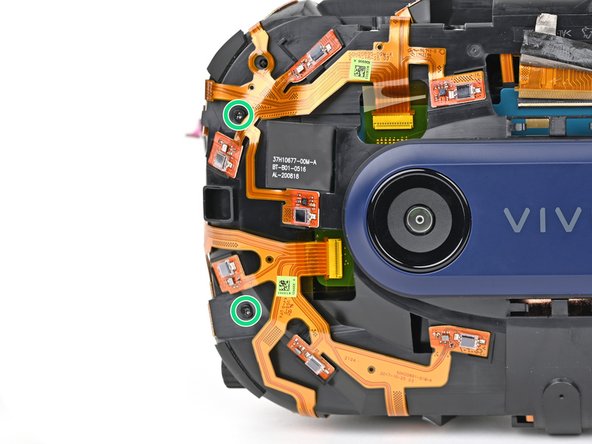
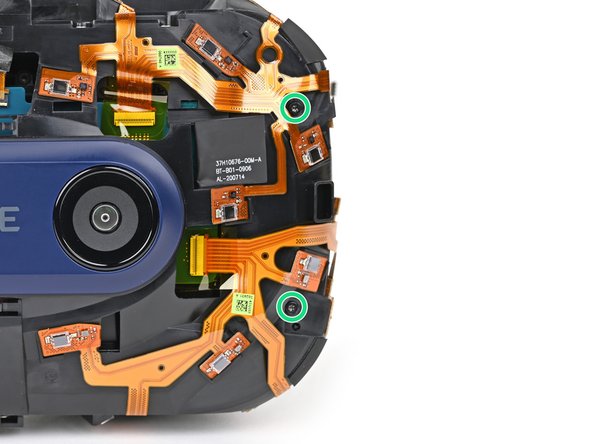
    • Use a T5 Torx screwdriver to remove the four 3.0 mm‑long screws securing the top of the sensor array.

    FixBotに聞いてみる
    コメントを追加

  25. HTC Vive Pro 2 Sensor Array Replacement: 手順 25、 3の画像 1 HTC Vive Pro 2 Sensor Array Replacement: 手順 25、 3の画像 2 HTC Vive Pro 2 Sensor Array Replacement: 手順 25、 3の画像 3
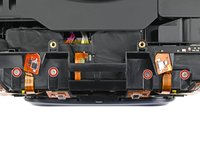
    • Use a T6 Torx screwdriver to remove the four 3.8 mm‑long screws securing the front of the sensor array.

    FixBotに聞いてみる

    コメントを追加

  26. HTC Vive Pro 2 Sensor Array Replacement, Remove the sensor array: 手順 26、 2の画像 1 HTC Vive Pro 2 Sensor Array Replacement, Remove the sensor array: 手順 26、 2の画像 2
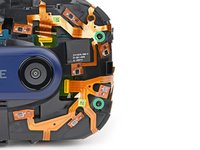
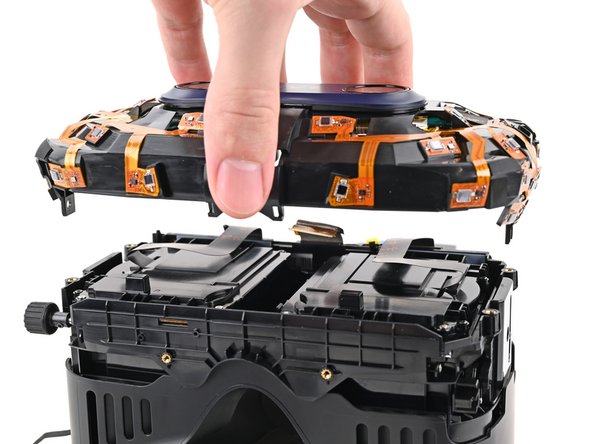
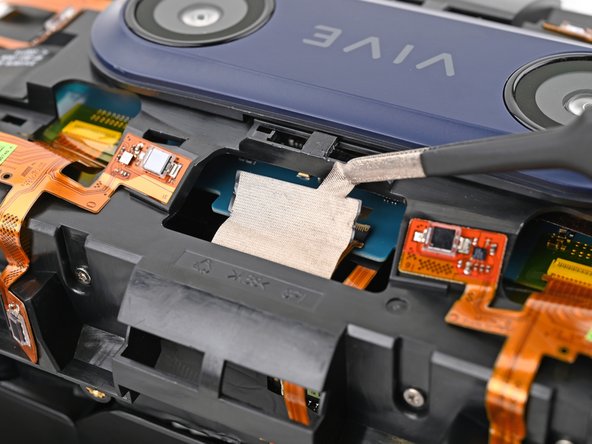
    • Lift the sensor array straight off the lens assembly and remove it, making sure you thread the cable through its slot.

    • During reassembly, make sure the sensor assembly cable is threaded through its slot before continuing.

    FixBotに聞いてみる
    コメントを追加

  27. HTC Vive Pro 2 Sensor Array Replacement, Disconnect the motherboard from the sensor array: 手順 27、 3の画像 1 HTC Vive Pro 2 Sensor Array Replacement, Disconnect the motherboard from the sensor array: 手順 27、 3の画像 2 HTC Vive Pro 2 Sensor Array Replacement, Disconnect the motherboard from the sensor array: 手順 27、 3の画像 3
    この手順で使用する道具:
    Tweezers
    $4.99
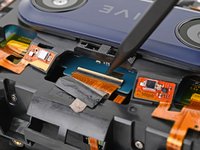
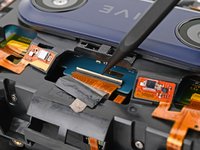
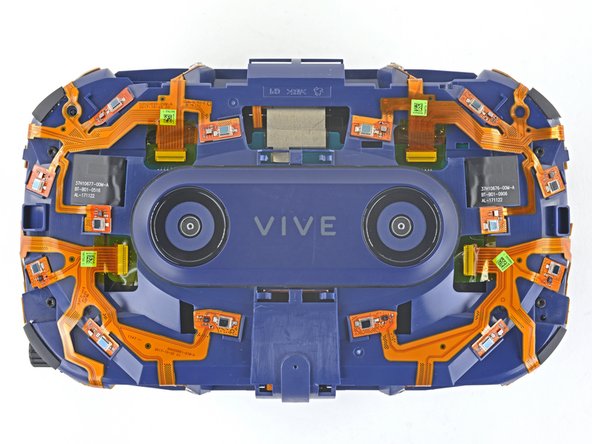
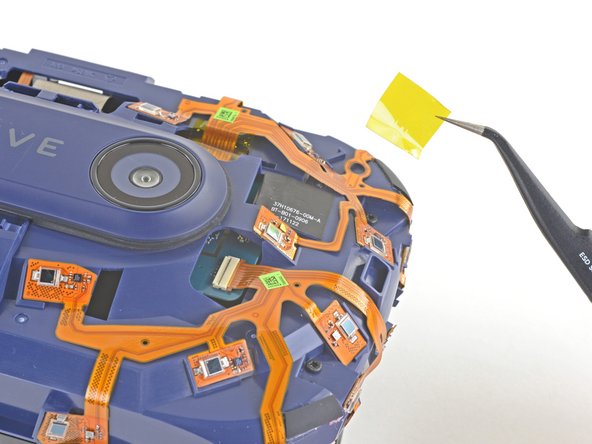
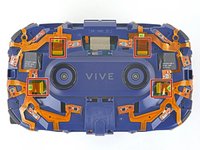
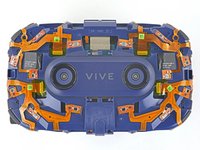
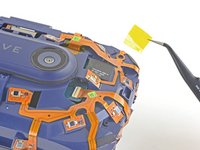
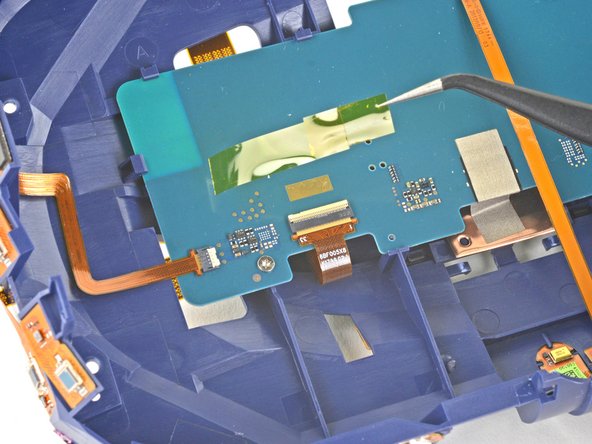
    • Use a pair of tweezers or your fingers to remove the four pieces of Kapton tape covering the ZIF connectors.

    FixBotに聞いてみる

    コメントを追加

  28. HTC Vive Pro 2 Sensor Array Replacement: 手順 28、 3の画像 1 HTC Vive Pro 2 Sensor Array Replacement: 手順 28、 3の画像 2 HTC Vive Pro 2 Sensor Array Replacement: 手順 28、 3の画像 3
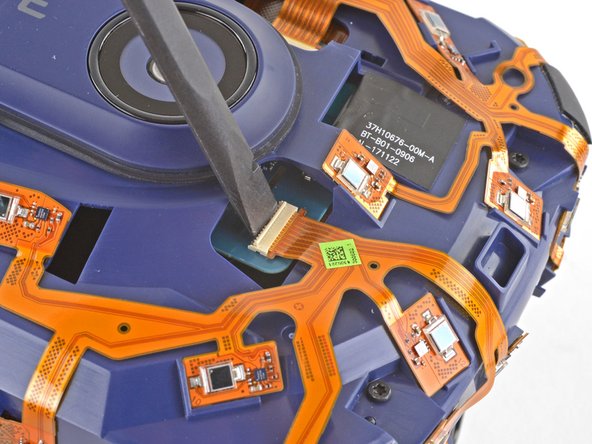
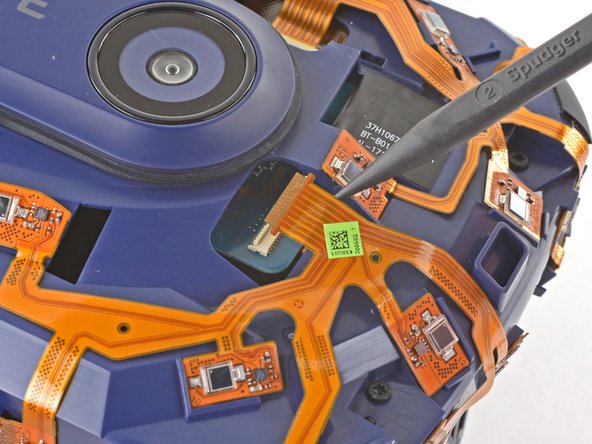
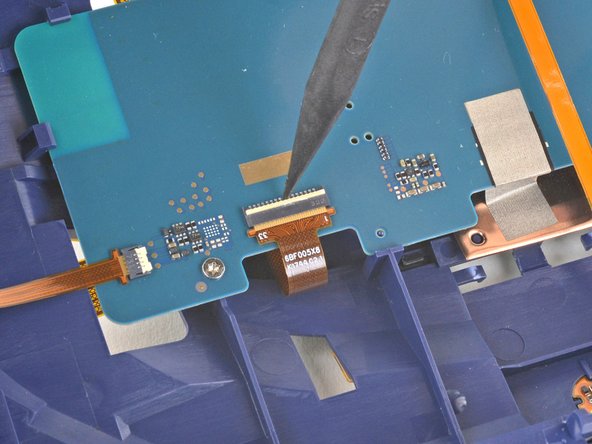
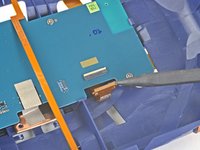
    • Use the flat end of your spudger to flip up the locking flap on a ZIF connector on the sensor array.

    • Use the pointed end of your spudger to disconnect the ribbon cable from its ZIF connector.

    • Repeat this procedure for all four of the ZIF connectors.

    FixBotに聞いてみる

    コメントを追加

  29. HTC Vive Pro 2 Sensor Array Replacement: 手順 29、 2の画像 1 HTC Vive Pro 2 Sensor Array Replacement: 手順 29、 2の画像 2
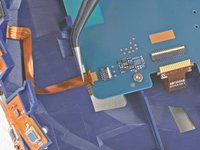
    • Use a pair of tweezers to remove the Kapton tape covering the two ZIF connectors on the back of the motherboard.

    FixBotに聞いてみる

    コメントを追加

  30. HTC Vive Pro 2 Sensor Array Replacement: 手順 30、 3の画像 1 HTC Vive Pro 2 Sensor Array Replacement: 手順 30、 3の画像 2 HTC Vive Pro 2 Sensor Array Replacement: 手順 30、 3の画像 3
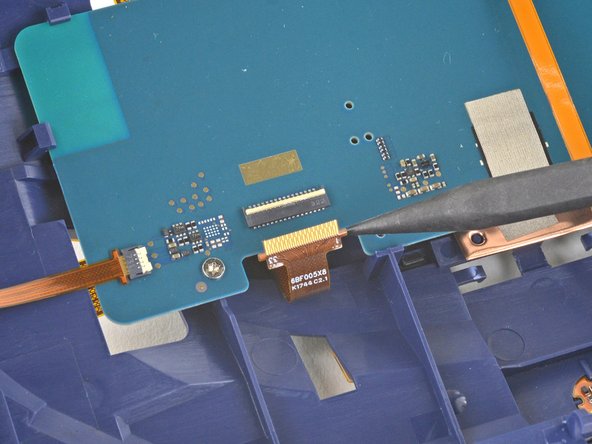
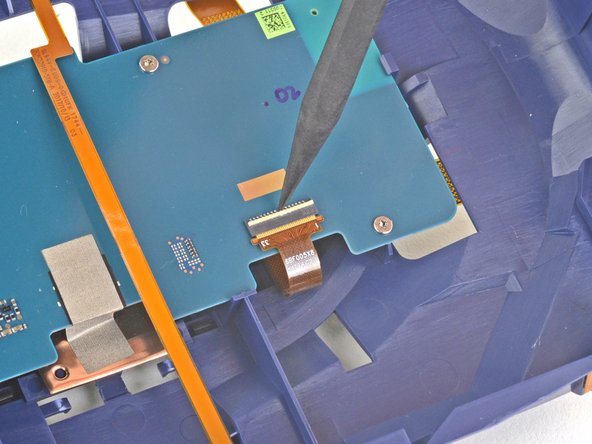
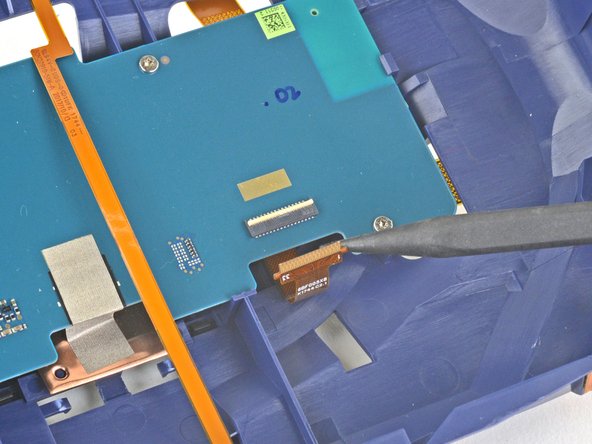
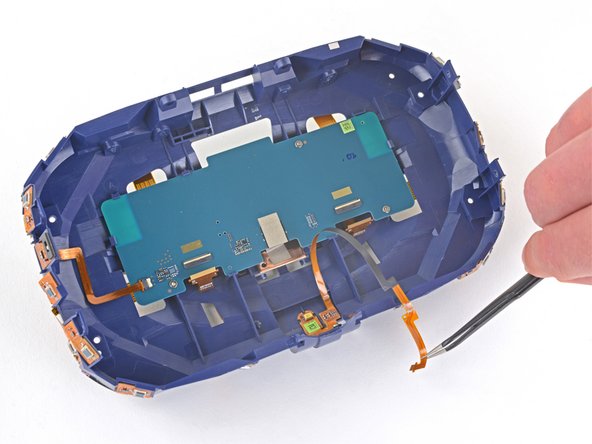
    • Use the point of your spudger to unlock the ZIF connector on the back of the motherboard.

    • Use the spudger, or your fingers, to slide the ribbon cable out of its socket.

    FixBotに聞いてみる

    コメントを追加

  31. HTC Vive Pro 2 Sensor Array Replacement: 手順 31、 3の画像 1 HTC Vive Pro 2 Sensor Array Replacement: 手順 31、 3の画像 2 HTC Vive Pro 2 Sensor Array Replacement: 手順 31、 3の画像 3
    • Use the point of your spudger to unlock the ZIF connector on the back of the motherboard.

    • Use the spudger, or your fingers, to slide the ribbon cable out of its socket.

    FixBotに聞いてみる

    コメントを追加

  32. HTC Vive Pro 2 Sensor Array Replacement: 手順 32、 2の画像 1 HTC Vive Pro 2 Sensor Array Replacement: 手順 32、 2の画像 2
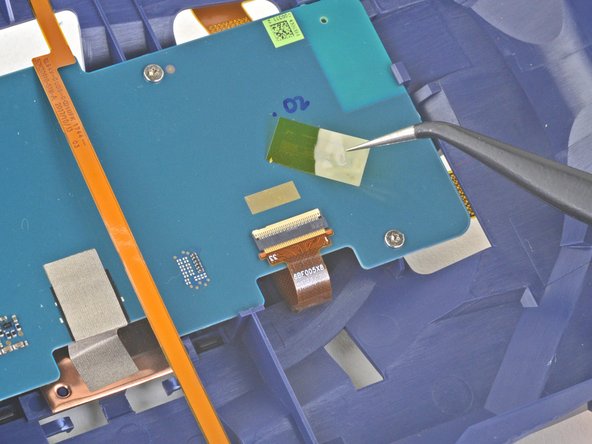
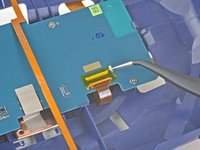
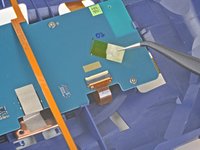
    • Use a pair of tweezers to remove the Kapton tape covering the remaining ZIF connector on the back of the motherboard.

    FixBotに聞いてみる

    コメントを追加

  33. HTC Vive Pro 2 Sensor Array Replacement: 手順 33、 3の画像 1 HTC Vive Pro 2 Sensor Array Replacement: 手順 33、 3の画像 2 HTC Vive Pro 2 Sensor Array Replacement: 手順 33、 3の画像 3
    • Use the pointed end of your spudger to unlock the ZIF connector on the back of the motherboard.

    • Use the spudger, or your fingers, to slide the ribbon cable out of its socket.

    FixBotに聞いてみる

    コメントを追加

  34. HTC Vive Pro 2 Sensor Array Replacement, Remove the motherboard: 手順 34、 2の画像 1 HTC Vive Pro 2 Sensor Array Replacement, Remove the motherboard: 手順 34、 2の画像 2
    • Reposition the long ribbon cable covering the back of the motherboard so it's out of the way.

    • Don't sharply crease or fold the ribbon cable.

    FixBotに聞いてみる

    コメントを追加

  35. HTC Vive Pro 2 Sensor Array Replacement: 手順 35、 2の画像 1 HTC Vive Pro 2 Sensor Array Replacement: 手順 35、 2の画像 2
    • Use a T5 Torx screwdriver to remove the three 3.0 mm‑long screws securing the motherboard to the sensor array.

    FixBotに聞いてみる

    コメントを追加

  36. HTC Vive Pro 2 Sensor Array Replacement: 手順 36、 1の画像 1
    • Apply a heated iOpener to the back of the motherboard for one minute to soften the light adhesive securing it to the sensor array.

    FixBotに聞いてみる

    コメントを追加

  37. HTC Vive Pro 2 Sensor Array Replacement: 手順 37、 1の画像 1
    • Remove the motherboard from the sensor array.

    • There are several plastic clips lightly securing the perimeter of the motherboard to the sensor array.

    • During reassembly, don't forget to reinstall any Kapton tape that was removed during disassembly. This will prevent malfunction of the sensors.

    FixBotに聞いてみる

    コメントを追加

  38. HTC Vive Pro 2 Sensor Array Replacement, Only the sensor array remains: 手順 38、 1の画像 1
    • Only the sensor array remains.

    FixBotに聞いてみる

    コメントを追加

終わりに

Compare your new replacement part to the original part—you may need to transfer remaining components or remove adhesive backings from the new part before installing.

To reassemble your device, follow the above steps in reverse order.

Take your e-waste to an R2 or e-Stewards certified recycler.

Repair didn’t go as planned? Try some basic troubleshooting, or ask our Answers community for help.

キャンセル: このガイドを終了できませんでした。

ある他の人がこのガイドを完成しました。

Alex Diaz-Kokaisl

メンバー登録日: 01/16/22

244,655 ポイント

1,203のガイドは作成済み

チーム

iFixit iFixit人のメンバー

Staff

123 メンバー

27,615のガイドは作成済み

0件のガイドコメント

コメントを追加

統計データ:

過去 24時間: 1

過去 7 日: 6

過去 30 日: 24

今までの合計 322