メインコンテンツにスキップ

HP Stream x360 11-p010nr Battery Replacement

必要な工具と部品

  1. HP Stream x360 11-p010nr Battery Replacement, Battery: 手順 1、 3の画像 1 HP Stream x360 11-p010nr Battery Replacement, Battery: 手順 1、 3の画像 2 HP Stream x360 11-p010nr Battery Replacement, Battery: 手順 1、 3の画像 3
    • First, make sure the laptop is completely powered off and not charging to avoid electric shock.

    • Flip the laptop upside down then remove the seven 6.5 mm screws using a JIS J0 screwdriver.

    • Also remove the two 8.5 mm JIS J0 screws near the hinge of the laptop.

    • Peel back the two rubber feet near the hinge of the laptop to reveal and remove two more 8.5 mm JIS J0 screws.

    • The rubber feet near the speakers have no screws.

  2. HP Stream x360 11-p010nr Battery Replacement: 手順 2、 2の画像 1 HP Stream x360 11-p010nr Battery Replacement: 手順 2、 2の画像 2
    • After removing all the screws, slowly and carefully lift the back cover, exposing the internal components.

    • Be careful not to damage the blue strip when opening the back case.

  3. HP Stream x360 11-p010nr Battery Replacement: 手順 3、 3の画像 1 HP Stream x360 11-p010nr Battery Replacement: 手順 3、 3の画像 2 HP Stream x360 11-p010nr Battery Replacement: 手順 3、 3の画像 3
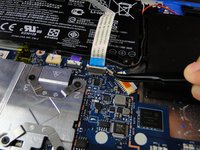
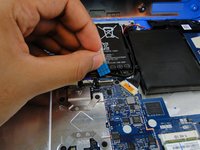
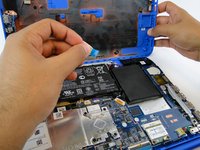
    • Carefully detach the blue strip that connects the back cover to the internals.

    • Make sure the blue tab is facing upwards when reassembling.

  4. HP Stream x360 11-p010nr Battery Replacement: 手順 4、 3の画像 1 HP Stream x360 11-p010nr Battery Replacement: 手順 4、 3の画像 2 HP Stream x360 11-p010nr Battery Replacement: 手順 4、 3の画像 3
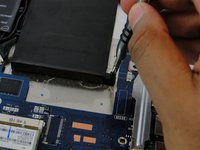
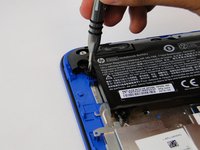
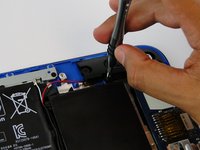
    • Using the JIS J0 screwdriver, unscrew the 6.5 mm screws surrounding the battery.

  5. HP Stream x360 11-p010nr Battery Replacement: 手順 5、 1の画像 1
    • Carefully remove the surrounding wire away from the battery

  6. HP Stream x360 11-p010nr Battery Replacement: 手順 6、 3の画像 1 HP Stream x360 11-p010nr Battery Replacement: 手順 6、 3の画像 2 HP Stream x360 11-p010nr Battery Replacement: 手順 6、 3の画像 3
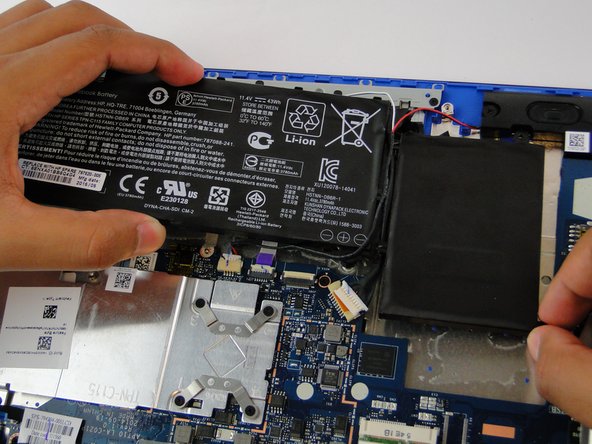
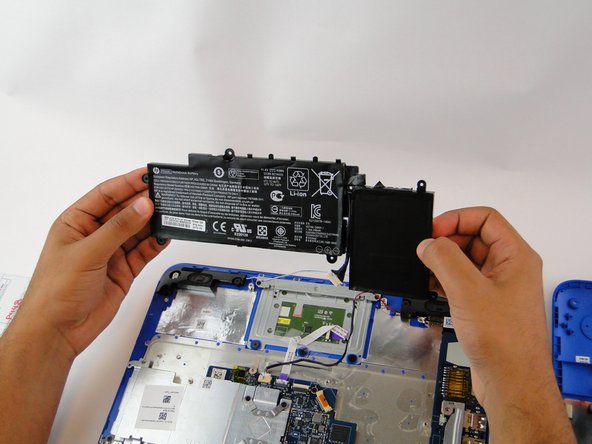
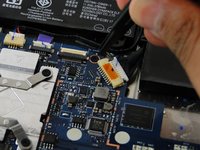
    • Lastly, unhook the clip connecting the battery to the motherboard by pushing it away from the slot.

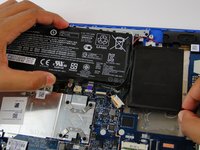
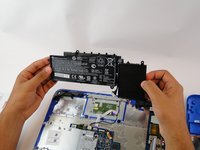
    • At this point, everything should be disconnected, simply remove the battery. Be sure to maneuver around the wire that runs between the middle of the battery.

終わりに

To reassemble your device, follow these instructions in reverse order.

5 の人々がこのガイドを完成させました。

作成者

3人の作成者と共同で作成されました。

Abdulaziz Alkulaib

メンバー登録日: 03/09/17

116 ポイント

1ガイドが承認済み

チーム

USF Tampa, Team S7-G4, Cagle Spring 2017 USF Tampa, Team S7-G4, Cagle Spring 2017人のメンバー

USFT-CAGLE-S17S7G4

4 メンバー

1のガイドは作成済み

0 件のコメント

コメントを追加

統計データ:

過去 24時間: 0

過去 7 日: 6

過去 30 日: 23

今までの合計 3,758