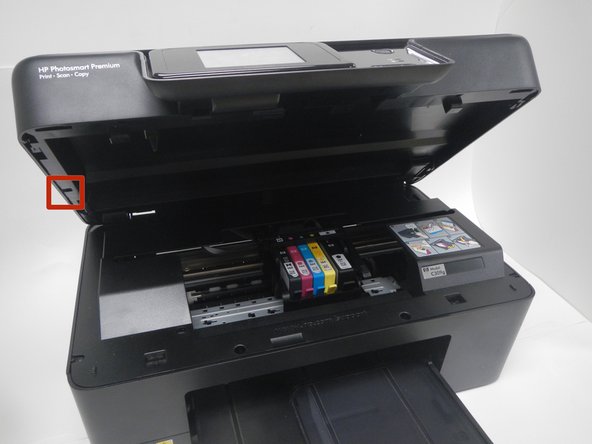
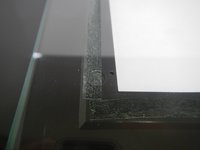
メインコンテンツにスキップ
HP Photosmart Premium C309g Scanner Glass  Replacement

HP Photosmart Premium C309g Scanner Glass Replacement

Laura

Laura とその他 3 人の作成者

最終更新日: January 11, 2015

10分
とても簡単

If the scanner glass cracks or breaks, it will need to be replaced in it's entirety. The glass is visible when you open the top of the printer so you will be able to tell if it needs replacement without taking the printer apart.

必要な工具と部品

ツール

  1. HP Photosmart Premium C309g Scanner Glass  Replacement, Scanner Glass: 手順 1、 1の画像 1
    • Open the top of the printer. The printer should appear as shown.

  2. HP Photosmart Premium C309g Scanner Glass  Replacement: 手順 2、 2の画像 1 HP Photosmart Premium C309g Scanner Glass  Replacement: 手順 2、 2の画像 2
    • Use the blue plastic opening tool to pry the trim pieces all the way around the printer.

    • Loosen the pieces around the edges before pulling to remove from the printer.

    • Pull the (4) trim pieces off and set them aside.

  3. HP Photosmart Premium C309g Scanner Glass  Replacement: 手順 3、 2の画像 1 HP Photosmart Premium C309g Scanner Glass  Replacement: 手順 3、 2の画像 2
    • Using the blue plastic opening tool, pull from the middle and then slide back to remove the side panels.

    • The side trim pieces need to be removed before the front trim pieces.

  4. HP Photosmart Premium C309g Scanner Glass  Replacement: 手順 4、 1の画像 1
    • Using the T9 Torx Security screwdriver bit, unscrew the five 12mm screws shown.

  5. HP Photosmart Premium C309g Scanner Glass  Replacement: 手順 5、 1の画像 1
    • The scanner flap is attached by a clip that can be dislodged by pulling it gently away from the printer.

    • Keeping the scanner flap upright, slide it toward the unattached clip in order to dislodge the second clip.

    • Both clips will come unattached and you can set the scanner flap aside.

  6. HP Photosmart Premium C309g Scanner Glass  Replacement: 手順 6、 1の画像 1
    • Lift the scanner glass piece from the printer.

  7. HP Photosmart Premium C309g Scanner Glass  Replacement: 手順 7、 2の画像 1 HP Photosmart Premium C309g Scanner Glass  Replacement: 手順 7、 2の画像 2
    • The scanner glass is attached to the plastic piece with adhesive tape.

    • Pull off the glass and re-set new piece of glass.

終わりに

To reassemble your device, follow these instructions in reverse order.

ある他の人がこのガイドを完成しました。

作成者

3人の作成者と共同で作成されました。

Laura

メンバー登録日: 10/23/14

700 ポイント

3のガイドは作成済み

チーム

Michigan Tech, Team 1-2, Lauer Fall 2014 Michigan Tech, Team 1-2, Lauer Fall 2014人のメンバー

MTU-LAUER-F14S1G2

3 メンバー

5のガイドは作成済み

0 件のコメント

コメントを追加

統計データ:

過去 24時間: 0

過去 7 日: 1

過去 30 日: 3

今までの合計 793