
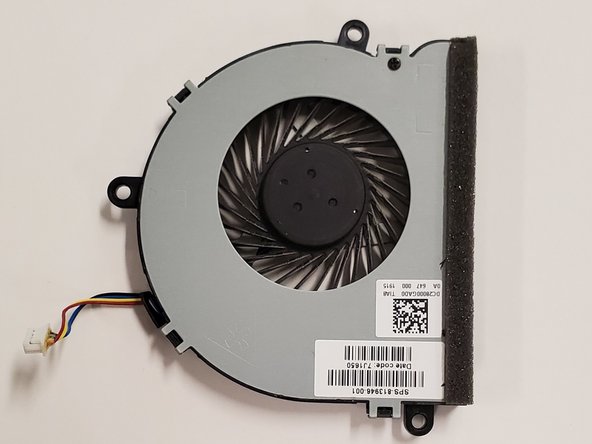
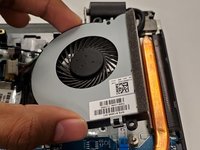
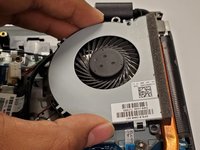
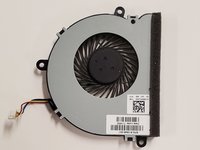
HP Pavilion 15-ba003ds Cooling Fan Replacement

はじめに
手順 1 に進むThis guide will provide you with the steps you will need to follow in order to replace the cooling fan in your HP Pavilion 15-ba003ds.
This guide will be useful if you find that your laptop struggles to adequately cool your laptop.
必要な工具と部品


-
-
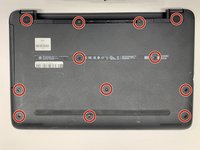
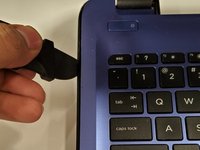
Unplug the AC adapter from the corresponding socket in the laptop.
-
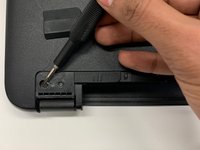
Use your fingers to push the slider located just under the battery on either side to unlock the battery from the laptop.
-
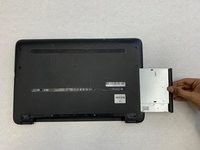
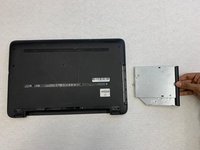
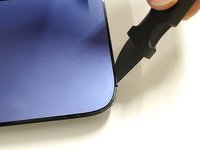
Carefully slide the battery out of the laptop frame and place it somewhere safe.
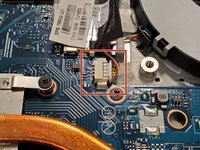
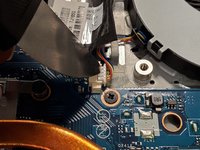
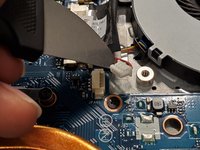
-
-


To reassemble your device, follow these instructions in reverse order.
To reassemble your device, follow these instructions in reverse order.

チーム

York University, Team S1-G9, Woodhouse Winter 2020 York University, Team S1-G9, Woodhouse Winter 2020人のメンバー
YORK-WOODHOUSE-W20S1G9
3 メンバー
8のガイドは作成済み