メインコンテンツにスキップ

HP PSC 2355 Scanner Glass Replacement

必要な工具と部品

  1. HP PSC 2355 Scanner Glass Replacement, Scanner Lid: 手順 1、 1の画像 1
    • Grasp the scanner lid cover from the front of the device and lift lid all the way up until it stands on its own.

  2. HP PSC 2355 Scanner Glass Replacement: 手順 2、 1の画像 1
    • With two hands, grasp the lid on both sides near the hinges and lift straight up to release the lid from each hinge.

  3. HP PSC 2355 Scanner Glass Replacement, Scanner Glass: 手順 3、 2の画像 1 HP PSC 2355 Scanner Glass Replacement, Scanner Glass: 手順 3、 2の画像 2
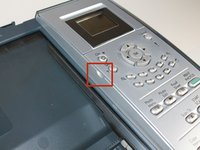
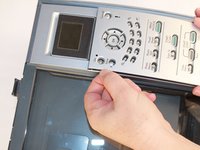
    • Locate the finger notch on the inside top left half of the bezel (control) panel cover.

    • Place your index finger in the notch and lift up to unsnap the panel.

    • Set the panel cover aside.

  4. HP PSC 2355 Scanner Glass Replacement: 手順 4、 1の画像 1
    • Use a T9 Torx screwdriver to remove the 9 mm screw.

  5. HP PSC 2355 Scanner Glass Replacement: 手順 5、 1の画像 1
    • From the front of the printer, remove the button panel by pulling it towards you while slightly lifting it up.

  6. HP PSC 2355 Scanner Glass Replacement: 手順 6、 2の画像 1 HP PSC 2355 Scanner Glass Replacement: 手順 6、 2の画像 2
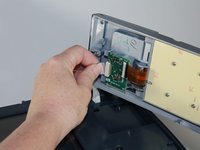
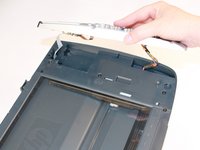
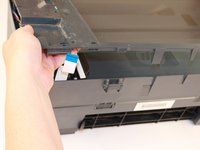
    • Disconnect the white ribbon cable by grasping it between your thumb and forefinger.

    • Gently pull to release the ribbon from the green circuit board.

  7. HP PSC 2355 Scanner Glass Replacement: 手順 7、 1の画像 1
    • Next, use a spudger to pry the flat ribbon computer cable by the plastic connection end loose. Carefully separate it from the prongs on the button panel.

    • Now the whole button should be completely disconnected from the printer.

    • Set button panel aside.

  8. HP PSC 2355 Scanner Glass Replacement: 手順 8、 1の画像 1
    • Use the T9 Torx screwdriver to remove the seven 9 mm screws on the top plastic frame around the glass.

  9. HP PSC 2355 Scanner Glass Replacement: 手順 9、 1の画像 1
    • From the back of the printer, locate the two large plastic tabs as shown.

    • With your index fingers underneath each tab, gently and simultaneously pull the tabs towards you and upwards to release the tabs from the plastic clasps behind them.

    • Remove the whole plastic frame that holds the glass.

  10. HP PSC 2355 Scanner Glass Replacement: 手順 10、 2の画像 1 HP PSC 2355 Scanner Glass Replacement: 手順 10、 2の画像 2
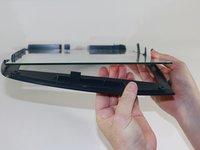
    • Gently lift the glass/plastic bed from the edge on the side opposite of the button/control panel section.

    • As shown in the second image, gently lift the glass pane up so that it is above the plastic tab that holds it into place.

  11. HP PSC 2355 Scanner Glass Replacement: 手順 11、 1の画像 1
    • Proceed to slide the glass pane out and over the plastic tab to remove it completely from the plastic bed.

    • Replace the glass with your new glass pane. To fully reassemble the printer, follow these instructions in reverse order.

終わりに

To reassemble your device, follow these instructions in reverse order.

ある他の人がこのガイドを完成しました。

作成者

5人の作成者と共同で作成されました。

Amber Gabaldon

メンバー登録日: 01/28/14

343 ポイント

3のガイドは作成済み

チーム

New Mexico State, Team 1-4, Sheppard Spring 2014 New Mexico State, Team 1-4, Sheppard Spring 2014人のメンバー

NMSU-SHEPPARD-S14S1G4

3 メンバー

4のガイドは作成済み

0 件のコメント

コメントを追加

統計データ:

過去 24時間: 0

過去 7 日: 0

過去 30 日: 1

今までの合計 891