
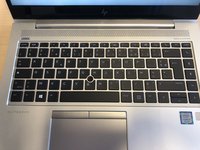
HP EliteBook 840 G5 Fan Replacement

はじめに
手順 1 に進むThe fan modules within a laptop are essential to having a functional laptop. If you are experiencing a failure of the fan and need to replace the one in your HP Elitebook 840 G5, then please follow the step-by-step replacement guide for the fan below. As this replacement requires the backing to be completely removed, use caution during the replacement as the electrical components inside of your laptop will be exposed. You will, also, need to remove the keyboard to remove the fan. Please use caution to ensure you do not accidentally damage your system further. Additionally, you must carefully remove any connecting wires by the heads; removing them by the wires themselves can damage the connectors.


-
-
Use a Phillips #1 screwdriver to undo the five screws. The top three screws are 10 mm and the two side screws are 7 mm.
-
Unscrew the bottom three screws using the same screwdriver.
-
-
-
Turn computer so that the hinged side is facing up.
-
Use the plastic opening tool to pry open the back plate.
-
Drag the plastic opening tool along the edge from left to right and use a second opening tool to pry open the top right corner.
-
Repeat the 3rd step for the other side.
-
Repeat on Left and Right sides of the system. There are two points in the middle (on the left and right sides of the center screw) that will release with slight lifting pressure.
-
-
-
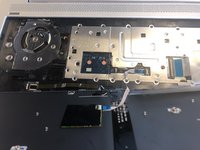
When you removed the back cover successfully, remove the 2 PH1 screws which are holding the keyboard.
-
The screws with the text "KB" are the correct screws to remove.
-
-
-
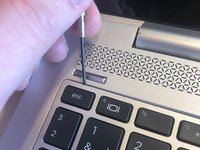
Place it between the keyboard and the frame. I started near the on/off button to make a opening.
-
Just go around the whole keyboard with the opening picks, slide it through every side of the keyboard, except for the under side (there are no clips there).
-
Just free all the clips, you should hear some pops. Do not pull the keyboard out, just free it from the clips which are holding the keyboard. The clips that are holding the keyboard are pretty strong, so you need a little force to free it.
-
-
-
-
After it's freed from all the clips, you can turn the keyboard towards your self, but hold the keyboard with one hand!
-
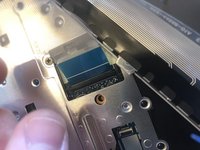
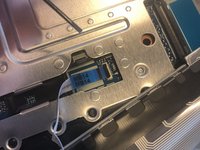
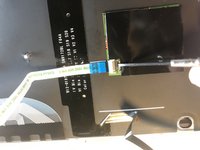
Now open up the ZIF connector and pull on the blue tab to remove the cable.
-
-
-
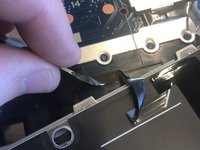
Open up the ZIF connector with your nail or plastic opening tool, but be careful as they can break easily!
-
Hold the blue tab on the keyboard cable.
-
And pull on the blue tab to remove the cable from the ZIF connector straight out the socket.
-
-
-
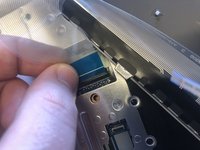
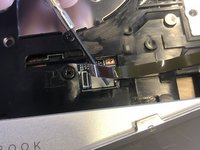
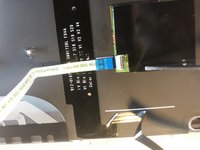
Open up the ZIF connector carefully.
-
Hold on the blue tab.
-
Remove the cable straight out the socket.
-
-
-
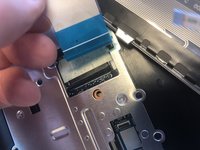
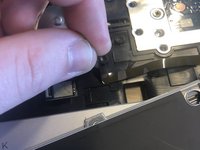
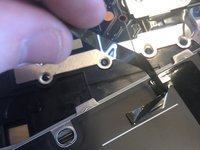
Repeat the process for this ribbon cable as well.
-
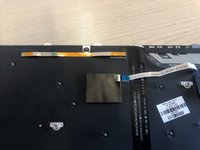
This cable is still holding to the frame with lightly adhesive on two places, just pull on it Carefully to remove it from the frame.
-
-
-
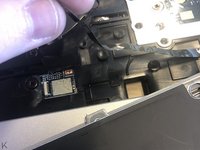
2nd place which has lightly adhesive on it.
-
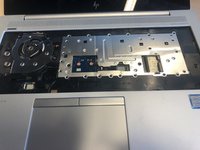
After it's freed now, you can successfully remove the keyboard!
-
-
-
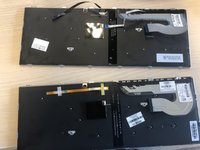
If you going to replace it for a new keyboard, it's possible that you need to transfer one cable from the old keyboard to the new one. Do the same process as earlier to transfer it.
-
-
-
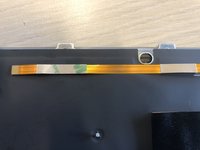
Be hold that you need to pull of the plastics from the new tape to attach it again on the frame.
-
Follow the guide in reverse to connect the new keyboard again.
-
This should be it! Please test everything to check if it works.
-
-
-
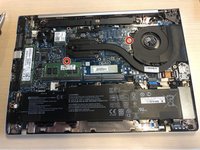
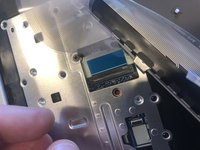
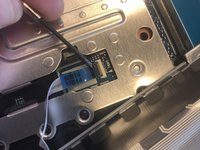
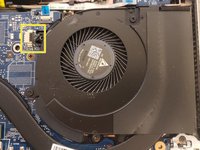
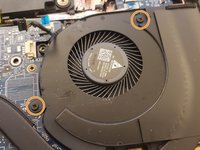
Remove four (4) #1 Phillips screws from the top of the Fan Module.
-
-
-
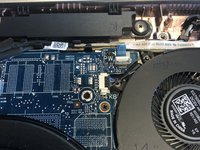
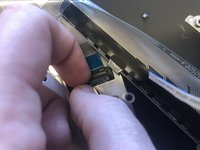
Remove power wire connector.
-
Remove two (2) #1 Phillips screws from the top of the Fan Module.
-
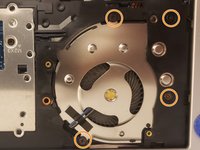
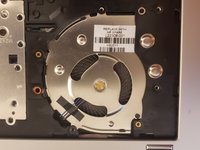
Carefully lift the fan module out of the system and replace it with a new one.
-


To reassemble your device, follow these instructions in reverse order.
To reassemble your device, follow these instructions in reverse order.
3 の人々がこのガイドを完成させました。
