はじめに
この修理ガイドはiFixitのテックライティングスタッフによって執筆されたもので、Googleによって承認されたものではありません。iFixitの修理ガイドのクオリティーについては、 こちらを参照してしてください。
このガイドに従って、Pixel 2 XLのメインラウドスピーカーを交換します。
必要な工具と部品
-
-
電源と音量ボタンの反対側、スマートフォンの左端にあるSIMカードトレイの小さな穴に、SIMカードイジェクトツールやペーパークリップを差し込みます。
-
しっかりと押し込み、トレイを取り出します。
-
-
-
-
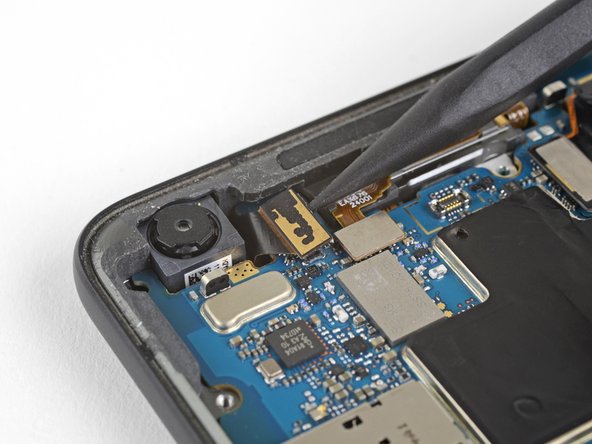
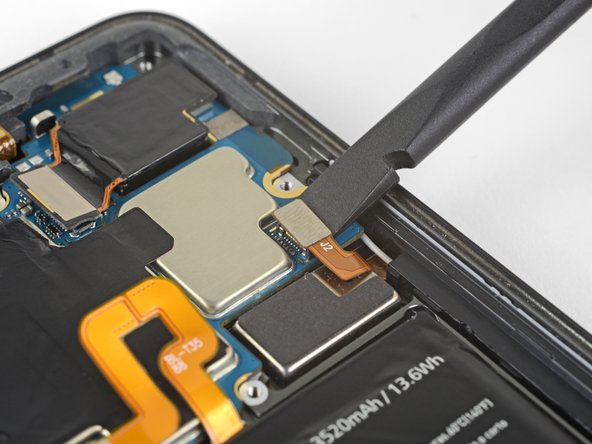
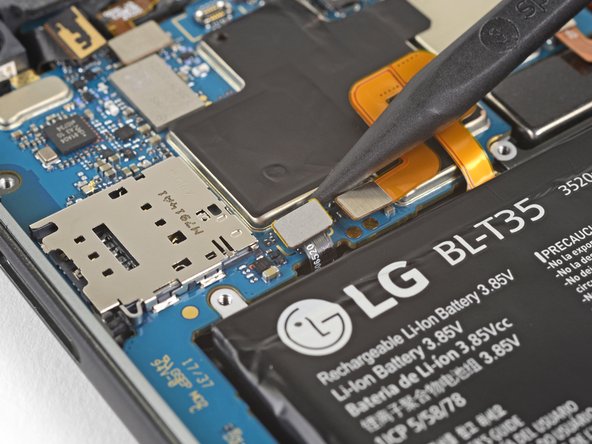
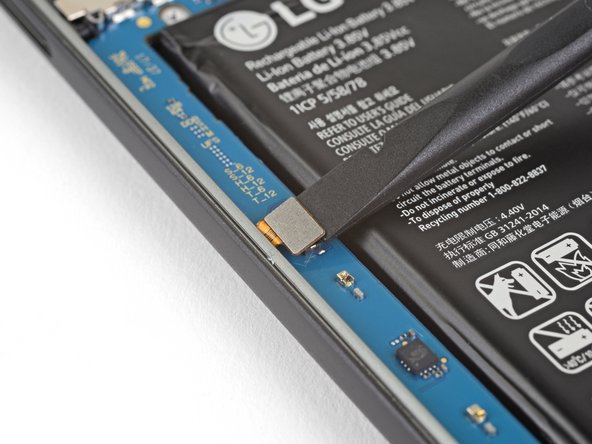
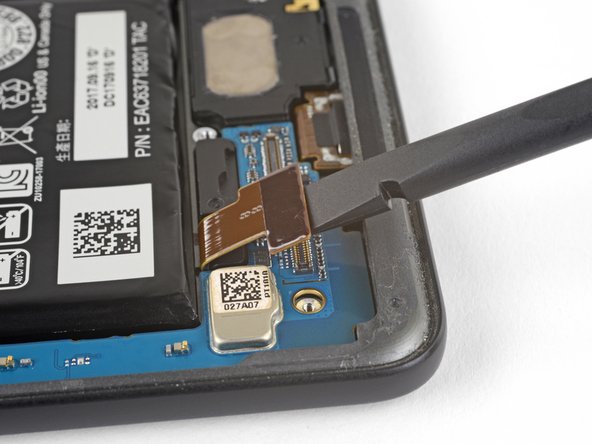
スパッジャーの先端をラウドスピーカーの左下側の底部にスライドして、スマートフォンからスピーカーアセンブリを慎重に持ち上げます。
-
作業がうまく進まない場合は、 デバイス下部の隙間にスパッジャーの平面側先端を差し込んで、ゆっくりこじ開けてください。
-


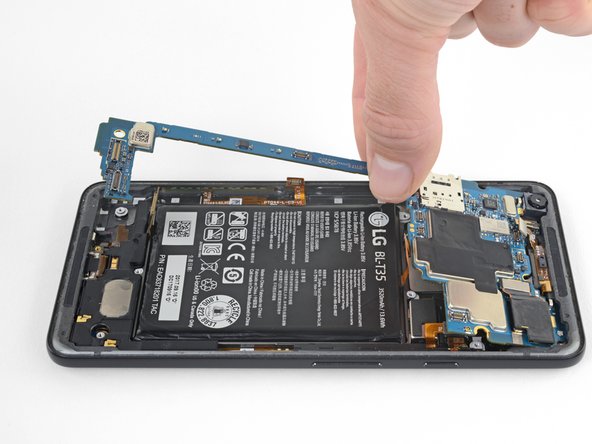


新しい交換パーツを元のパーツと比較します
—残っている部品を移植したり、または新しいパーツを取り付ける前に粘着剤の剥離紙を剥がすことが必要になる場合があります。
デバイスを再度組み立てる際は、上記の手順を逆に実行してください。
古いパーツは、R2 or e-Stewards certified recyclerに持っていきます。
予定通りに修理できなかった場合は、当サイトのアンサーコミュニティを参照して、トラブルシューティングを確認してください。
新しい交換パーツを元のパーツと比較します
—残っている部品を移植したり、または新しいパーツを取り付ける前に粘着剤の剥離紙を剥がすことが必要になる場合があります。
デバイスを再度組み立てる際は、上記の手順を逆に実行してください。
古いパーツは、R2 or e-Stewards certified recyclerに持っていきます。
予定通りに修理できなかった場合は、当サイトのアンサーコミュニティを参照して、トラブルシューティングを確認してください。
7 の人々がこのガイドを完成させました。
以下の翻訳者の皆さんにお礼を申し上げます:
100%


これらの翻訳者の方々は世界を修理する私たちのサポートをしてくれています。 あなたも貢献してみませんか?
翻訳を始める ›

2 件のコメント
Does this method work with the earpiece one as well?
We don’t have official instructions out for the earpiece speaker, but it’s only accessible underneath the glass panel and antenna assembly on the back of the phone so removing it is a bit different. After removing the motherboard you would have to lift this flex cable from the back of the phone, just enough to separate it from the adhesive holding it down. Then you can carefully pry up the glass panel, and remove antenna assembly and the earpiece speaker underneath. You’ll probably need an iOpener, suction cup, and opening picks to remove the panel and everything underneath—they’re all glued down pretty solidly.