
Disassembling Nokia 2366i Rear Case
はじめに
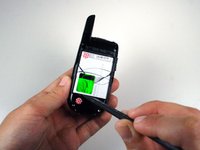
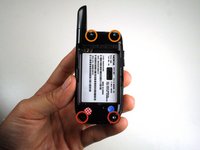
手順 1 に進むThis guide is a step by step procedure to disassemble the base of the phone. It is the preliminary step in gaining access to the inner components of the Nokia 2366i.


-
-
-
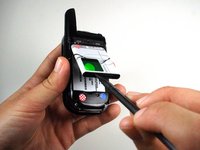
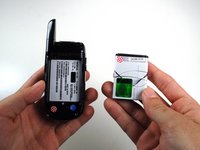
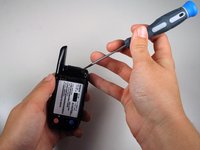
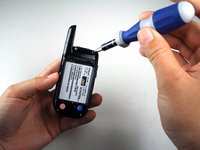
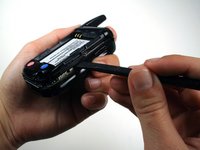
Use a Phillips #00 screwdriver or your fingers to remove the rubber tabs at top back of the phone.
-


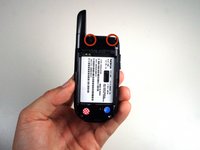


To reassemble your device, follow these instructions in reverse order.
To reassemble your device, follow these instructions in reverse order.
ある他の人がこのガイドを完成しました。
チーム

Cal Poly, Team 1-14, Amido Winter 2011 Cal Poly, Team 1-14, Amido Winter 2011人のメンバー
CPSU-AMIDO-W11S1G14
5 メンバー
17のガイドは作成済み