
Dell Vostro 1710 RAM Replacement
10 - 15 分
中レベル
おすすめの学生による修理ガイド
はじめに
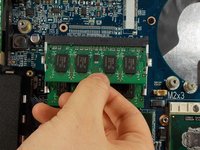
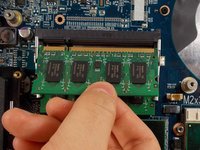
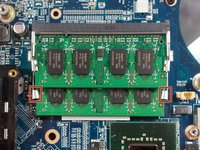
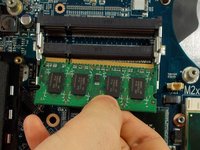
手順 1 に進むRAM is needed for a computer to function. If your computer is crashing you may have old or damaged RAM. It can be damaged by static electricity and if it is not removed or inserted correctly. Adding more RAM to your computer can improve its performance drastically.
必要な工具と部品


もう少しです!
To reassemble your device, follow these instructions in reverse order.
終わりに
To reassemble your device, follow these instructions in reverse order.
チーム

UMass Dartmouth, Team S3-G7, Peak Spring 2018 UMass Dartmouth, Team S3-G7, Peak Spring 2018人のメンバー
UMASSD-PEAK-S18S3G7
3 メンバー
8のガイドは作成済み