
Dell Vostro 1400 Screen Replacement
10分
中レベル
高画質の画像が必要
はじめに
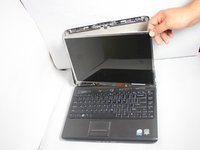
手順 1 に進むThis guide will show you the proper steps to replace your screen on your Dell Vostro 1400
必要な工具と部品

-
-
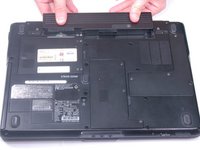
After flipping over the laptop, the battery is on the bottom side of the laptop.
-
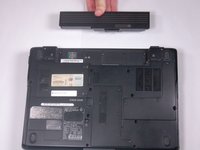
Find the tabs on both the left and right side of the battery.
-
-


もう少しです!
To reassemble your device, follow these instructions in reverse order.
終わりに
To reassemble your device, follow these instructions in reverse order.
2 の人々がこのガイドを完成させました。
チーム

Texas Tech, Team S8-G2, Bennett Spring 2017 Texas Tech, Team S8-G2, Bennett Spring 2017人のメンバー
TTU-BENNETT-S17S8G2
4 メンバー
5のガイドは作成済み