
Dell Latitude E6510 Speaker Replacement
はじめに
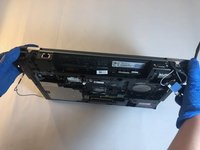
手順 1 に進むAs a quick warning before you dive into replacing your speakers, this will be a long, hard task. By the time you will even see the speakers the laptop will be completely taken apart. Make sure to not lose your screws and ensure you have plenty of time and space before you follow this guide.
必要な工具と部品

-
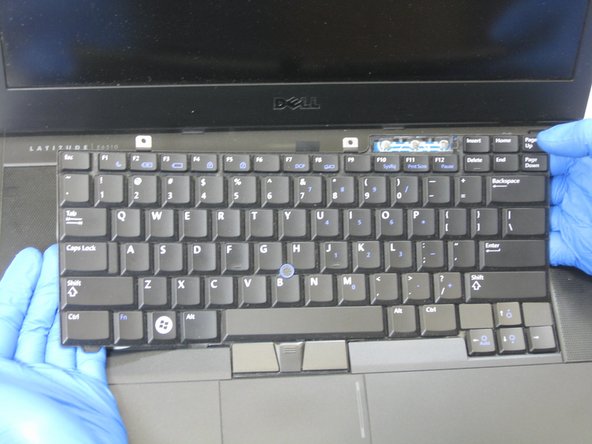
手順1 Keyboard
注意: 手順 1-3 は、作業進行中としてマークされている ガイド から引用されています。
-
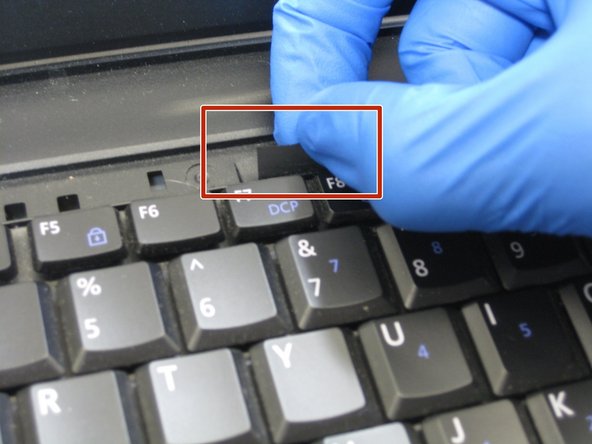
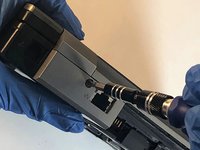
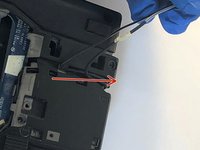
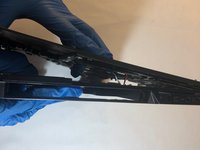
Open the laptop and locate the volume panel on the keyboard.
-
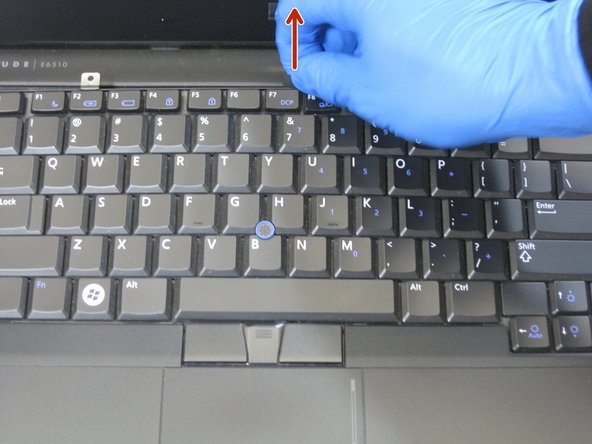
Use the spudger to get underneath the righthand side of the panel and gently pry up the side.
-
-
手順4 Battery
注意: 手順 4-6 は、作業進行中としてマークされている ガイド から引用されています。
-
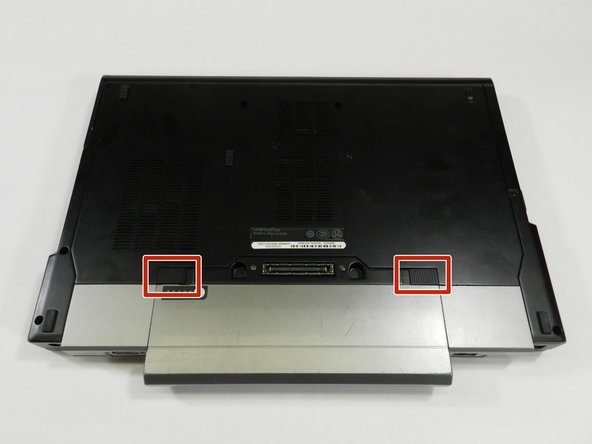
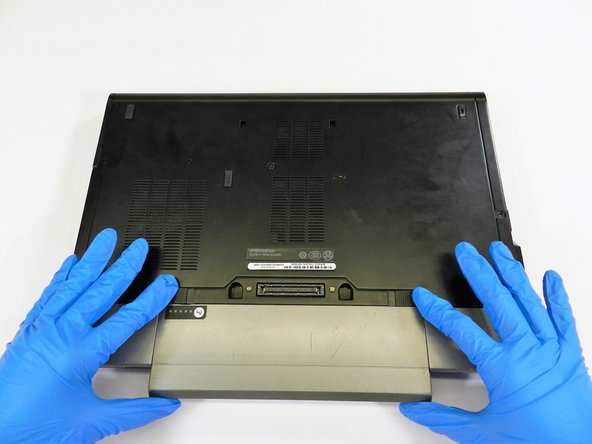
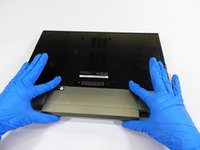
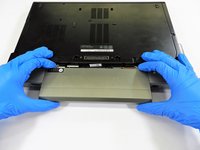
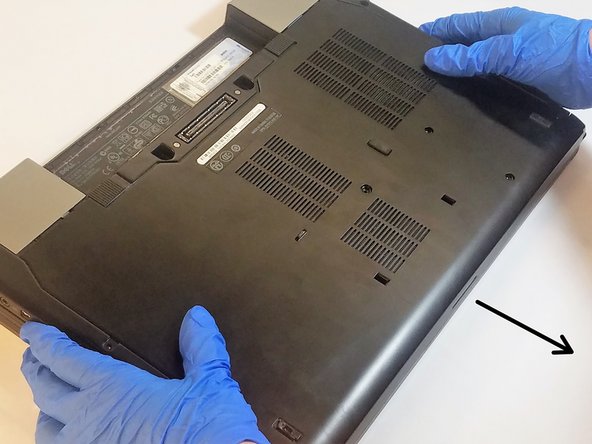
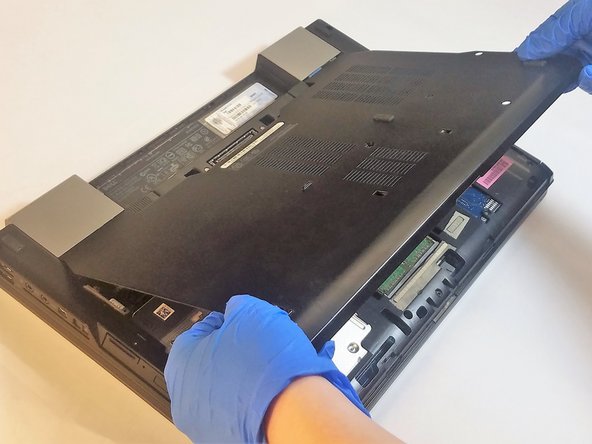
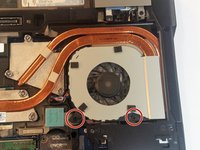
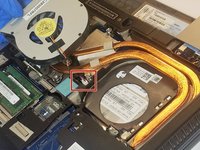
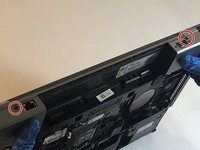
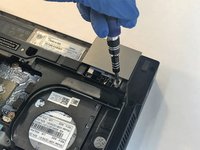
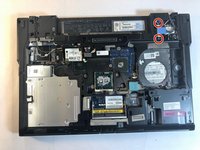
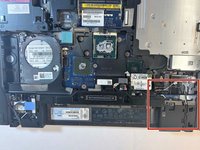
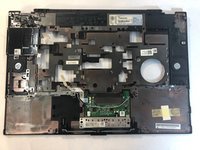
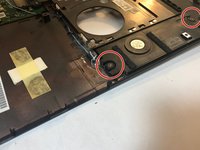
Position the laptop upside down with the battery facing towards you.
-
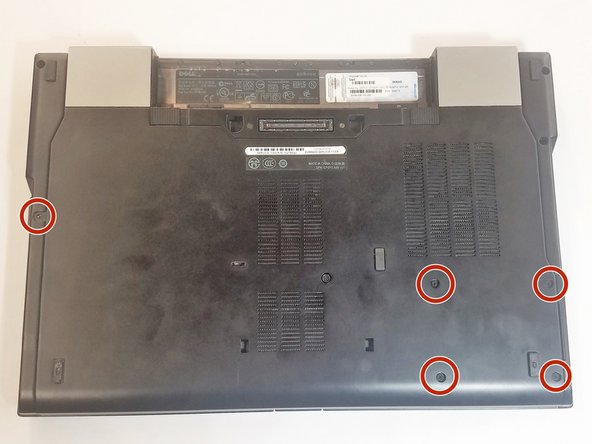
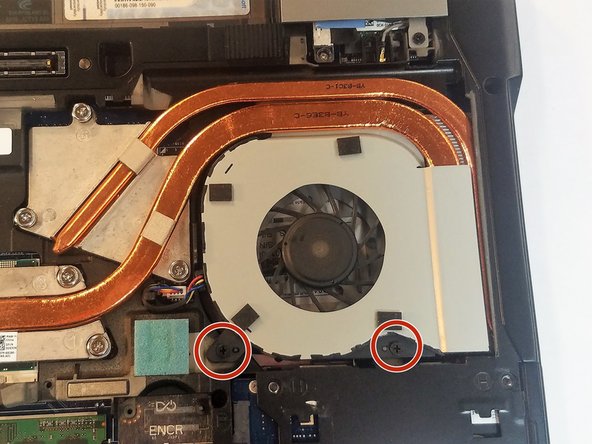
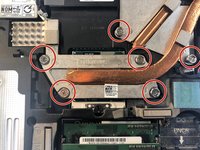
Locate the battery latches circled in red.
-
-


To reassemble your device, follow these instructions in reverse order.
To reassemble your device, follow these instructions in reverse order.
2 の人々がこのガイドを完成させました。
チーム

The Citadel Military College of South Carolina, Team S3-G9, Eggleston Spring 2019 The Citadel Military College of South Carolina, Team S3-G9, Eggleston Spring 2019人のメンバー
CMCSC-EGGLESTON-S19S3G9
4 メンバー
1のガイドは作成済み