
Dell Latitude E6420 Keyboard Replacement
はじめに
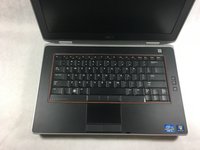
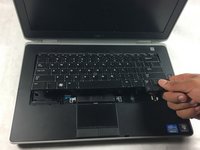
手順 1 に進むKeys can break off or stop working. This guide will show users how to replace the keyboard.


-
-
-
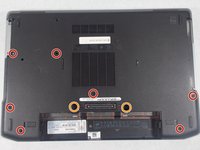
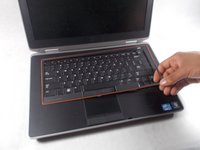
Using the screwdriver, remove seven 4mm Phillips #1 screws from the bottom of the laptop.
-
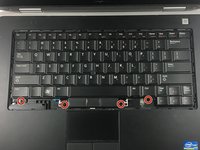
Using the screwdriver, remove two 9mm Phillips #00 screws from the bottom of the laptop.
-


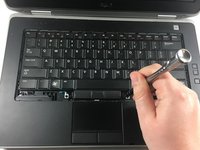


To reassemble your device, follow these instructions in reverse order.
To reassemble your device, follow these instructions in reverse order.
3 の人々がこのガイドを完成させました。
チーム

UMass Dartmouth, Team S2-G3, Simcock Spring 2018 UMass Dartmouth, Team S2-G3, Simcock Spring 2018人のメンバー
UMASSD-SIMCOCK-S18S2G3
3 メンバー
7のガイドは作成済み