
Dell Inspiron 1525 ExpressCard Cage Replacement

はじめに
手順 1 に進むUse this guide to help you replace the ExpressCard Cage in a Dell Inspiron 1525.
必要な工具と部品


-
-
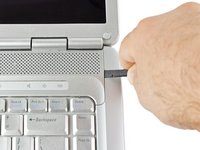
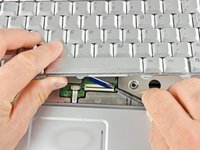
Remove the two 5.75 mm Phillips #1 screws securing the keyboard to the laptop.
-
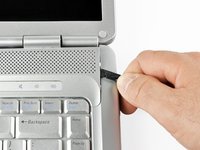
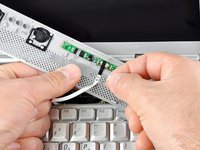
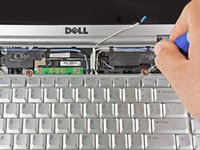
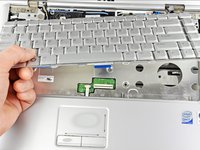
Gently slide the keyboard towards the display until the tabs on its front side are free.
-
-
-
-
Remove/loosen the eight 4.80 mm Phillips #1 screws securing the bottom panel.
-
The screws may only need to be loosened, as they are generally retained by plastic washers.
-
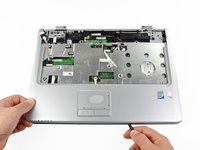
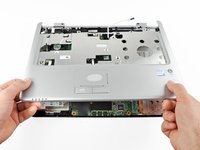
Remove the bottom panel.
-
-
-
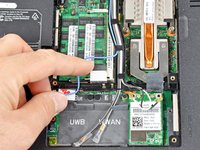
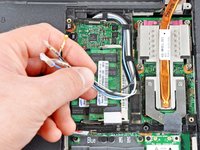
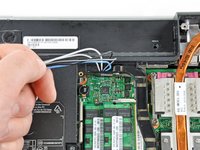
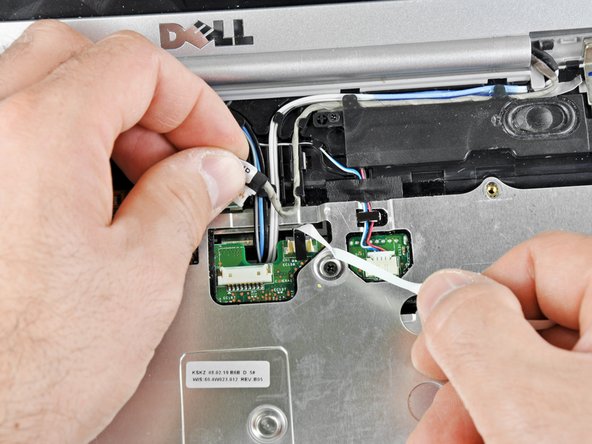
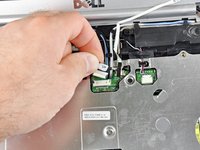
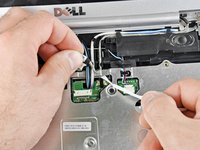
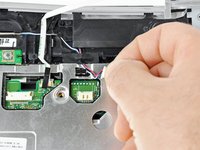
Disconnect the five antennas from their respective cards.
-
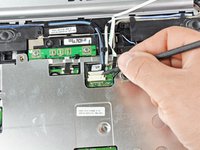
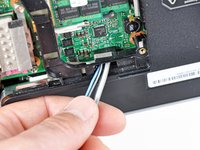
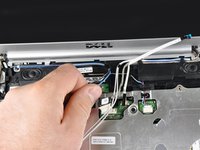
De-route the antennas from their routing retainers.
-
-
-
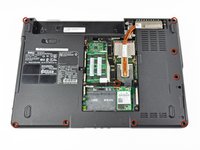
Remove the nine 5.75 mm Phillips #1 screws on the bottom side of the laptop.
-
Remove the two 5.70 mm Phillips #1 screws on the top side of the laptop.
-
-
-
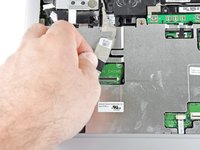
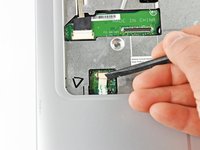
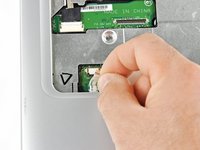
Eject your ExpressCard or ExpressCard dust shield if you want to transfer it to the new ExpressCard cage. Eject the card by pressing it in until it clicks, releasing it, then sliding it out.
-
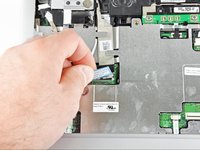
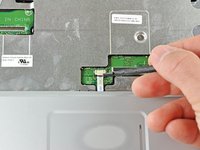
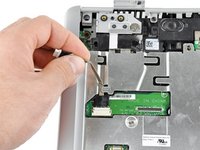
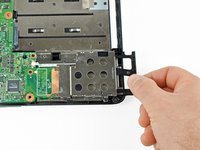
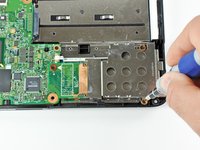
Remove the 3.80 mm Phillips #1 screw securing the ExpressCard cage.
-
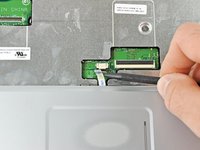
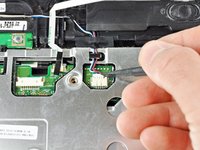
Remove the two 3.70 mm Phillips #1 screws securing the ExpressCard cage.
-
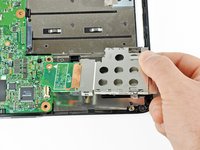
Lift the ExpressCard cage out of its connector.
-


To reassemble your device, follow these instructions in reverse order.
To reassemble your device, follow these instructions in reverse order.
ある他の人がこのガイドを完成しました。
