
Dell AC511 Hanger Replacement
はじめに
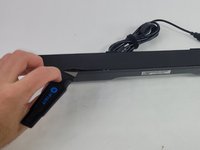
手順 1 に進むIf your device does not properly hang to the bottom of compatible Dell monitors, you may need to replace one or both of its hangers.
必要な工具と部品


-
-
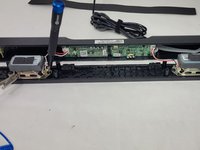
Use a Jimmy to peel off the screen stuck to the front of the speaker.
-
Start from any corner and use the Jimmy to get under the screen. Once one side lifts up, you can use your fingers to peel the rest off.
-
-
-
-
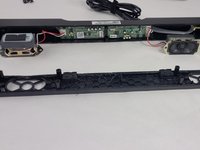
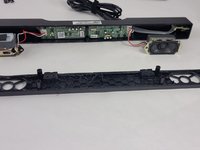
Remove the screws from the hangers you are looking to replace using a JIS #1 screwdriver.
-


To reassemble your device, follow these instructions in reverse order.
To reassemble your device, follow these instructions in reverse order.
チーム

UMass Dartmouth, Team 4-6, Shaddix Spring 2024 UMass Dartmouth, Team 4-6, Shaddix Spring 2024人のメンバー
UMASSD-SHADDIX-S24S4G6
4 メンバー
6のガイドは作成済み