
Cobra 29 LTD Classic Internal Speaker Replacement
はじめに
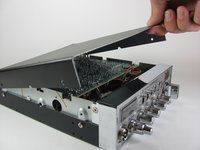
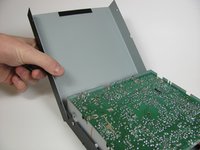
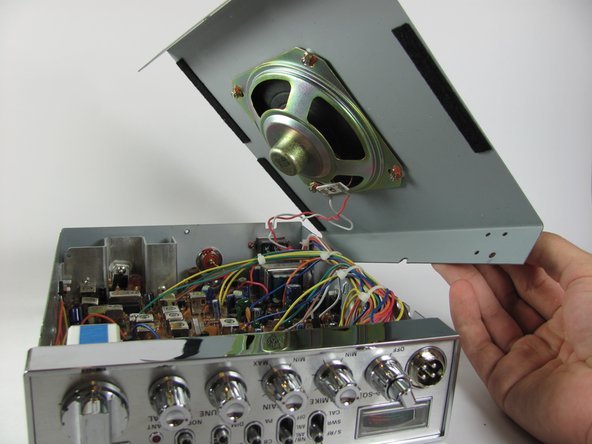
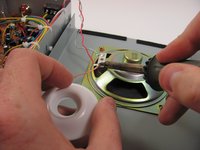
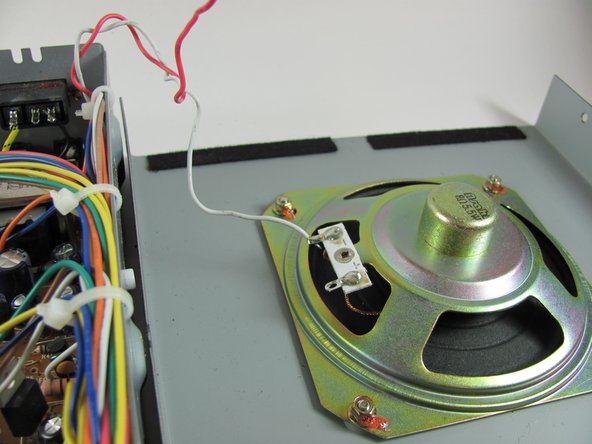
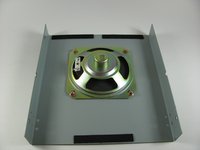
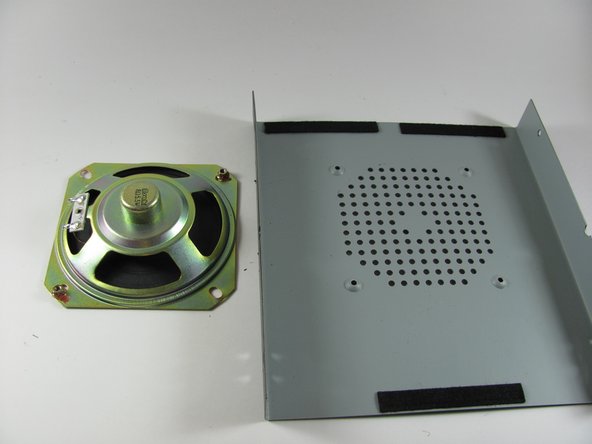
手順 1 に進むThe internal speaker is located inside the device and it is attached to the bottom cover. Perform the guide on a flat non-conductive surface to avoid electrical shock and damage to your device.
Some steps in this guide require soldering. For information on how to solder, see the soldering guide.


-
-
-
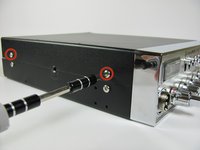
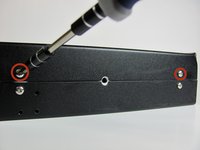
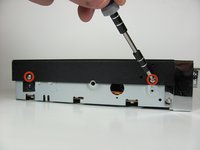
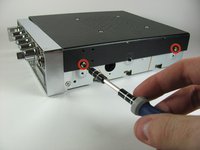
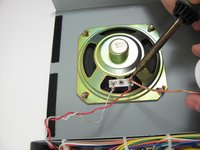
Unscrew the top four 6.0mm Phillips head screws counterclockwise on the left and right side of the device using a #1 Phillips head screwdriver.
-
-
-
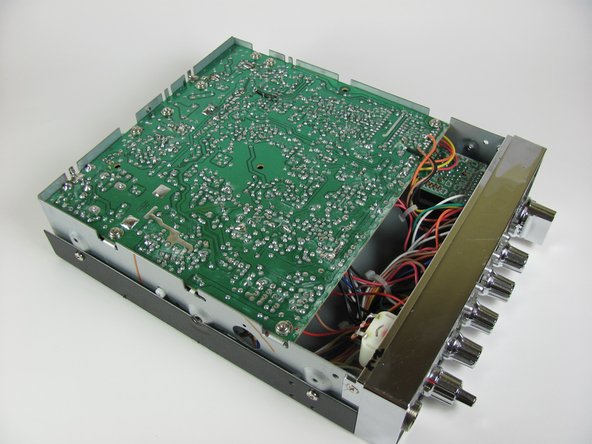
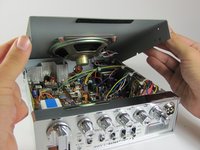
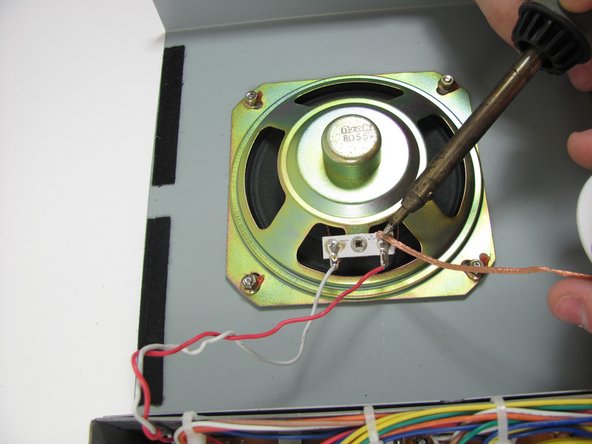
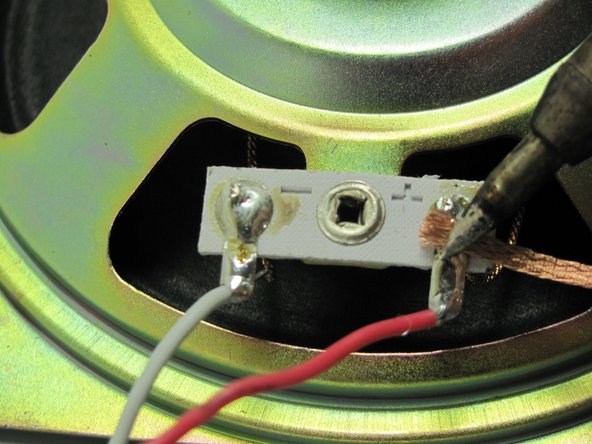
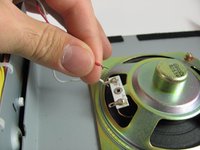
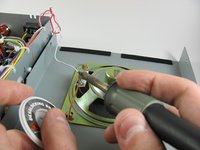
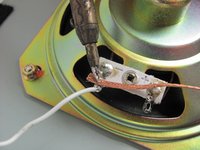
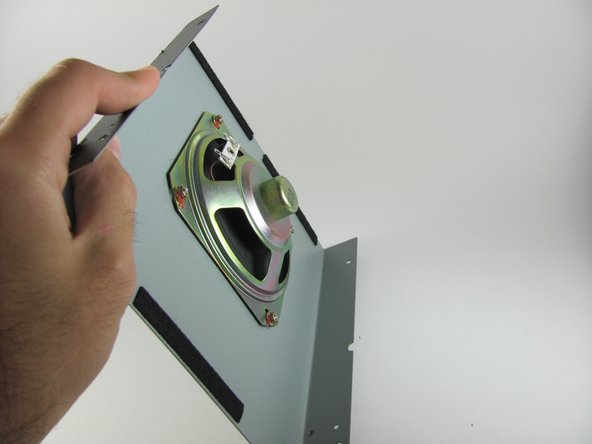
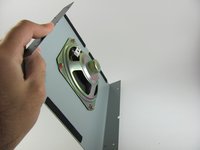
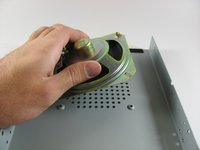
De-solder the red wire that is connected to the internal speaker, with a soldering iron and the desoldering wick.
-


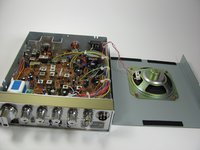


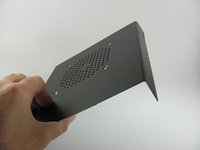


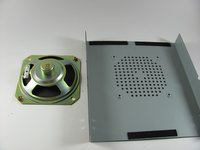
To reassemble your device, follow these instructions in reverse order.
To reassemble your device, follow these instructions in reverse order.
2 の人々がこのガイドを完成させました。
チーム

Cal Poly, Team 11-37, Amido Fall 2013 Cal Poly, Team 11-37, Amido Fall 2013人のメンバー
CPSU-AMIDO-F13S11G37
4 メンバー
9のガイドは作成済み