メインコンテンツにスキップ
Canon Powershot ELPH 100 HS LCD Display Replacement

Canon Powershot ELPH 100 HS LCD Display Replacement

Jacob

Jacob とその他 4 人の作成者

最終更新日: May 7, 2024

20 - 30 分
中レベル

A common issue with this camera is a cracked display screen or the screen not showing the picture, meaning it is damaged. This guide will walk you through the process of replacing the screen.

必要な工具と部品

パーツ

ツール

もっと見る

これらのリンクを通じて購入すると、iFixit は手数料を得ます。
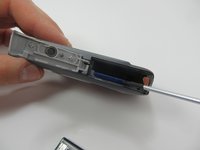
  1. Canon Powershot ELPH 100 HS LCD Display Replacement, Battery: 手順 1、 3の画像 1 Canon Powershot ELPH 100 HS LCD Display Replacement, Battery: 手順 1、 3の画像 2 Canon Powershot ELPH 100 HS LCD Display Replacement, Battery: 手順 1、 3の画像 3
    • Locate the battery cover on the bottom of your camera.

    • Slide the tab to the right to open the battery cover.

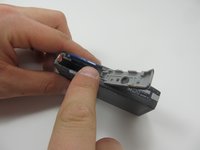
  2. Canon Powershot ELPH 100 HS LCD Display Replacement: 手順 2、 2の画像 1 Canon Powershot ELPH 100 HS LCD Display Replacement: 手順 2、 2の画像 2
    • Flip the battery cover open.

    • Using your fingers, slide the battery out of the camera.

    • This was not the original battery that came the camera, so yours may look different.

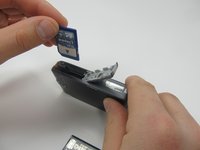
  3. Canon Powershot ELPH 100 HS LCD Display Replacement, Memory Card: 手順 3、 3の画像 1 Canon Powershot ELPH 100 HS LCD Display Replacement, Memory Card: 手順 3、 3の画像 2 Canon Powershot ELPH 100 HS LCD Display Replacement, Memory Card: 手順 3、 3の画像 3
    • Push down on the memory card until it clicks and releases.

    • Pull up on the memory card to remove it.

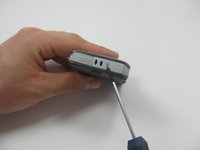
  4. Canon Powershot ELPH 100 HS LCD Display Replacement, Outer Case: 手順 4、 1の画像 1
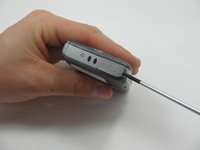
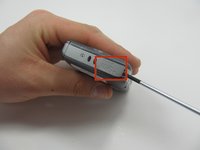
    • Using the Phillips #00 screwdriver, remove the two 3.1mm screws from the bottom of the camera.

    • Keep track of all the screws that are being taken out from the outer case.

    • The display screen of the camera should be facing towards you.

  5. Canon Powershot ELPH 100 HS LCD Display Replacement: 手順 5、 1の画像 1
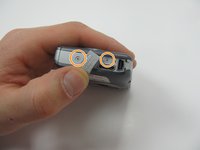
    • Ensure that the screen is facing you, and then rotate it till you see the screws on the side of the camera.

    • Use the Phillips #00 screwdriver to remove the two 3.1 mm screws.

  6. Canon Powershot ELPH 100 HS LCD Display Replacement: 手順 6、 2の画像 1 Canon Powershot ELPH 100 HS LCD Display Replacement: 手順 6、 2の画像 2
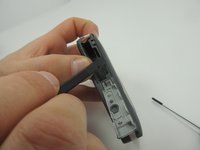
    • With the screen still facing you, rotate the camera 180 degrees.

    • The side with the charging port should now be facing up.

  7. Canon Powershot ELPH 100 HS LCD Display Replacement: 手順 7、 2の画像 1 Canon Powershot ELPH 100 HS LCD Display Replacement: 手順 7、 2の画像 2
    • Use the Philips #00 screwdriver to pry open the charging port cover.

    • Once you pry open the charging port cover, rotate the cover so that you have access to the screw underneath. Which is seen in the next image.

    • Remove both 3.1 mm screws using the Phillips #00 screwdriver.

    • The image still shows the screw from step 3 in place.

  8. Canon Powershot ELPH 100 HS LCD Display Replacement: 手順 8、 2の画像 1 Canon Powershot ELPH 100 HS LCD Display Replacement: 手順 8、 2の画像 2
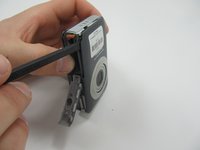
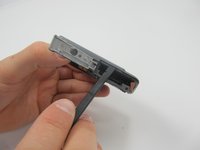
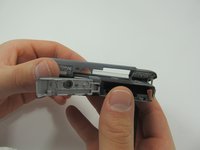
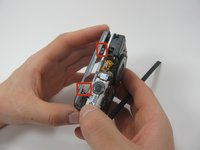
    • Turn the camera so the bottom is once again facing up.

    • With the battery door still open, use a spudger to remove the cover from the front of the camera.

    • Carefully go around all of the edges until the cover is released.

  9. Canon Powershot ELPH 100 HS LCD Display Replacement: 手順 9、 1の画像 1
    • Once the entire front cover has been released carefully pull it off.

    • Be careful not to break the tabs that hold it in place.

  10. Canon Powershot ELPH 100 HS LCD Display Replacement: 手順 10、 3の画像 1 Canon Powershot ELPH 100 HS LCD Display Replacement: 手順 10、 3の画像 2 Canon Powershot ELPH 100 HS LCD Display Replacement: 手順 10、 3の画像 3
    • Just like Step 4-6 , carefully use the Spudger to remove the back cover.

    • Go along all the borders of the back cover so that it releases from the camera safely.

    • Be careful not to break the tabs.

  11. Canon Powershot ELPH 100 HS LCD Display Replacement, LCD Display: 手順 11、 2の画像 1 Canon Powershot ELPH 100 HS LCD Display Replacement, LCD Display: 手順 11、 2の画像 2
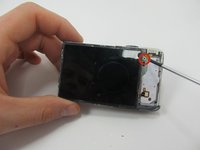
    • Remove the 3.1mm screw on the top-right side of the LCD display screen.

  12. Canon Powershot ELPH 100 HS LCD Display Replacement: 手順 12、 1の画像 1
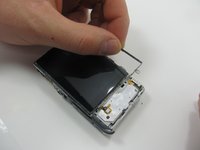
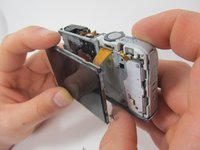
    • Use the spudger to carefully separate the screen from the frame.

  13. Canon Powershot ELPH 100 HS LCD Display Replacement: 手順 13、 2の画像 1 Canon Powershot ELPH 100 HS LCD Display Replacement: 手順 13、 2の画像 2
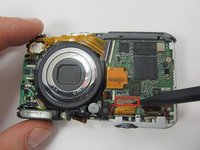
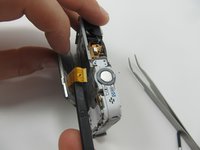
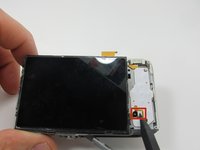
    • Use the spudger to lift up the latch on the zero insertion force connector (ZIF).

    • Slide the now free ribbon cable from the connector.

  14. Canon Powershot ELPH 100 HS LCD Display Replacement: 手順 14、 2の画像 1 Canon Powershot ELPH 100 HS LCD Display Replacement: 手順 14、 2の画像 2
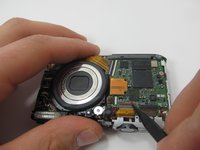
    • Holding the display screen, gently pull the ribbon cable out through the frame of the camera.

  15. Canon Powershot ELPH 100 HS LCD Display Replacement: 手順 15、 2の画像 1 Canon Powershot ELPH 100 HS LCD Display Replacement: 手順 15、 2の画像 2
    この手順で使用する道具:
    Tweezers
    $4.99
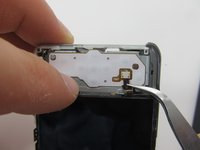
    • Using tweezers, carefully remove the ribbon cable from the connector shown.

  16. Canon Powershot ELPH 100 HS LCD Display Replacement: 手順 16、 1の画像 1
    • The display screen should now be free.

終わりに

To reassemble your device, follow these instructions in reverse order.

6 の人々がこのガイドを完成させました。

作成者

4人の作成者と共同で作成されました。

Jacob

メンバー登録日: 03/17/15

570 ポイント

3のガイドは作成済み

チーム

Michigan Tech, Team 1-10, Lauer Spring 2015 Michigan Tech, Team 1-10, Lauer Spring 2015人のメンバー

MTU-LAUER-S15S1G10

2 メンバー

5のガイドは作成済み

0件のガイドコメント

コメントを追加

統計データ:

過去 24時間: 8

過去 7 日: 19

過去 30 日: 73

今までの合計 4,072