
Canon PowerShot SD1000 Flash Unit Replacement
はじめに
手順 1 に進むIf your Canon Powershot SD1000 has a broken or faulty flash unit, use this guide to remove and replace it.
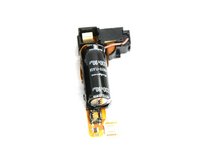
A faulty flash unit may have a weak discharge, resulting in a dimly lit photo or failure to discharge entirely.
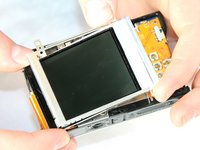
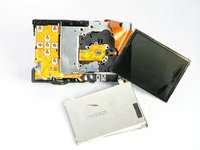
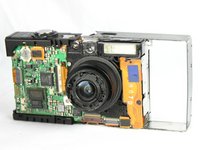
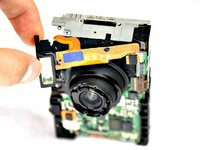
The flash unit of the Canon Powershot SD1000 is built into the main body of a camera, and will require disassembly of the main body.
Before using this guide, check the function settings of your camera to find what mode the flash is set to. Oftentimes, when set to "Auto," the flash will not discharge.
必要な工具と部品


-
-
-
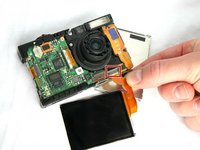
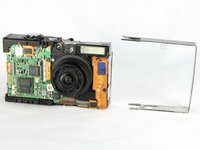
Slide the metal frame off of the camera on the side that is closest to the flash mechanism.
-


To reassemble your device, follow these instructions in reverse order.
To reassemble your device, follow these instructions in reverse order.
ある他の人がこのガイドを完成しました。
チーム

Cal Poly, Team 8-18, Maness Winter 2012 Cal Poly, Team 8-18, Maness Winter 2012人のメンバー
CPSU-MANESS-W12S8G18
4 メンバー
12のガイドは作成済み